


This article is for you if:
- you’re curious about how to build a private app using the Zapier platform
- you’d like to create a custom “form catcher” instead of using Webhooks by Zapier
- you use Elementor forms and would like a more customizable way to send submissions to Zapier
The Challenge
Our Webhooks by Zapier app is perfectly capable of capturing form submissions from apps like Elementor. In most cases, it’s probably fine to use that, but there are a few of advantages to creating a private app on the Zapier developer platform:
- You can name it something more memorable, which helps if you’re on a team/company plan and multiple people need to build Zaps like this.
- If you’re building for clients, it’s more obvious to use something they’d naturally search for, rather than Webhooks by Zapier.
- You can add some detailed instructions in the trigger, meaning you can provide details specific to that particular use case.
The Quick Overview
If a bulleted list is all you need, we’ve got you covered (it’s not as complicated as it might appear at a glance).
Create the App
- Visit https://zapier.com/platform and sign in (if you’re not already)
- Click on My Integrations in the top right corner
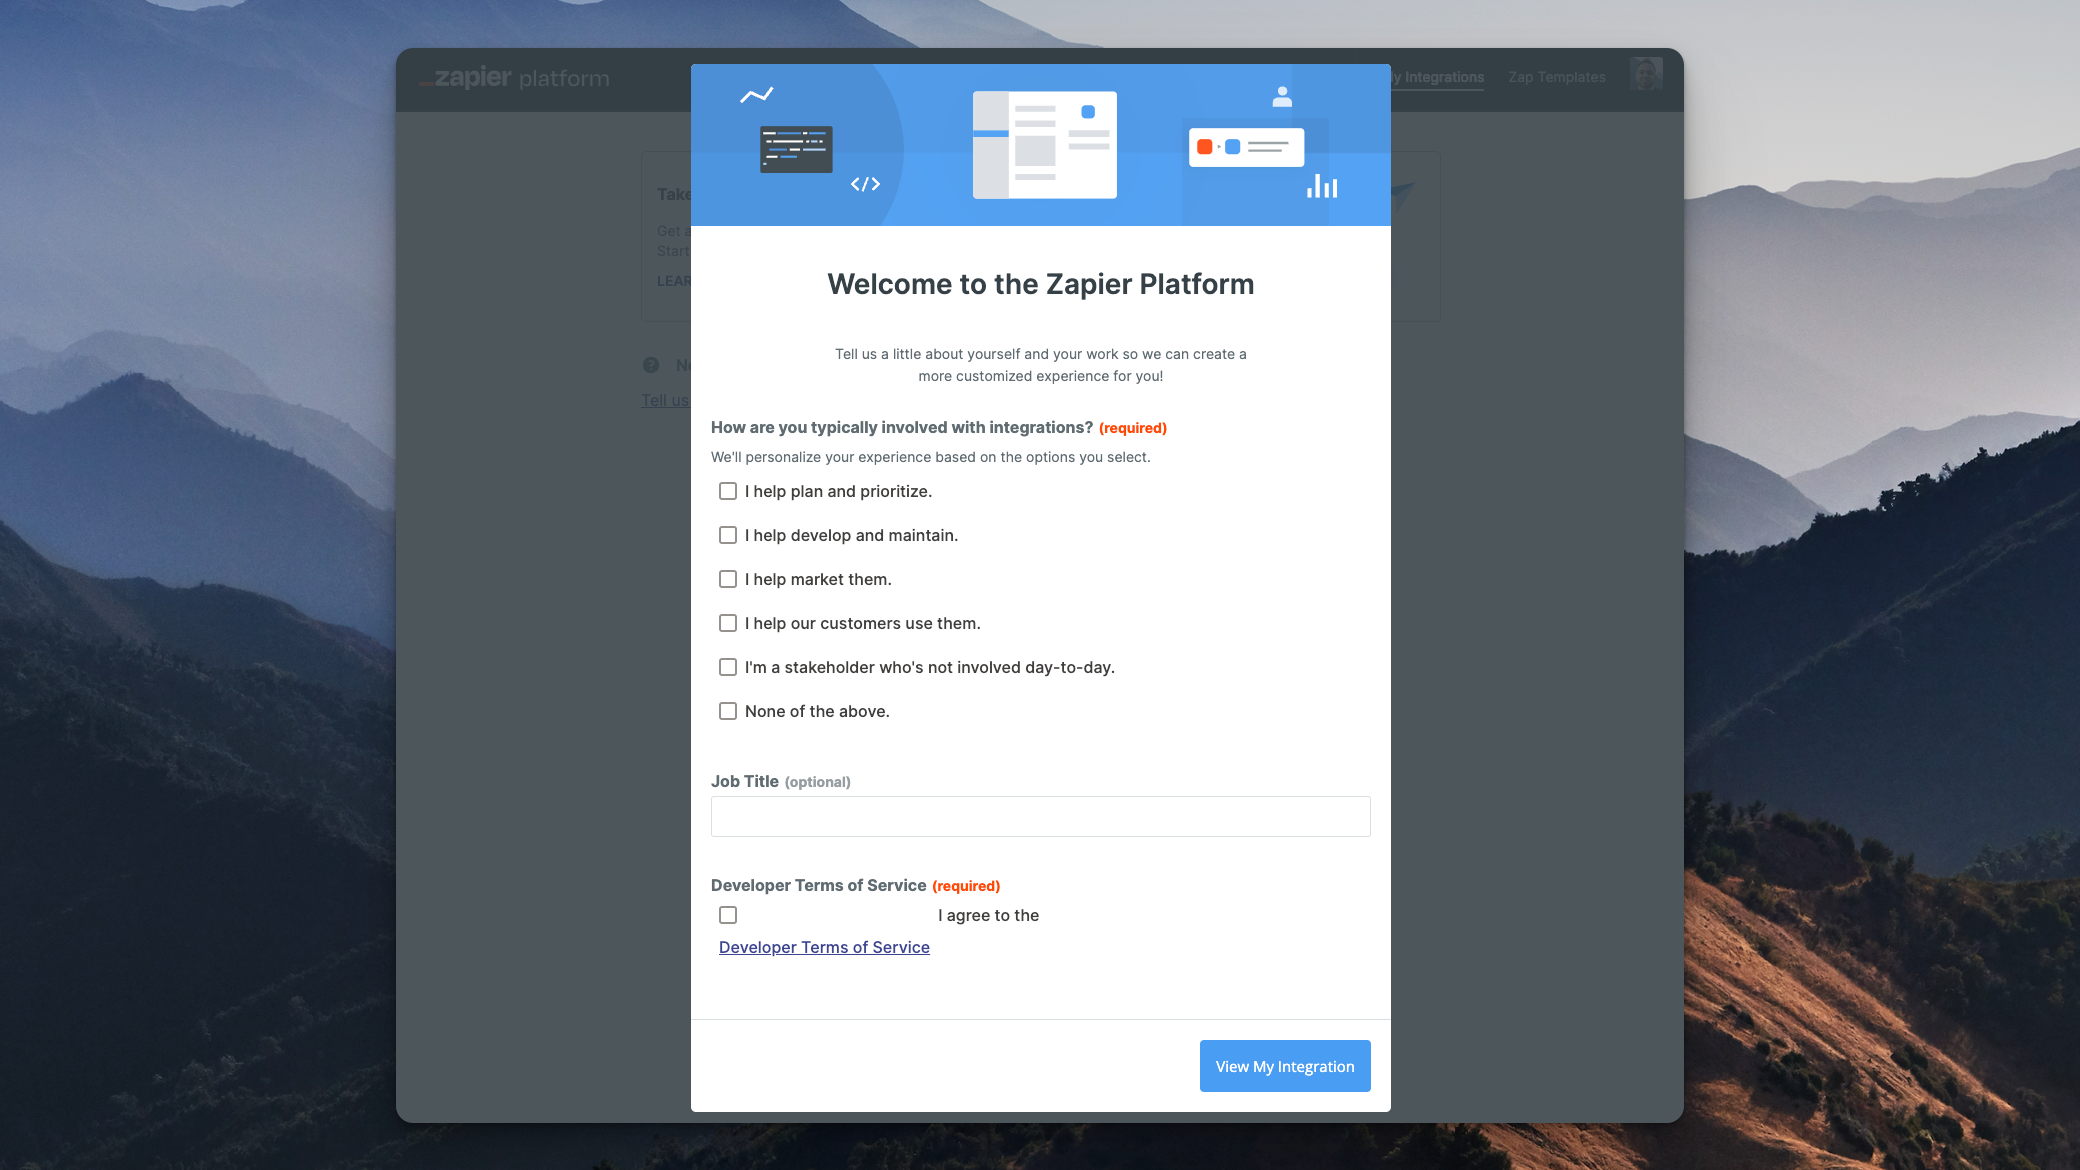
- If you’ve never built an integration, there’s a brief form to fill out.
- Click on the button that says Start a Zapier Integration
- Fill out the following required fields:
- Name
- Description
- Intended Audience (choose private)
- Role (choose no affiliation)
- Category (since it’s private, this doesn’t matter too much)
- Optional:
- add a logo to make it feel more “official” and if you want that extra little touch
- un-check the box to receive emails, if you’re not interested
- Click the button that says Create in the bottom right corner
Create the Trigger
- Click Triggers in the left sidebar
- Click the blue Add Trigger button
- Fill out the following required fields (make sure to read the help text):
- Key
- Name
- Noun
- Description
- Optional:
- add Directions, which will show up on the trigger step in the Zap
- leave Visibility Options as it is
- Click Save and Continue
Configure the Trigger
- Click the API Configuration tab
- Due to a little bug, you’ve got to add a URL in the box to the right of GET
- Click Save API Request & Continue
- After you’ve done that, you’re able to select REST Hook under Trigger Type
- Click the Save API Request & Continue button again
- Click Create a Zap (either at the top of the page or under Step 2)
Test the Trigger in a Zap
- Click the Continue button (the only trigger you built is already selected)
- Notice the directions that you added in the Create Trigger section above.
- Copy the URL that’s provided and add that wherever you’re sending submissions from (like Elementor, for example).
The Detailed Step-by-Step
If you’d prefer to follow along with instructions and screenshots, we’ve got that also.
Create the App
Fill out the brief form
- Visit https://zapier.com/platform and sign in (if you’re not already)
- Click on My Integrations in the top right corner
- If you’ve never built an integration, there’s a brief form to fill out.
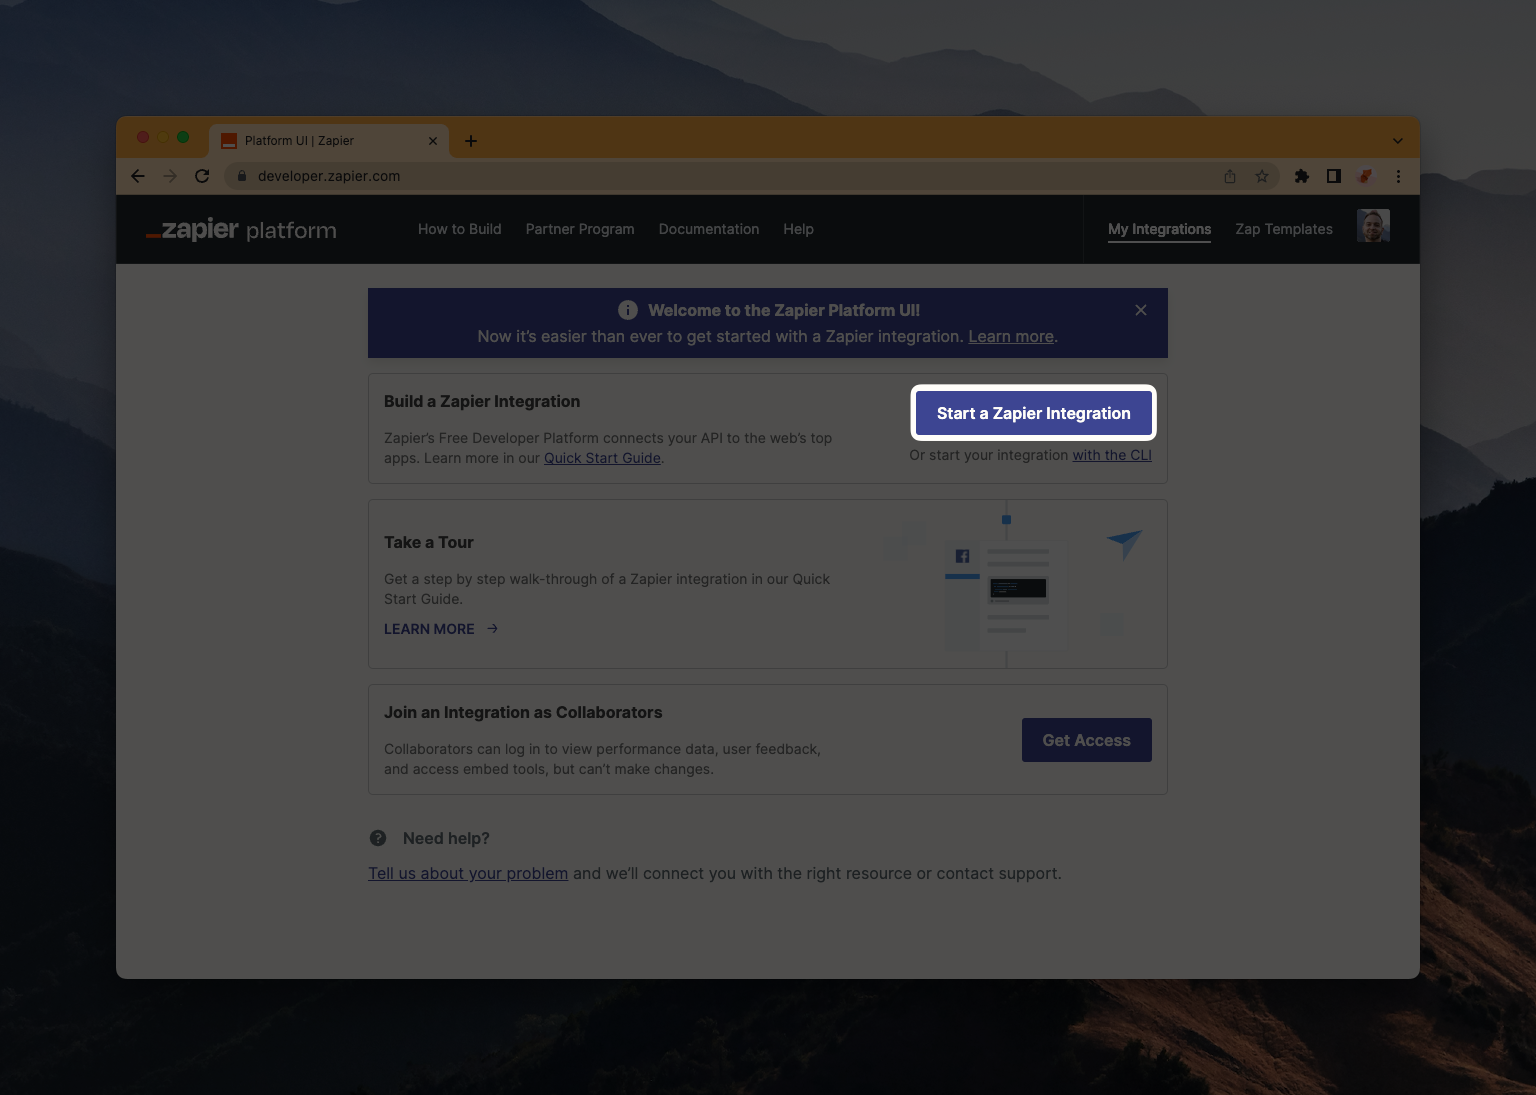
- Click on the button that says Start a Zapier Integration
Click ‘Start a Zapier Integration’
Fill out the integration details
- Fill out the following required fields:
- Name
- Description
- Intended Audience (choose private)
- Role (choose no affiliation)
- Category (since it’s private, this doesn’t matter too much)
- Optional:
- add a logo to make it feel more “official” and if you want that extra little touch
- un-check the box to receive emails, if you’re not interested
- Click the button that says Create in the bottom right corner
Create the Trigger
- Click Triggers in the left sidebar
- Click the blue Add Trigger button
- Fill out the following required fields (make sure to read the help text):
- Key
- Name
- Noun
- Description
- Optional:
- add Directions, which will show up on the trigger step in the Zap
- leave Visibility Options as it is
- Click Save and Continue
Configure the Trigger

- Click the API Configuration tab
- Due to a little bug, you’ve got to add a URL in the box to the right of GET
- Click Save API Request & Continue
- After you’ve done that, you’re able to select REST Hook under Trigger Type
- Click the Save API Request & Continue button again
- Click Create a Zap (either at the top of the page or under Step 2)
Test the Trigger in a Zap
Create the Zap
Test It Using Your Form
Fr instructions on how to use Elementor to test out the form with your newly created Zapier app, you cna check out this article:
For other apps, the instructions will depend on how you send form submissions to a webhook. If you have questions, please don’t hesitate to ask us since there’s a good chance we’ve come across the app you’re using :)
Wrapping Up
If you’ve followed along, you’ve now built your first private Zapier app. Congrats! Pretty neat, huh?
If you’d like to see is create more content around building Zapier apps, we’d love to hear about it. Maybe one of the integrations is missing a particular trigger or action and you’d like to harness their API to build your own private version! With a little help, it’s totally doable.