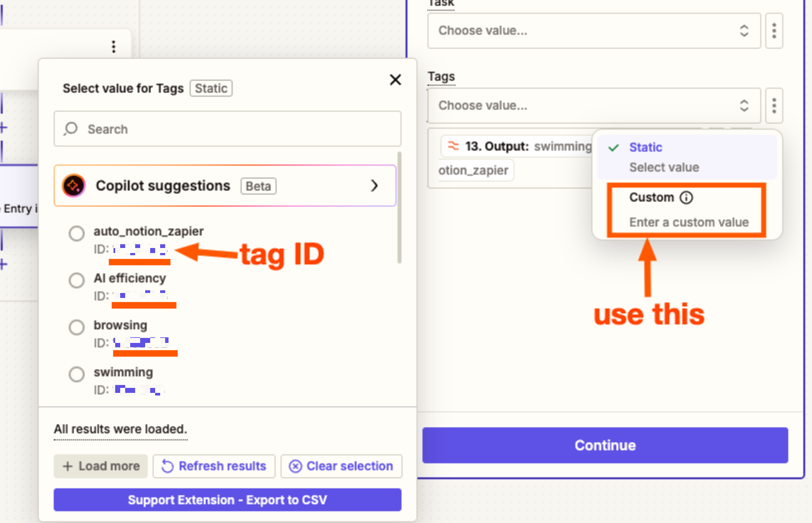
As per subject, the hard part is “with multiple dynamic tags”.
Procedures:
I read notes from Notion, and use Zapier AI to get a comma separated string (for example, “working,swimming” that is intended to be split to be passed as tags, and create a Time Entry (with other fields incluidng starting time and duration etc.) with each of these tags. I also use a loop to Create Tag for each of the split tags for Toggl (so that “working” and “swimming” become existing tags for Toggl), as Toggl seems to only accept existing tags.
Attempts:
I tried Using a Formatter Step to split that comma-separated string with All (as Line-items), and if I pass its output to Tags when creating the Time Entry, it will still create a single tag that is the big comma separated string (“working,swimming” as a single tag if it exists), not the individual split one.
I tried Using a Formatter Step to split that comma-separated string with All (as separate fields), then try to pass each of them towards Time Entry. Firstly, I still get invalid tags error despite all tags to be passed exist in Toggl. Also, in this approach, what if the number of tags are different?
I also tried to create the Time Event without tags first (which worked, this also means I don’t have problem with other fields), and then tried to find that Time Event to edit it to add tags presumbly in a loop, however, it seems that Zapier does not support editing a Time Event for Toggl yet and there isn’t a control that can do this. You can only create a new Time Event via Toggl, not editing one.
Maybe Webhooks are the only way to achieve this, but I find a deep learning curve to get it right, and I want to make sure if this is the only way to go. Thanks!


