How to Process Records with a Sequential Queue using Webhooks and Zapier Tables
Contribution by Troy Tessalone
Premier Certified Zapier Expert at Automation Ace.
Alternative: Simple Sequential Queue
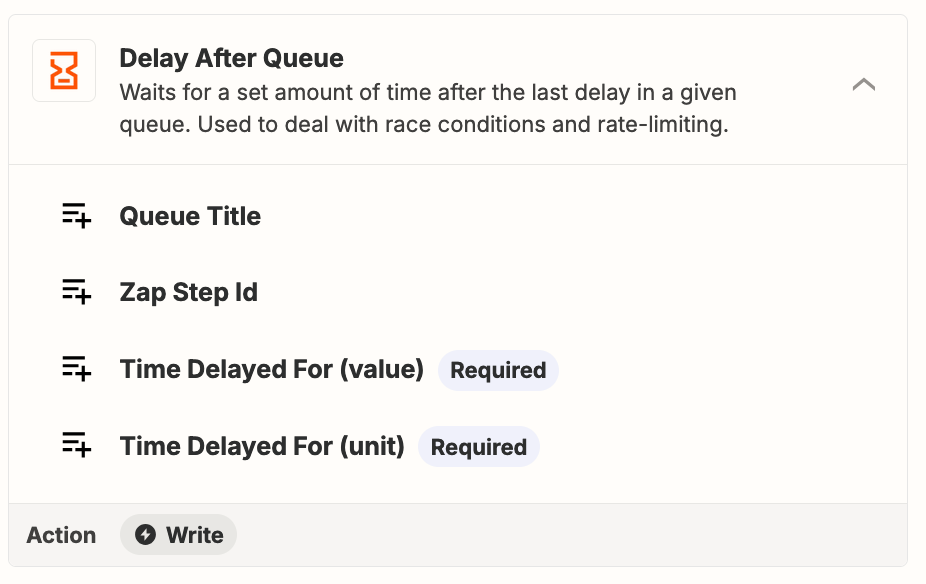
Before using the advanced approach below, explore using the native Zap app and action for simple sequential queuing for Zap Runs.
App: Delay
Action: Delay After Queue
Note: This will create sequential queuing, but does not guarantee the entire Zap Run will finish before the next Zap Run continues to process.
Help: https://zapier.com/apps/delay/integrations#help
Other Delay options for Zaps: https://zapier.com/apps/delay/integrations#triggers-and-actions

Goal: Advanced Sequential Queue
Used to create an advanced sequential processing queue for records to process in order without a delay between Zap Runs, where one Zap Run finishes before the next Zap Run begins.
Same concept as FIFO (First IN, First OUT), basically “first come, first served”.
You can configure the logic with multiple Zaps using these apps:
- Filter
- Paths
- Webhooks
- Zapier Tables
- Triggers/Actions:
- Help:
- Plus, Zapier Tables counts as 0 Tasks in Zap Runs.
Zaps
Zap 1
Used to add records to the 2 queues.
- Trigger: [APP] - [EVENT]
- UP TO YOU
- Action: Zapier Table - Create Record
- Table: Queue - Records
- Add the core record data you want to process
- Action: Zapier Table - Find Record
- Table: Queue - Control
- Enable the checkbox to Create Record if not found (screenshot)
- Search by the same value each time.
- Field: XXX
- Value: TRUE
- Search by the same value each time.
- A new record will only be created if there are 0 existing records.

Zap 2
Used to trigger Zap 3 when there is 1+ new records to process.
- Trigger: Zapier Table - New Record
- Table: Queue - Control
- Action: Webhook - POST
- Use the webhook url from Zap 3, Step 1
- Include a timestamp parameter
Zap 3
Used to cycle thru the existing queue of records to process until no records are found.
- Trigger: Webhook - Catch Hook
- NOTE: If you ever need to manually trigger this Zap, just fire the webhook URL.
- Action: Zapier Table - Find Record
- Table: Queue - Records
- Action: Paths
- Action: Path A
- Action: Filter
- Continue if Step 2 records count > 0
- Action: [APP] - [EVENT]
- UP TO YOU
- Action: Zapier Table - Delete Record
- Table: Queue - Records
- Action: Webhook - POST
- This will retrigger the same Zap 3
- Use the webhook url from Zap 3, Step 1
- Include a timestamp parameter
- Action: Filter
- Action: Path B
- Action: Filter
- Continue if Step 2 records count = 0
- Action: Zapier Table - Find Record
- Table: Queue - Control
- Field: XXX
- Value: TRUE
- Table: Queue - Control
- Action: Zapier Table - Delete Record
- Table: Queue - Control
- Map the Record ID from the previous step
- Used to delete the existing record so Zap 1 can add a new record when needed, which will trigger Zap 2 again, and thus fire Zap 3
- Action: Filter
- Action: Path A
Sit back and watch your Zaps process records sequentially via the queue!


