Best answer

Scheduling a daily import of a CSV and parsing the data into a google sheet?

  • 5 June 2021
  • 6 replies
  • 3161 views

Userlevel 1
Badge

Hi, I’m trying hard to find a way to do these 2 steps. I’m not even sure if Step 1 is possible in Zapier but Step 2 is possible - I just can’t do it.


Step 1

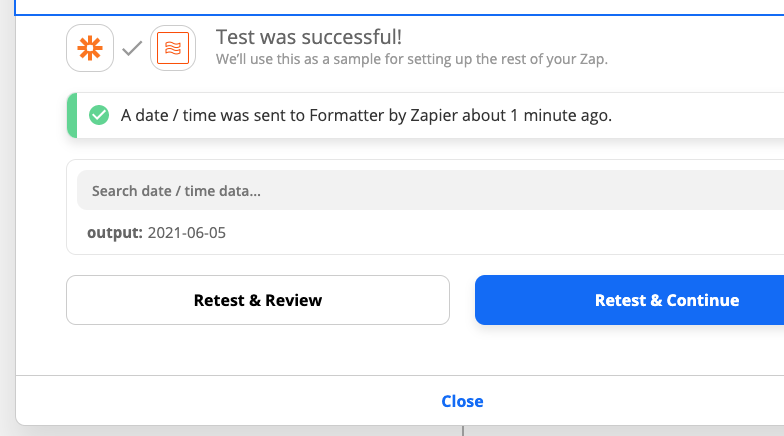
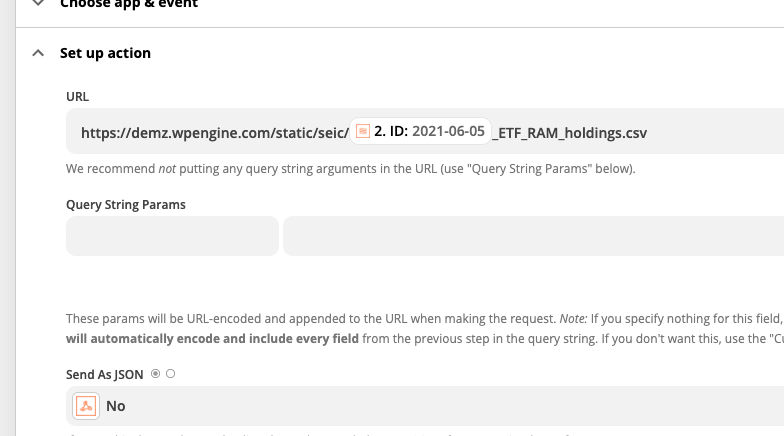
I want to schedule the daily import of a CSV from a web address. The web address changes every day with a new date like this. https://www.example.com/YYYYMMDD.csv

Can someone explain to me how to do this Zapier, or tell me if they think this not possible.

If this is possible then I want to move on to step 2


Step 2

I want to populate a Google Sheet with the data from this CSV, with the columns mapping to columns in the Google Sheet.


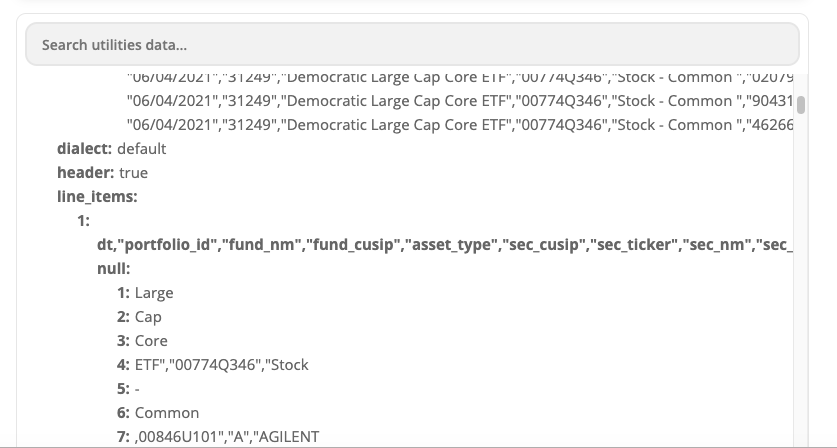
I read this (https://zapier.com/help/doc/how-import-csv-files-formatter) and created a Zap using the action Formatter> Utilites> Import CSV. 


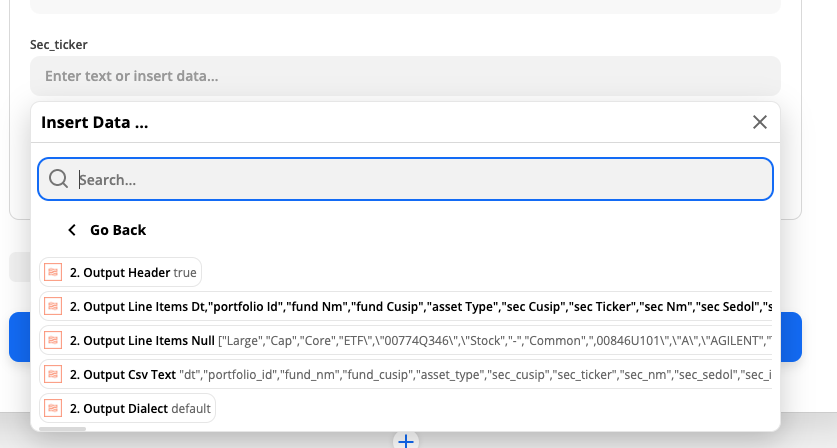
The column headers show up like this (in 1. on the first screenshot). Then, in the action Create Spreadsheet Row(s) in Google Sheets, when I try to map the Google Sheet Columns, then I can’t do this because I do not get the info in a separated format . (see 2nd screenshot).


Please help: What am I doing wrong? Thanks!


Screenshot 1


Screenshot 2


icon

Best answer by Troy Tessalone 5 June 2021, 17:33

View original

This post has been closed for comments. Please create a new post if you need help or have a question about this topic.

6 replies

Userlevel 7
Badge +14

Hi @P111x 

How many rows on avg are in the CSV?


Try these Zap steps…

Zap A

NOTE: Use if the CSV has less than 100 rows.

  1. Trigger: Schedule - (Daily @ X)
  2. Action: Formatter > Date & Time > Format
  3. Action: Webhooks - GET (see screenshot below)
  4. Action: Formatter > Utilities > Import CSV (try one of the options seen in the screenshot below for a comma delimited/separated file)
  5. Action: GSheet - Create Row(s)


Zap B

NOTE: Use if the CSV has more than 100 rows.

  1. Trigger: Schedule - (Daily @ X)
  2. Action: Formatter > Date & Time > Format
  3. Action: Webhooks - GET (see screenshot below)
  4. Action: Formatter > Utilities > Import CSV (try one of the options seen in the screenshot below for a comma delimited/separated file)
  5. Action: Looping - Line Items
  6. Action: GSheet - Create Row


Userlevel 1
Badge

Thanks Troy! I’m going to try this out now. 

Userlevel 1
Badge

Ok I made it past step 2 , 

but in step 3 the date (below) - todays date - will not return any document as this is scheduled not to run at the weekends. Will I have to alter something temporarily so I can pull a document in order to be able to test the rest of the steps?


Thanks!


Userlevel 1
Badge

Sorry, I incorrectly stated initially that the CSVdocs are produced daily. - but its just Mon-Fri

Userlevel 1
Badge

Hi Troy. Ok so I used yesterday’s document and it got it to populate the Google Sheet. So, thanks for that. (What I think worked was changing from auto-detect doc type to the second option - comma separated values in the Format>Utitlities>Import CSV action.)

Now I will switch back the early steps to run with “today’s date”  and since no docs are produced at the weekend, I will wait until Monday night to confirm if this has worked ,right?

However, I imagine that the next time this runs, it will add new rows (since Action 5 is GSheet “Create Row(s)”. But I would like it to ‘overwrite’ the current data on the Google Sheet . Is that possible?

It is a question of changing the Step 5 from “Create Row(s)” to “Update Row”? ... and then using a Looper step to overwrite all the rows? 

What do you think?


After this I will be attempting to use this data to Update Live Items in Webflow so I’m gearing myself for that. If I hit problems with that, should I start a new forum ‘Question” or continue here?


Thanks!


Userlevel 3
Badge +6

Hey @P111x, I hope you’re doing well!

For overwriting existing rows you’ll want to use the Update Spreadsheet Row action. As long as you have a Find Spreadsheet Row action or another action that provides the Row ID/Number to be overwritten, you can assign that row number to the Row field in the Update Row action. To do this, you’ll need to set the Row field to a Custom and then assign the Row ID there.

For more info on working with custom values and dropdown menus, check out this article here: https://zapier.com/help/create/customize/add-custom-values-to-dropdown-menu-fields-in-zaps

In regards to your question about testing the step knowing it won’t produce data, you can skip tests if needed. So say you know that step will be empty, if that would cause an error in the step, you can skip the test so that the zap can be turned on. This can be helpful if you know that the zap is configured correctly but the current test will result in an error or undesired output.

If you need to filter the zap down to specific days of the week, check out this article for filters: https://zapier.com/help/doc/use-filters-so-your-zap-only-triggers-certain-daystimes

All the best!