How to Chain Zaps together with Webhooks
Why
Chaining Zaps together with webhooks allows for more advanced Zap designs by sharing Zap configurations.
Benefits
- MANY:1 - MANY Zaps to 1 Zap
- 1:MANY - 1 Zap to MANY Zaps
- e.g. Create your own Paths
- See section (6. Optional: Trigger multiple Zaps with webhooks) in this help article about webhooks: https://help.zapier.com/hc/en-us/articles/8496288690317-Trigger-Zaps-from-webhooks#sending-more-than-one-event-per-webhook-request-0-6
- e.g. Create your own Paths
Example
3 forms (3 Zaps) that all send data to the same action (1 Zap).
This would be an example of MANY:1 Zap design.
The 1 Zap would receive the standardized common data points from the 3 form Zaps.
Best Practices
Label chained Zaps in the order in which they execute.
Using the above example, Zaps 1.A. and 1.B. and 1.C. send data to Zap 2.0.
This labeling structure will help to keep your Zaps organized.
Configuration Concept
Zap 1
- Trigger: ???
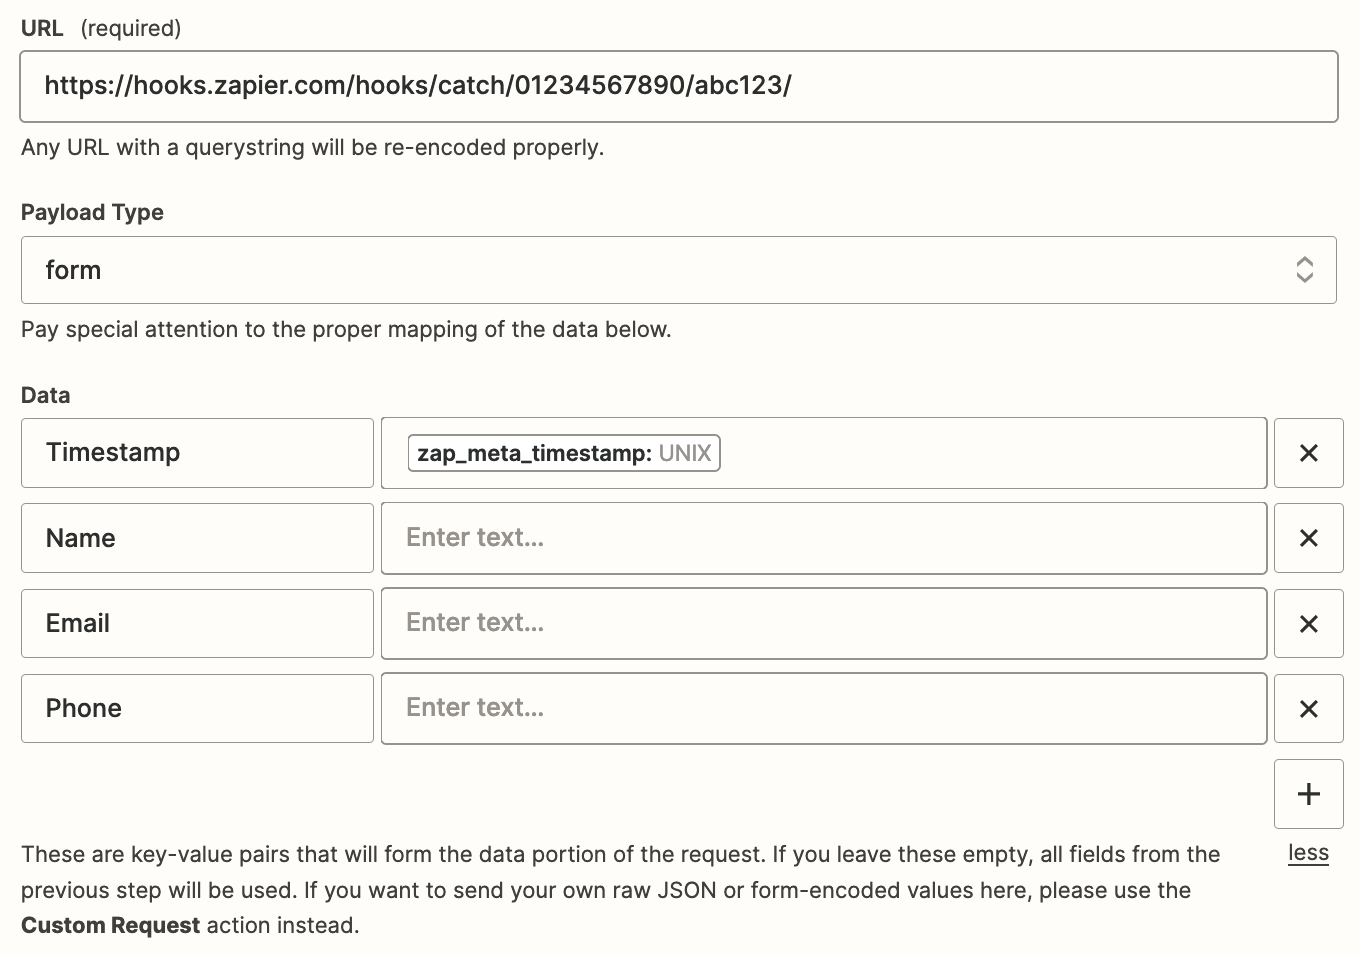
- Action: Webhook - POST
- Use the webhook URL from Zap 2, Step 1
- TIPS:
- Add a Timestamp parameter with a dynamic variable to use for making each request unique: https://help.zapier.com/hc/en-us/articles/8496275717261
- Add a ZapID parameter with a static value of the Zap ID (found in the browser URL) to help with tracing and troubleshooting data between Zaps in the Zap Runs history details DATA IN/OUT
- Other sections can be left as is with their default values/settings
- (see screenshot below)
Zap 2
- Trigger: Webhook - Catch Hook
- Use the webhook URL in Zap 1, Step 2
- Action: ???


