Question

How do I differentiate between incoming and outgoing payments in PayPal when setting up a Zap?

  • 10 February 2024
  • 5 replies
  • 23 views

Hello all,

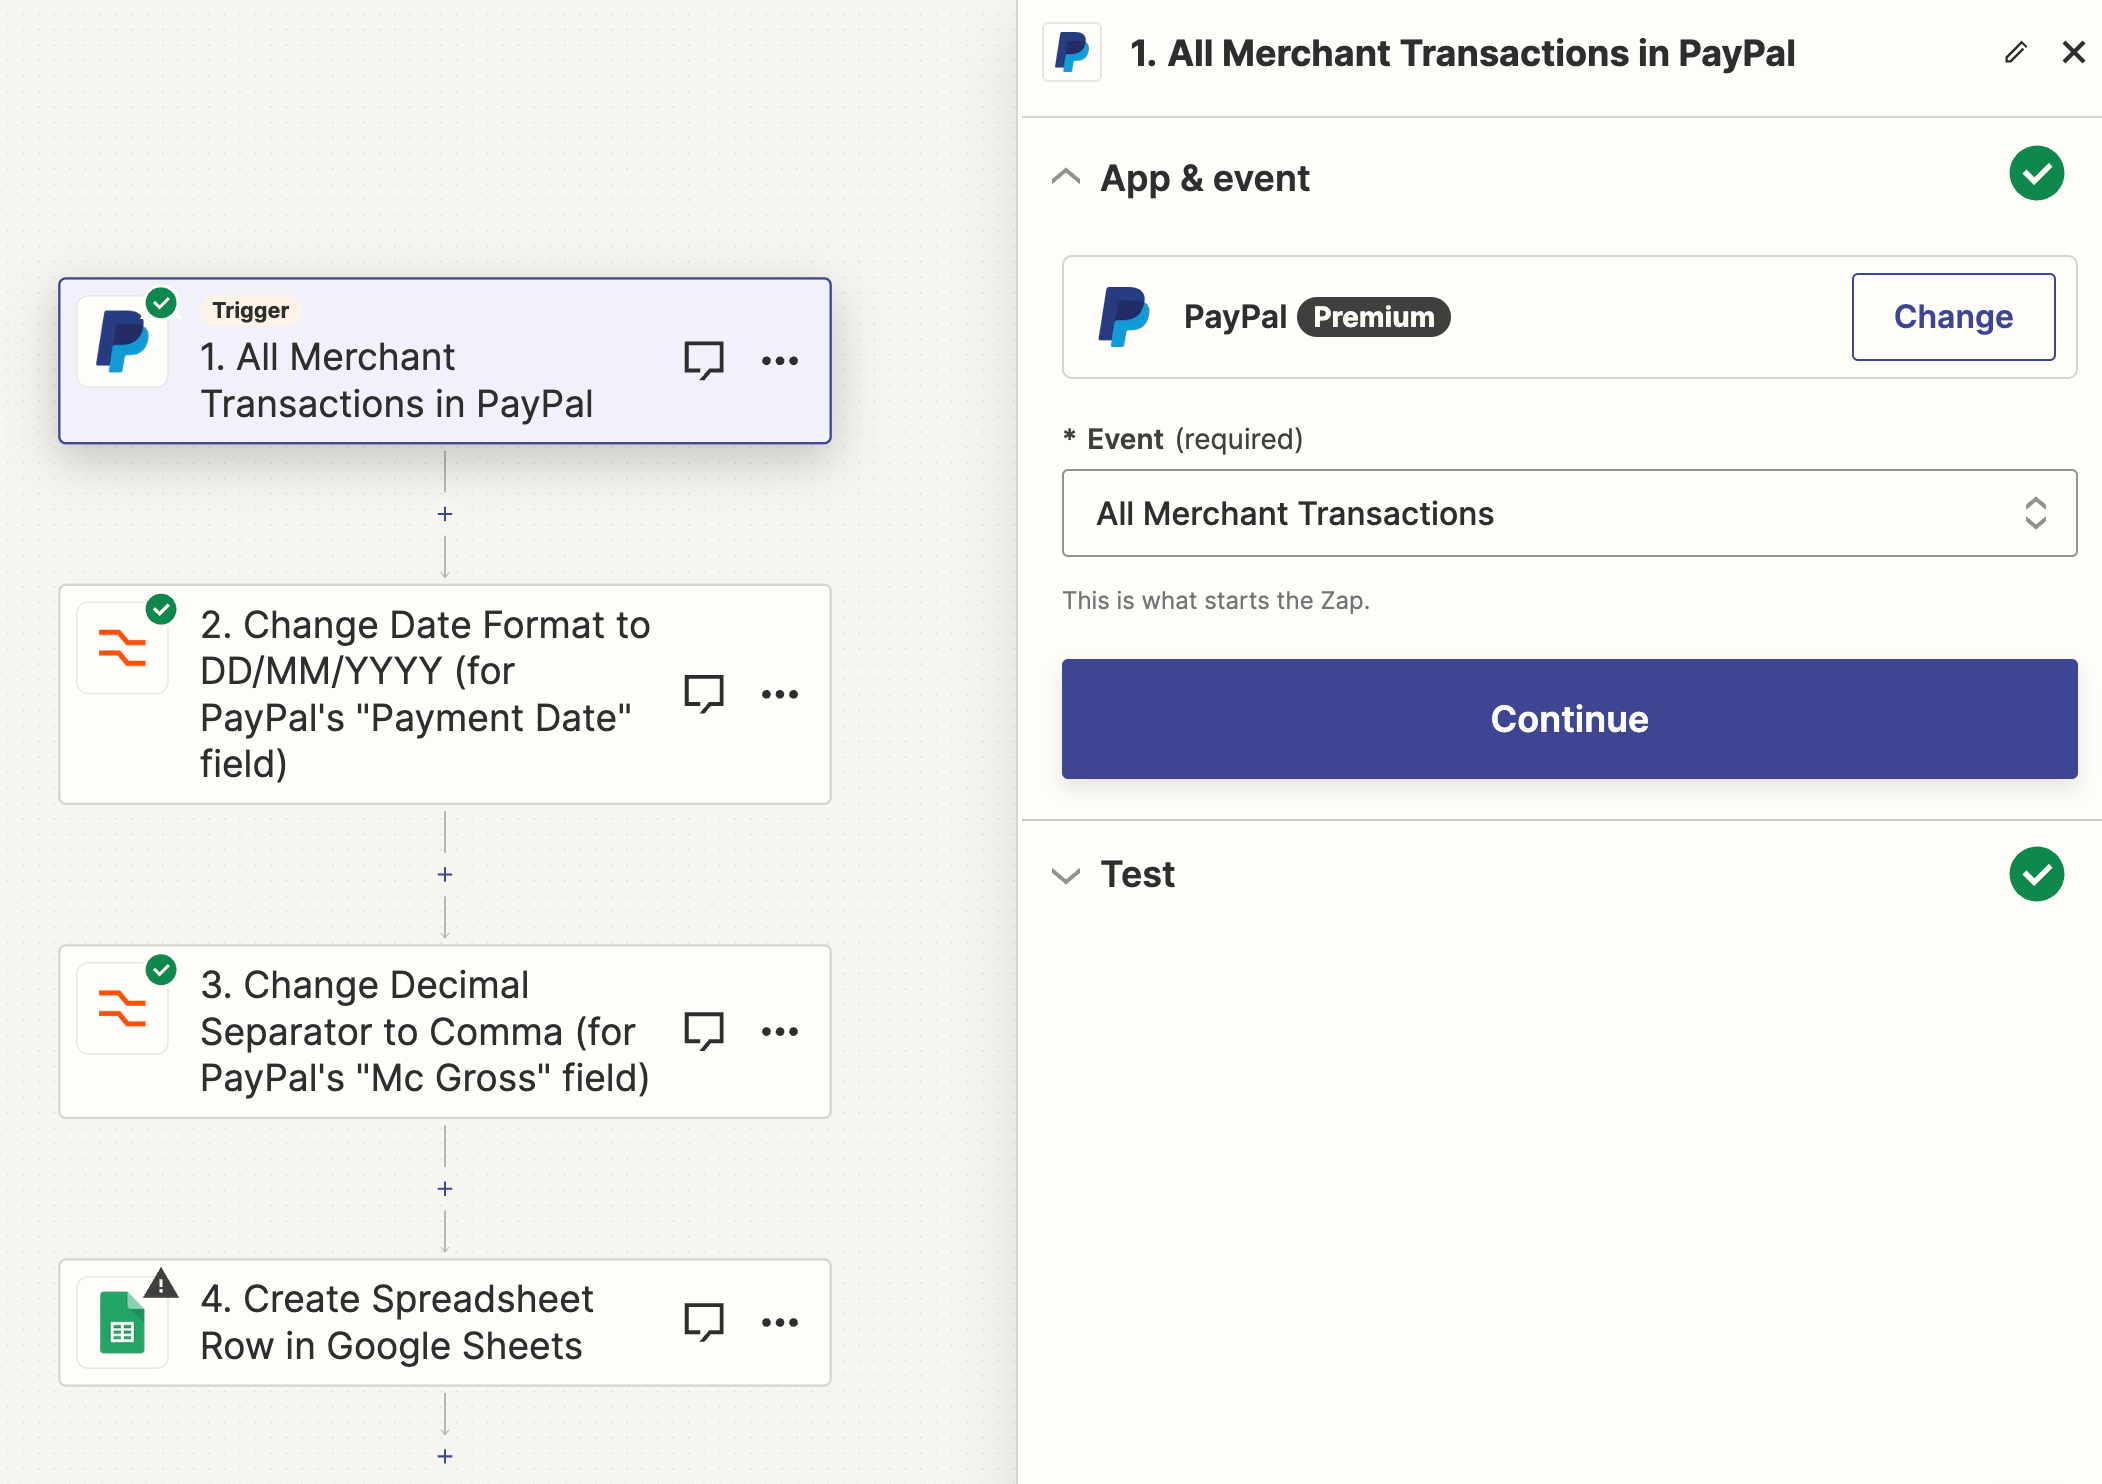
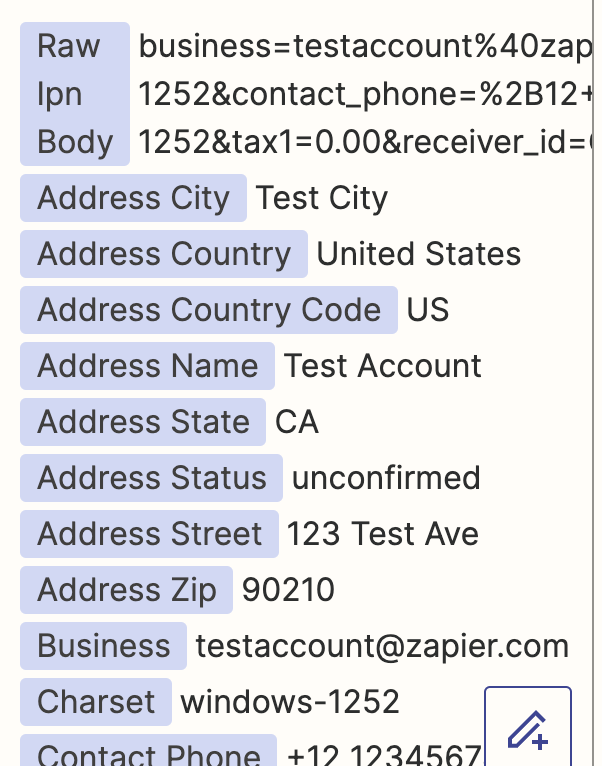
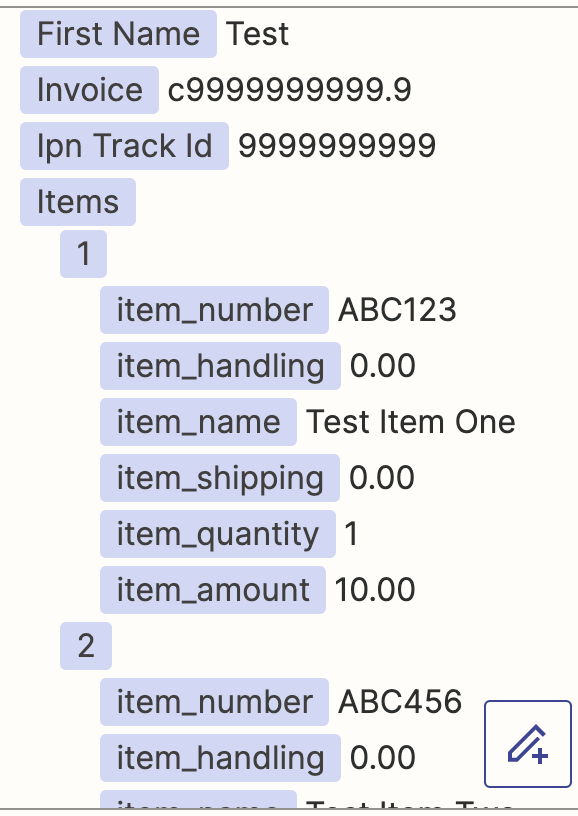
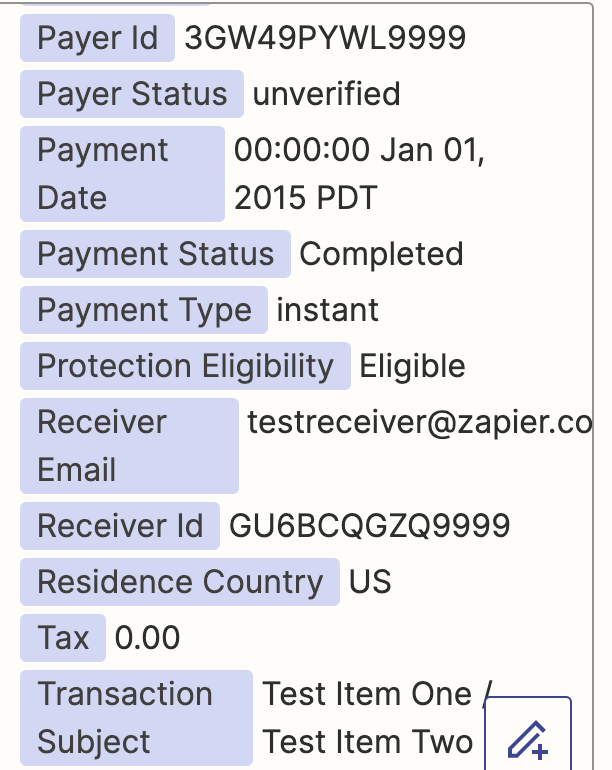
I am setting up my first PayPal zap and, differently from other apps I have used in the pats, I cannot seem to find any variable to differentiate between incoming and outgoing payments.

Usually, apps have variables such as “credit” or “debit” to identify payments received vs payments done.


How do I do this with PayPal?

Thank you!


This post has been closed for comments. Please create a new post if you need help or have a question about this topic.

5 replies

Userlevel 7
Badge +14

Hi @Mtx 

Please clarify which PayPal Zap trigger you are trying to use with screenshots.

Hello @Troy Tessalone , here is the zap I am trying to use:


Userlevel 7
Badge +14

@Mtx 

Can you show screenshots of the DATA OUT from the Zap trigger step?

@Troy Tessalone here they are! 

Userlevel 7
Badge +14

@Mtx 

You may have to test different transaction types to see which data is returned to the possibly filter by.


The sample data format provided in the Zap Editor doesn’t match live data.

There are times when the sample data from your PayPal Trigger, in the Zap Editor, will not match the live data that comes through when your Zap runs. This can be especially relevant if you’re trying to add a Filter step to only continue if the item sold contains specific text.

In order to get more accurate data, you can use PayPal’s IPN Simulator tool.

NOTE: you will have to log in to your PayPal account in order to use the tool, but you do NOT need a developer account.

Copy the PayPal link from your Trigger step:

alt text

Access the tool here: https://developer.paypal.com/developer/ipnSimulator/

Paste your link here:

alt text

You should be able to select Express Checkout or Cart Checkout to simulate a PayPal sale. Change the sample data before submitting, if you’d like.

Back in the Zap Editor, test the Trigger step and you will now see what you sent from the IPN Simulator, instead of the default sample data we originally provide.

Now you’ll have a sample that matches how those fields will appear when your Zap has been turned on and runs live.