Question

Delay sending automaticly emails after adding a row in Google Spreadsheet

  • 11 January 2023
  • 9 replies
  • 217 views

Userlevel 1
Badge +1

Hello!

I have a question about uistelling automatic mails. I have a workflow, where the Workflow is started when creating a new row in Google Spreadsheet.

It does happen that these rows are added in the night, I don't think it's neat that my customers then receive an email in the night.

Therefore, I would like to delay the emails until 7:00 in the morning.

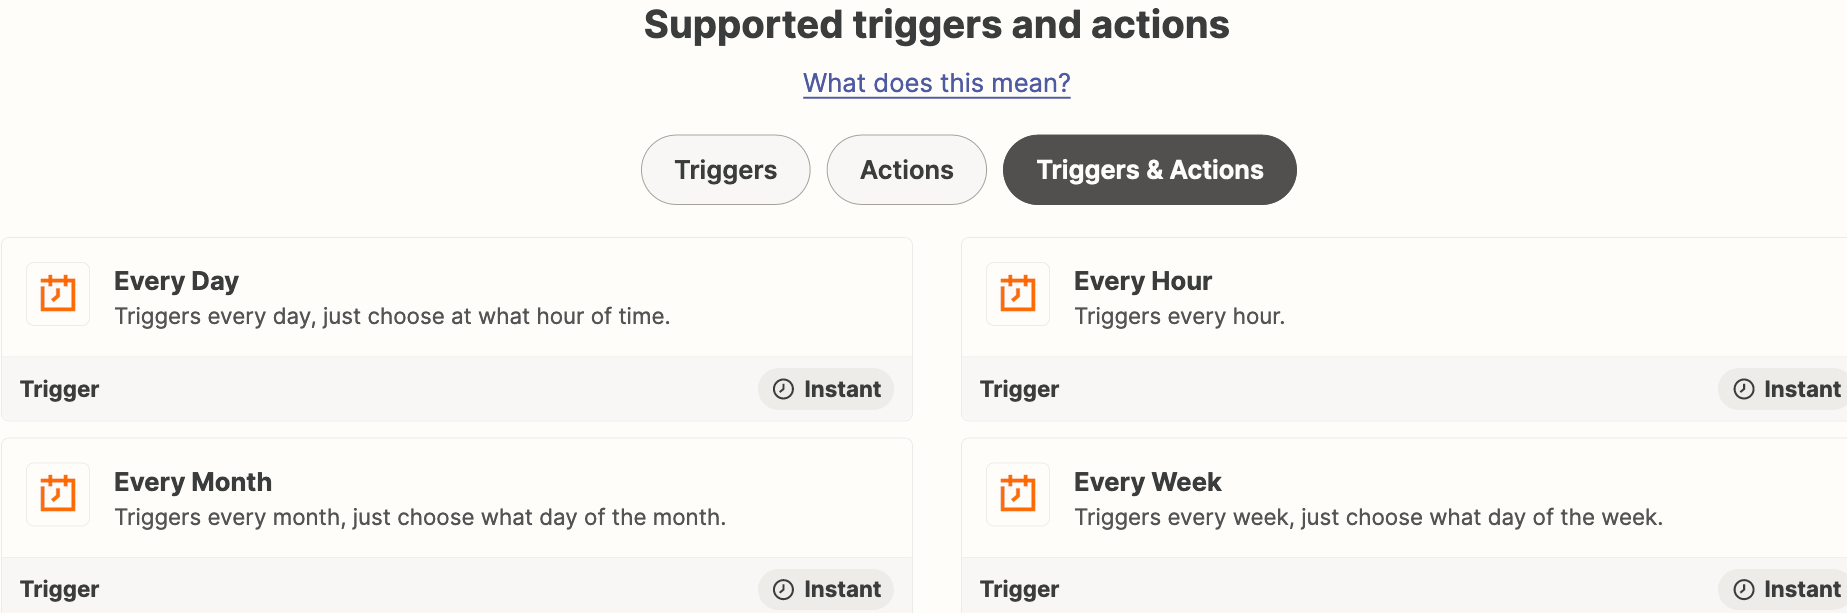
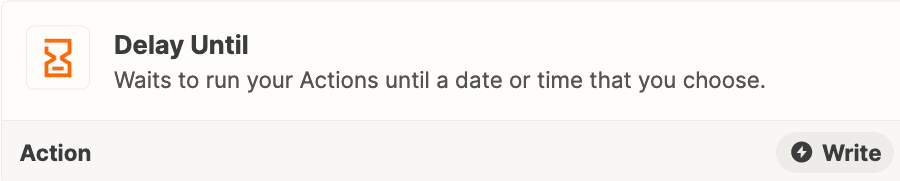
So every day after 7:00 in the morning, the trigger may be started. I now use Zapier Delay and then I just fill in a time of 7:00 but this does not work.

Does anyone have a solution for me how to arrange this?


This post has been closed for comments. Please create a new post if you need help or have a question about this topic.

9 replies

Userlevel 7
Badge +14

Hi @Waggie 

Good question.

Please post detailed screenshots with how your Zap steps are configured.

You’ll probably need a Zap with Paths:

  1. Daytime Hours
  2. Nighttime Hours (to Delay until tomorrow at 7 AM)\


Delay help article: https://help.zapier.com/hc/en-us/articles/8496061204621#i-want-to-delay-until-the-next-business-day-0-3


I want to delay until the next business day

To set this up, you'll need three steps:

  1. First you'll need a Formatter Date/Time action to figure out what day of the week it is. Set it up to look like this:

In the Input field, paste in {{zap_meta_human_now}}, which will capture the timestamp. Adding "ddd" in the "Custom Value for To Format" will take the current timestamp and turn it into a "Sat" for Saturday.

  1. Next, use the Formatter Utilities action and the Lookup Table transform. Set it up to look like this:

.

This will take the output of the previous step and output a number of days to wait. So, for example, for Monday - Thursday, we only want to delay by one day. If it triggers on a Friday, we want to delay for 3 days (until Monday). And so on.

  1. Then follow it up with a Delay For action that uses the output of the Formatter table to delay:

Userlevel 7
Badge +9

Hey there, @Waggie! I wanted to swing by and see if you were able to get this sorted using Troy’s recommendations? 

I also wanted to share this resource that has a bit of a walkthrough for this scenario:

If you’re still needing help, can you clarify why the Delay step isn’t working out? For example are you seeing an error message or are the emails not being sent? Also if you wouldn’t mind sharing some screenshots of your Delay step setup - we’d love to get to the bottom of this with ya. 🙂


Userlevel 1
Badge +1

Thanks for your responses. I was on vacation hence my late response!

What I just want is for the workflow to be started every morning at, say, 7:00.

Often new rows that are the trigger are added around 3:00 from my supplier in China. So I don't need to have complicated settings for a next day or only business days. Every morning the workflow should just be started at 7:00, is there no possibility for this?

Userlevel 7
Badge +14

@Waggie 

You can use the Schedule app as the Zap trigger: https://zapier.com/apps/schedule/integrations#triggers-and-actions


Userlevel 1
Badge +1

is that working if you also want a trigger “New row in spreadsheet”

Userlevel 7
Badge +14

@Waggie 

No, using Schedule as as the Zap trigger will fire the Zap on the specified schedule.

Using GSheets as the Zap trigger will fire the Zap when the chosen GSheet trigger happens.

Userlevel 1
Badge +1

yes so that is not a option, there is no other way?

Userlevel 7
Badge +14

@Waggie 

Sounds like you want to use Delay Until.


Basically delay until tomorrow at 7am or delay until Monday at 7am.


Help article about using date/time modifiers:


Delay help articles: https://zapier.com/apps/delay/help


Blog topic about using Delay: https://zapier.com/blog/zapier-delay-guide/


2. Delay until

  • In the Zap editor, click the Action step, or click the plus + icon to add an action.
  • Select Delay.
  • In the Choose app & event section, click the Event dropdown menu and select Delay Until.
  • Click Continue.
  • In the Date/Time Delayed Until field, enter the date and time the Zap will be delayed until before it moves on to the next step. You can either enter a fixed date and time, or use a date/time field from a previous step.
  • In the How Should We Handle Dates In The Past? field, you can choose how Zapier should handle instances where the date has already passed when the Delay Until step is reached. By default, the Zap will continue if the date is within 1 day of when the step is reached.
  • Click Continue.
Userlevel 4
Badge +6

Hey @Waggie!

Just checking in. Did Troy’s last reply help out?

Let us know! :)