Or perhaps, you’d like to learn what a round-robin is? Then keep on reading!
Every once in a while, we get a support request to help them with set up a round-robin Zap. While there are some resources scattered around, I wanted to help provide a robust solution that everyone can implement—without using external SaaS apps.
Bonus! There is a shared Zap linked below, so you can start building out a round-robin Zap, right away.
First, here is what makes a round-robin possible:

These are the steps we’ll need:
- Storage by Zapier > Increment Value
- Formatter by Zapier > Numbers > Spreadsheet-Style Formula
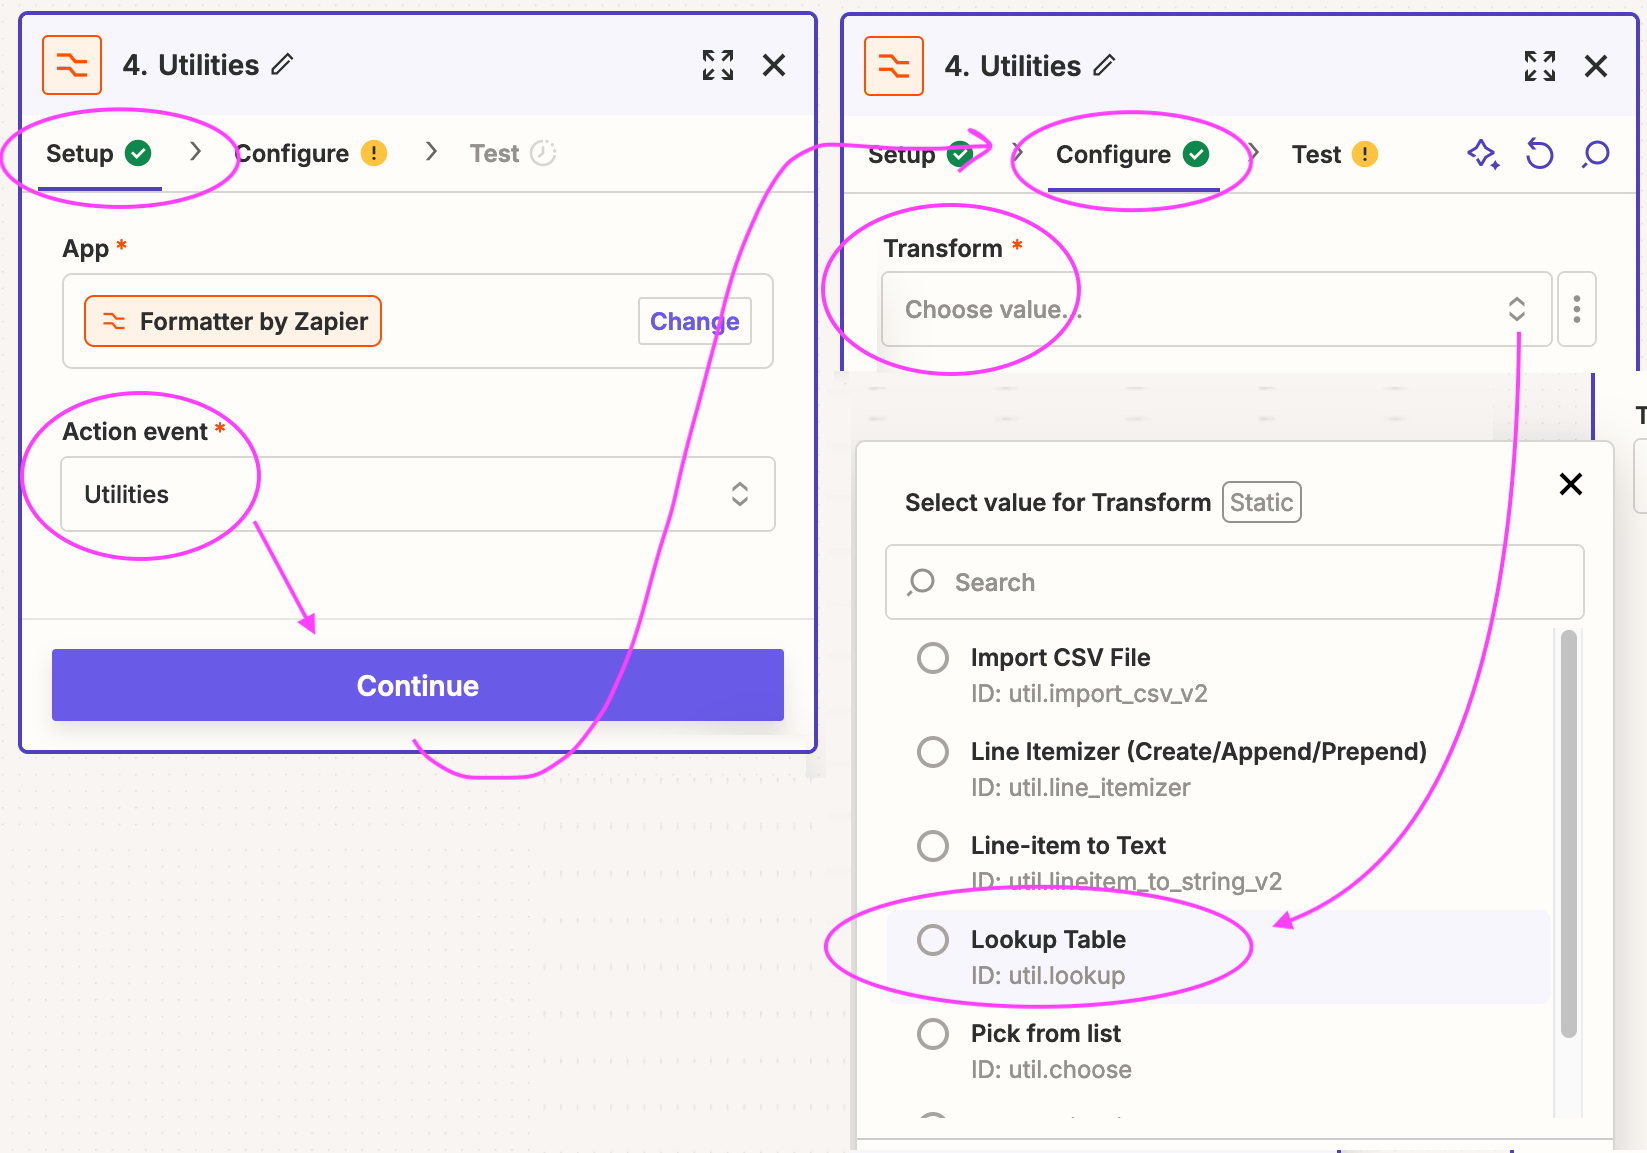
- Formatter by Zapier > Utilities > Lookup Table
The breakdown
In order for the Zap to keep track of how many times it ran, we’ll want to instruct the Zap to keep a record. This can be done with an increment-value step.
For the key, I used “roundRobinKey” but you can choose something of your liking as well (you’ll want to click in the “Key” field and manually type out the name of the key). Each time the Zap is triggered, we’ll want to increase the value with 1:

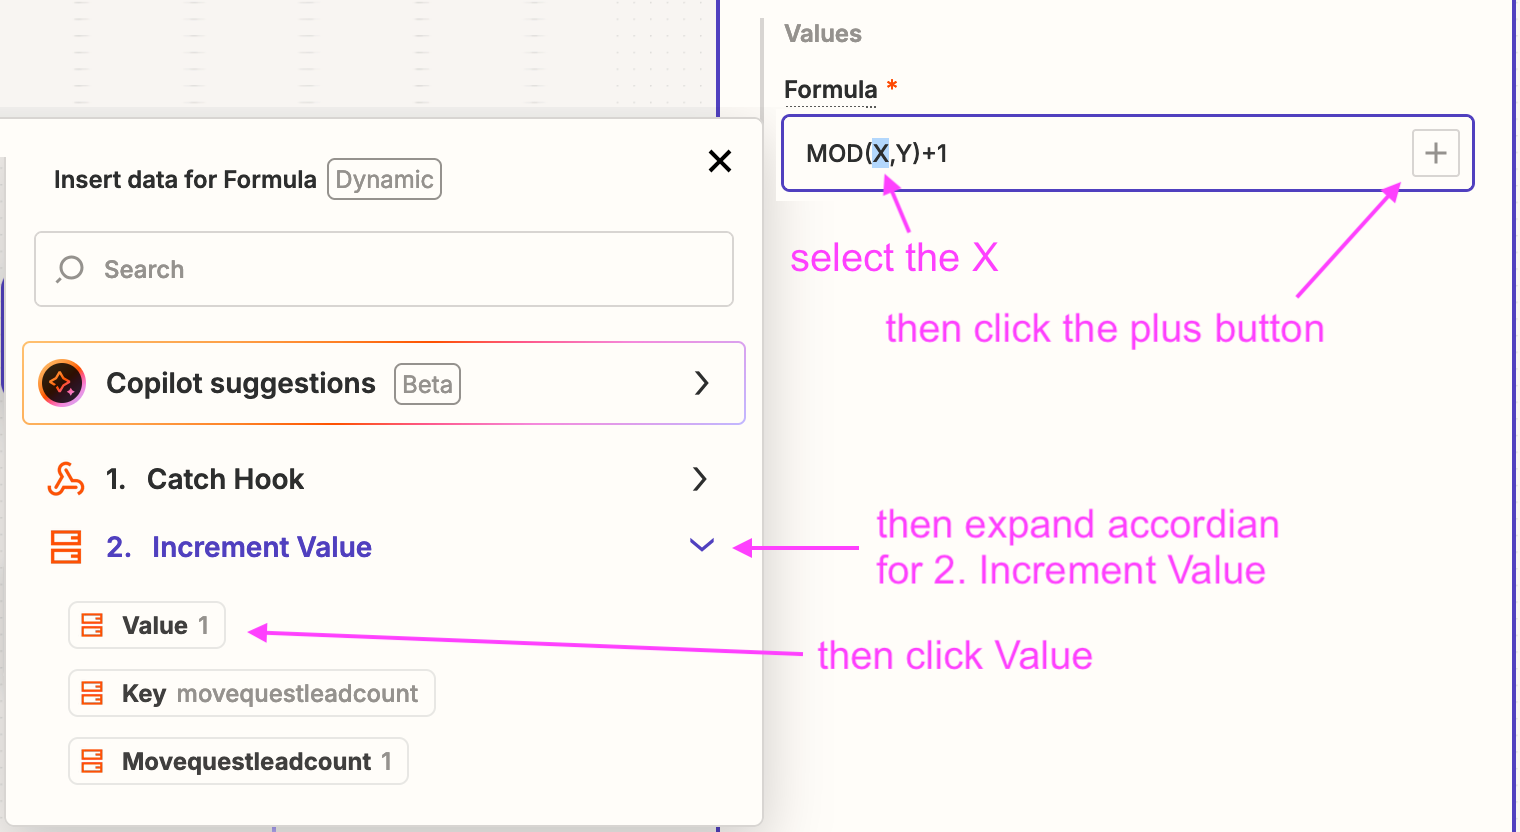
Then, the first part of the magic happens. Now it’s time to dynamically output a different value each time, to create the round-robin. This can be done with the MOD() function:

The formula we have used is:
MOD(X,Y)+1X is the output of the incremental-value step, which will be an ever-increasing number. In the screenshot above, you can see it currently holds the value of 7, as I retested that step several times.
Y is the number of different outputs we would like. For instance, if you have a sales team of 3 people, and you want to assign leads evenly, you’ll use the value of 3. If you have 4 sales people, Y=4, etc.
The “+1” part has been added to make sure you will always get a value between 1 and Y. In the above example, the output will always be 1, 2 or 3.
Finally, we’ll then want to give this Zap a dynamic character, meaning that it should do something different each time. While there are many ways of doing this, I personally love the lookup table for dynamic behavior. More info on dynamics in Zaps, check out this lovely blog post by my dear colleague Tyler:
https://zapier.com/blog/zaps-different-results/
Back to the Zap, let’s take a look at the following screenshot:

The lookup key is the object that the Zap will look at. In this case, we’ll want to use the output of that MOD()-function step.
On the left column, you’ll see the values 1,2 or 3. In case you have 4 sales people to assign leads to, you’ll want to add another row.
On the right, you’ll then notice a different value we added in each row. In the above screenshot, I have use a different link, as I want to send information to a different link each time. More on that later.
With the above setup, whenever the Zap is triggered, it will add a +1 each time, then dynamically return either 1, 2 or 3 and then dynamically output a different link.
If you are using something like Salesforce (or any other type of CRM), it is very possible you’ll want to update the owner field, which requires a different Salesforce owner ID. In the lookup table, on the right, you’ll be able to add those instead of different links.
Another great post on lookup tables can also be found here:
https://community.zapier.com/tips-and-inspiration-5/don-t-be-afraid-of-the-lookup-table-6373
Now, instead of the lookup table, you can also use Paths by Zapier to perform a different set of action steps, or you could add a Filter step to only let a Zap go through every 3rd time. The options are endless!
Bonus 1:
To get jump-started, feel free to use the shared-Zap link to start building your round-robin Zap:
https://zapier.com/shared/c95fa48f481eca5a9419ab6c27cbe4bdacc5bb98
Bonus 2:
This is a pro tip to build out, for instance, a Zap system:

What we can see here is a POST in Webhooks by Zapier step.
The URL is mapped with the output of the lookup-table step. If we replace those links in the lookup-table step with catch-hook URLs (see this screenshot) we can dynamically trigger a different Zap each time our round-robin Zap is triggered.
This could be useful if you have a need for a really dynamic setup. For instance, it could be you’re working with a group of VA’s (virtual assistance), where 2-3 VA’s would like to get an email with a new lead or action, others might work in Slack, others use Salesforce, etc.
More info on using webhooks can be found here:
https://zapier.com/help/doc/how-get-started-webhooks-zapier
Please note that webhooks are considered an advanced feature. We might be able to help with certain queries, but some others may fall out of scope. For expert help on custom webhooks, check out our Zapier Experts directory:
Have a great rest of your week!
All the best,
~ Leo

 ️
️

 Really appreciate you taking the time to help make things clearer for others the Community. Thanks again! 🧡