Q: Can Zaps be triggered instantly from Airtable?
A: Yes, read on…
Credits
Troy Tessalone is a Certified Zapier Expert at Automation Ace.
Background
Zaps with an Airtable trigger are NOT “instant” and can take up to 15 minutes to fire depending on your Zapier plan. They’re not ideal for certain use cases, especially when time is of the essence.
Here's how to get around that though!
Prerequisites
- Zapier Paid Plan (needed to use Webhooks in Zaps)
- Airtable Paid Plan (needed to use Scripts in Automations)
Apps
- Zap with a Webhooks trigger
- Airtable Automation with a Run Script action
First, start with the Zap...
Zap
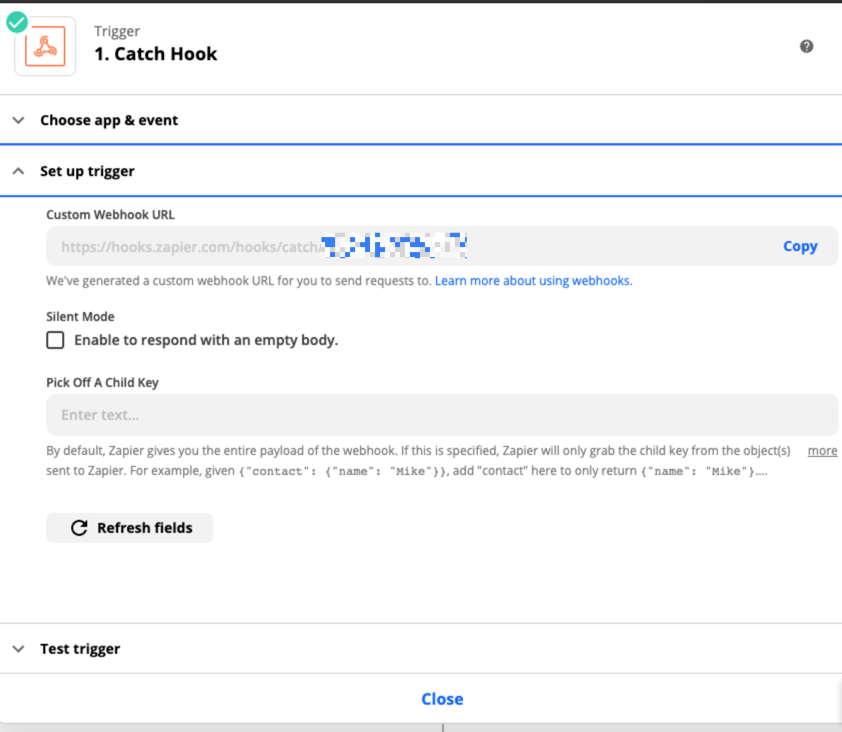
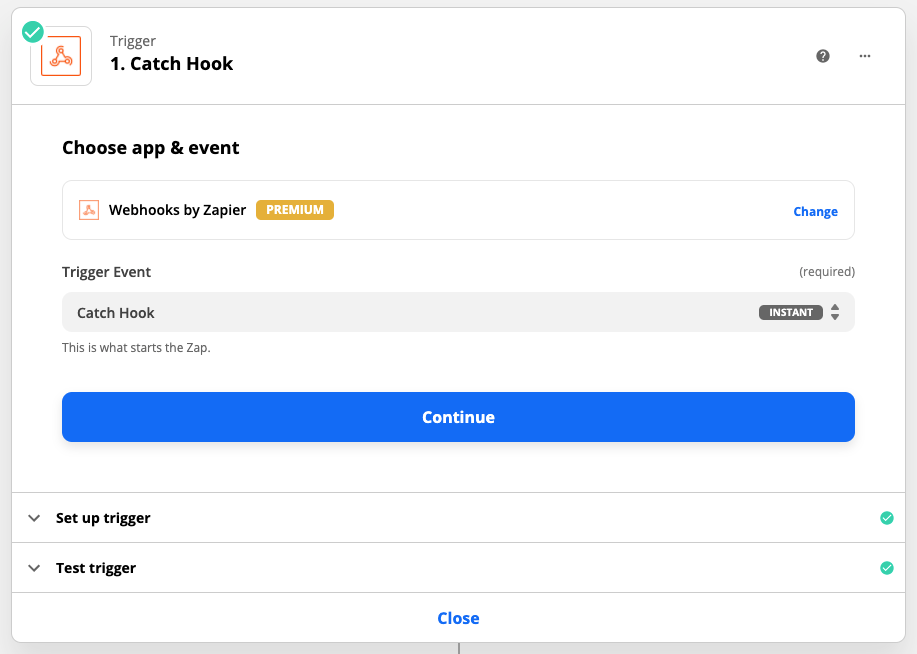
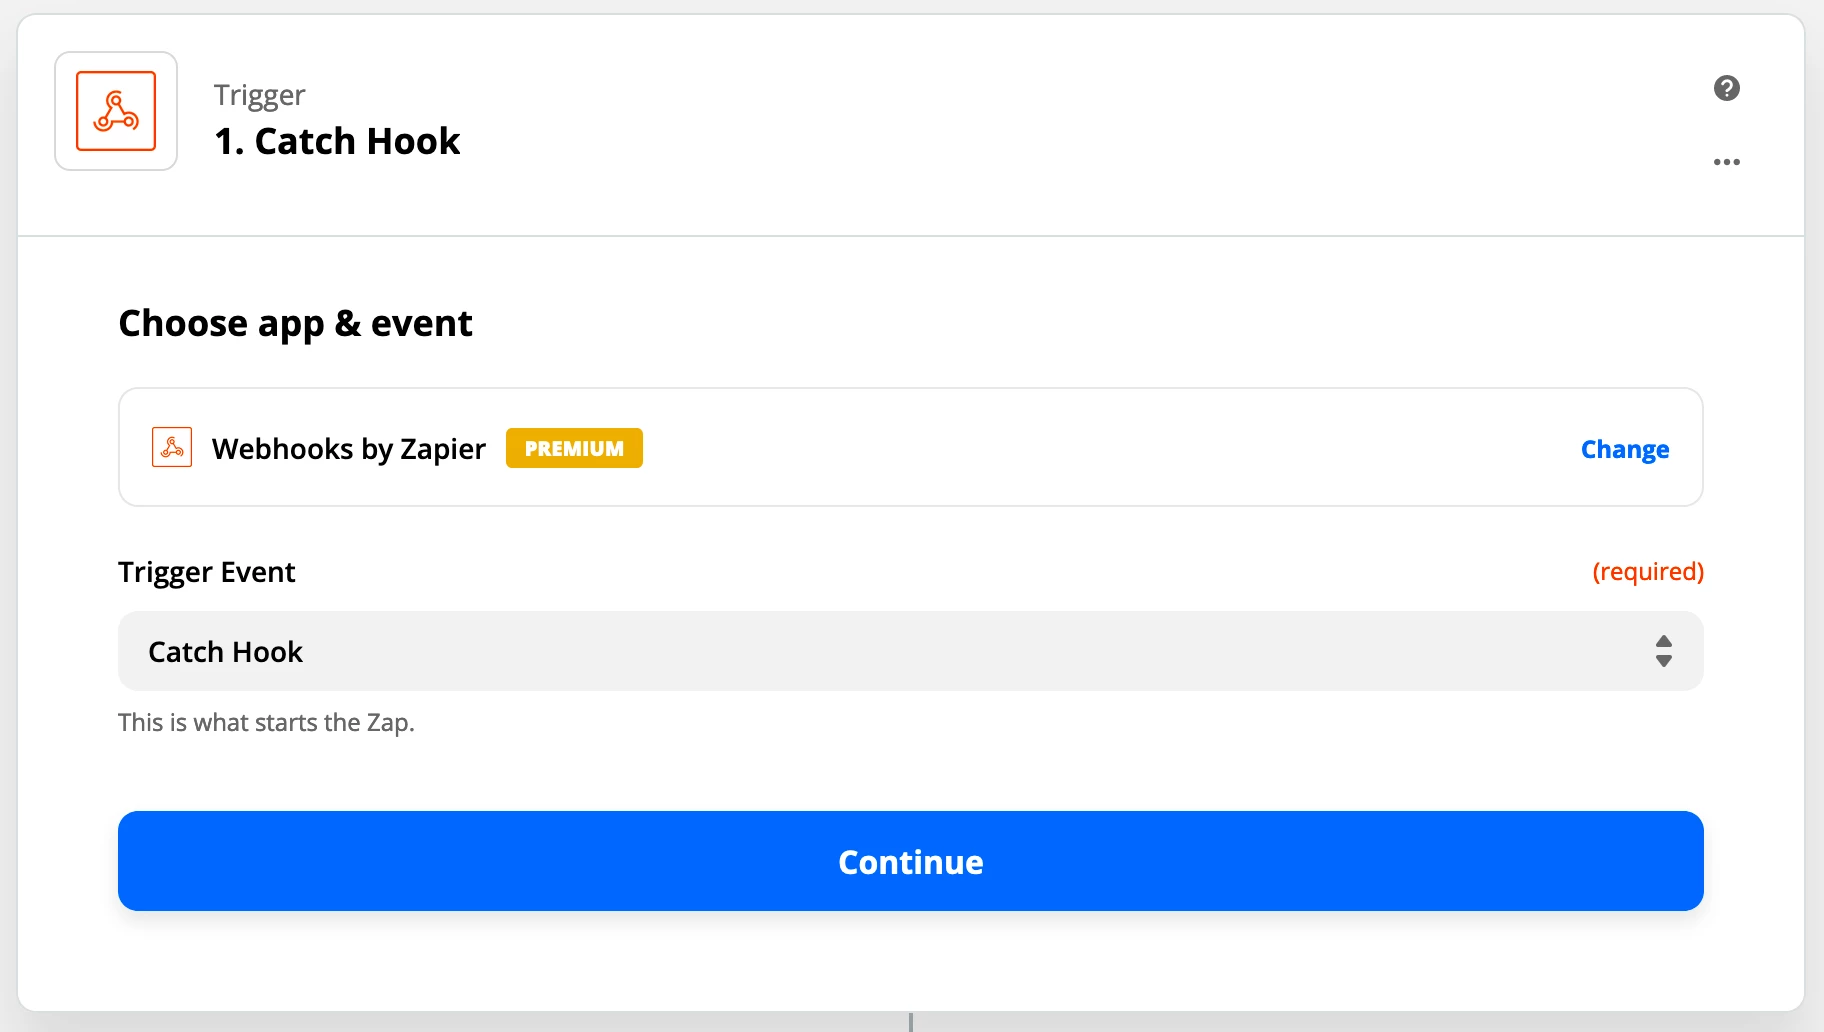
GOAL: Create a Zap that has a ‘Webhooks’ trigger with a ‘Catch Hook’ for the trigger event.
Steps
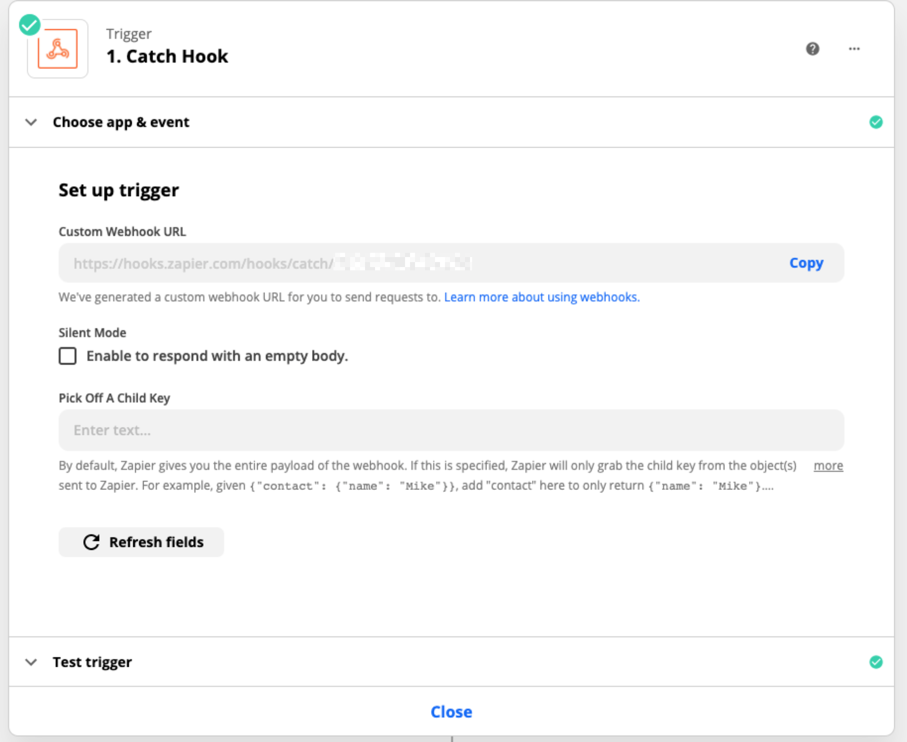
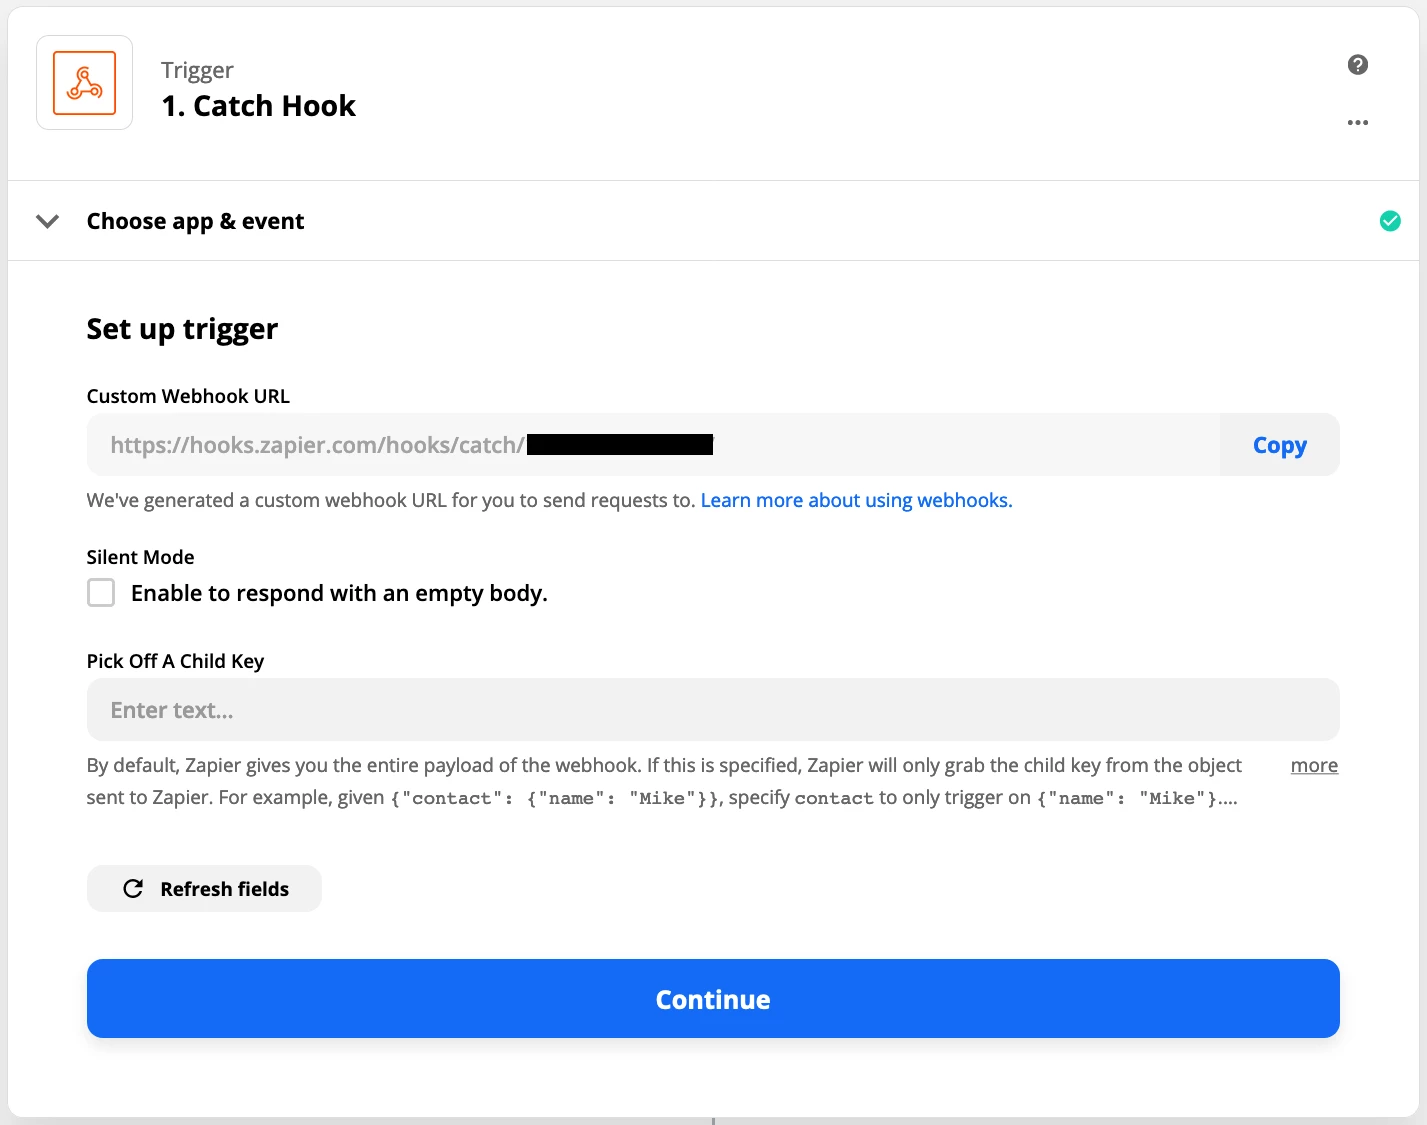
Trigger: Webhooks - Catch Hook (The provided webhook will be placed into the Airtable Automation Script.)
Action: [Configure the rest of the Zaps action steps as you desire.]
Next is the Airtable Automation…
Airtable Automation
GOAL: Create an Airtable Automation with a ‘Run Script’ action.
Steps
Trigger: [select from available Airtable triggers shown below]
Action: Run Script (configure per the example with instructions below)
Airtable Automation Triggers
- When record matches conditions
- When record created
- When record updated (watch all fields or a subset of fields)
- When record enters view
Example
This example will send a webhook with 5 data points from an Airtable Table that has these fields:
- Airtable Record ID (NOTE: This is a system generated ID by Airtable for every record)
- First Name
- Last Name
- Phone
Script Setup
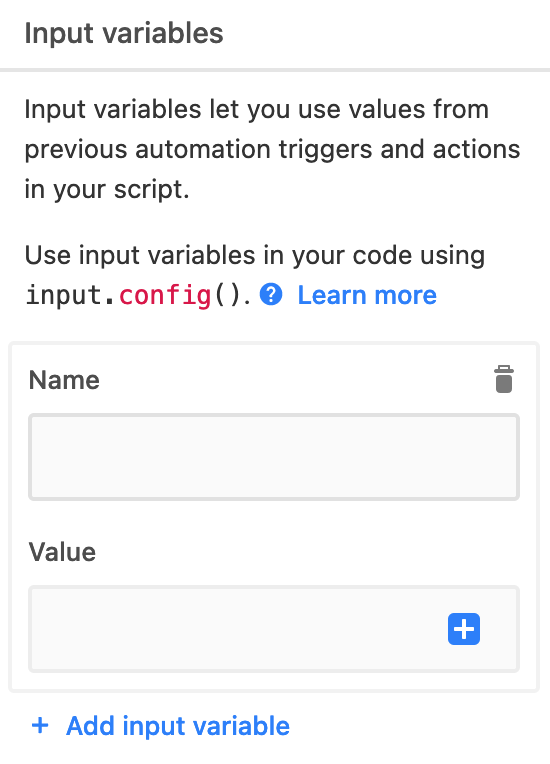
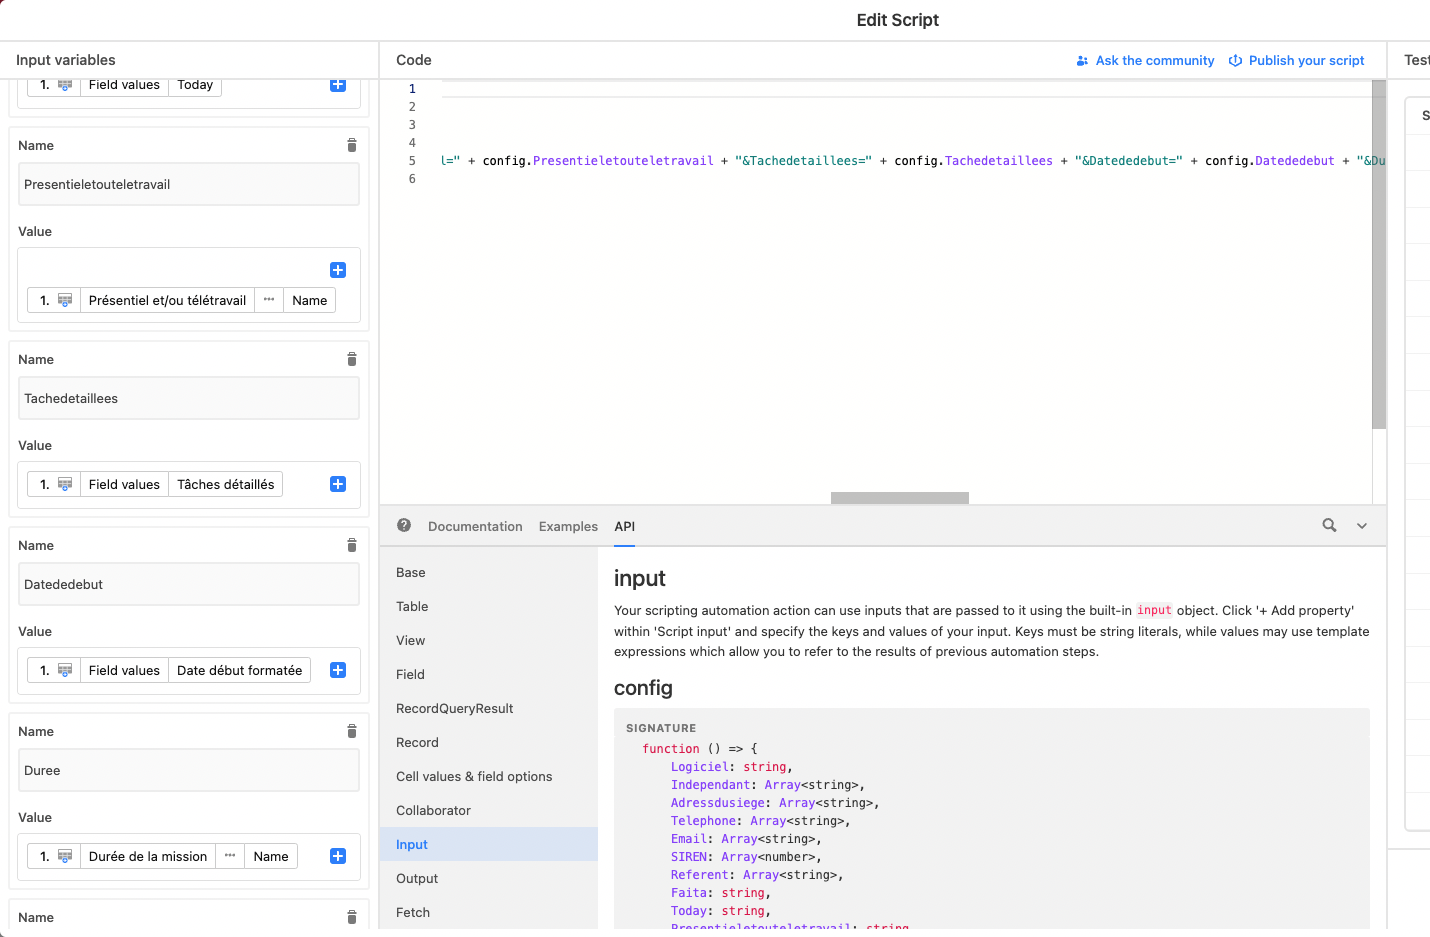
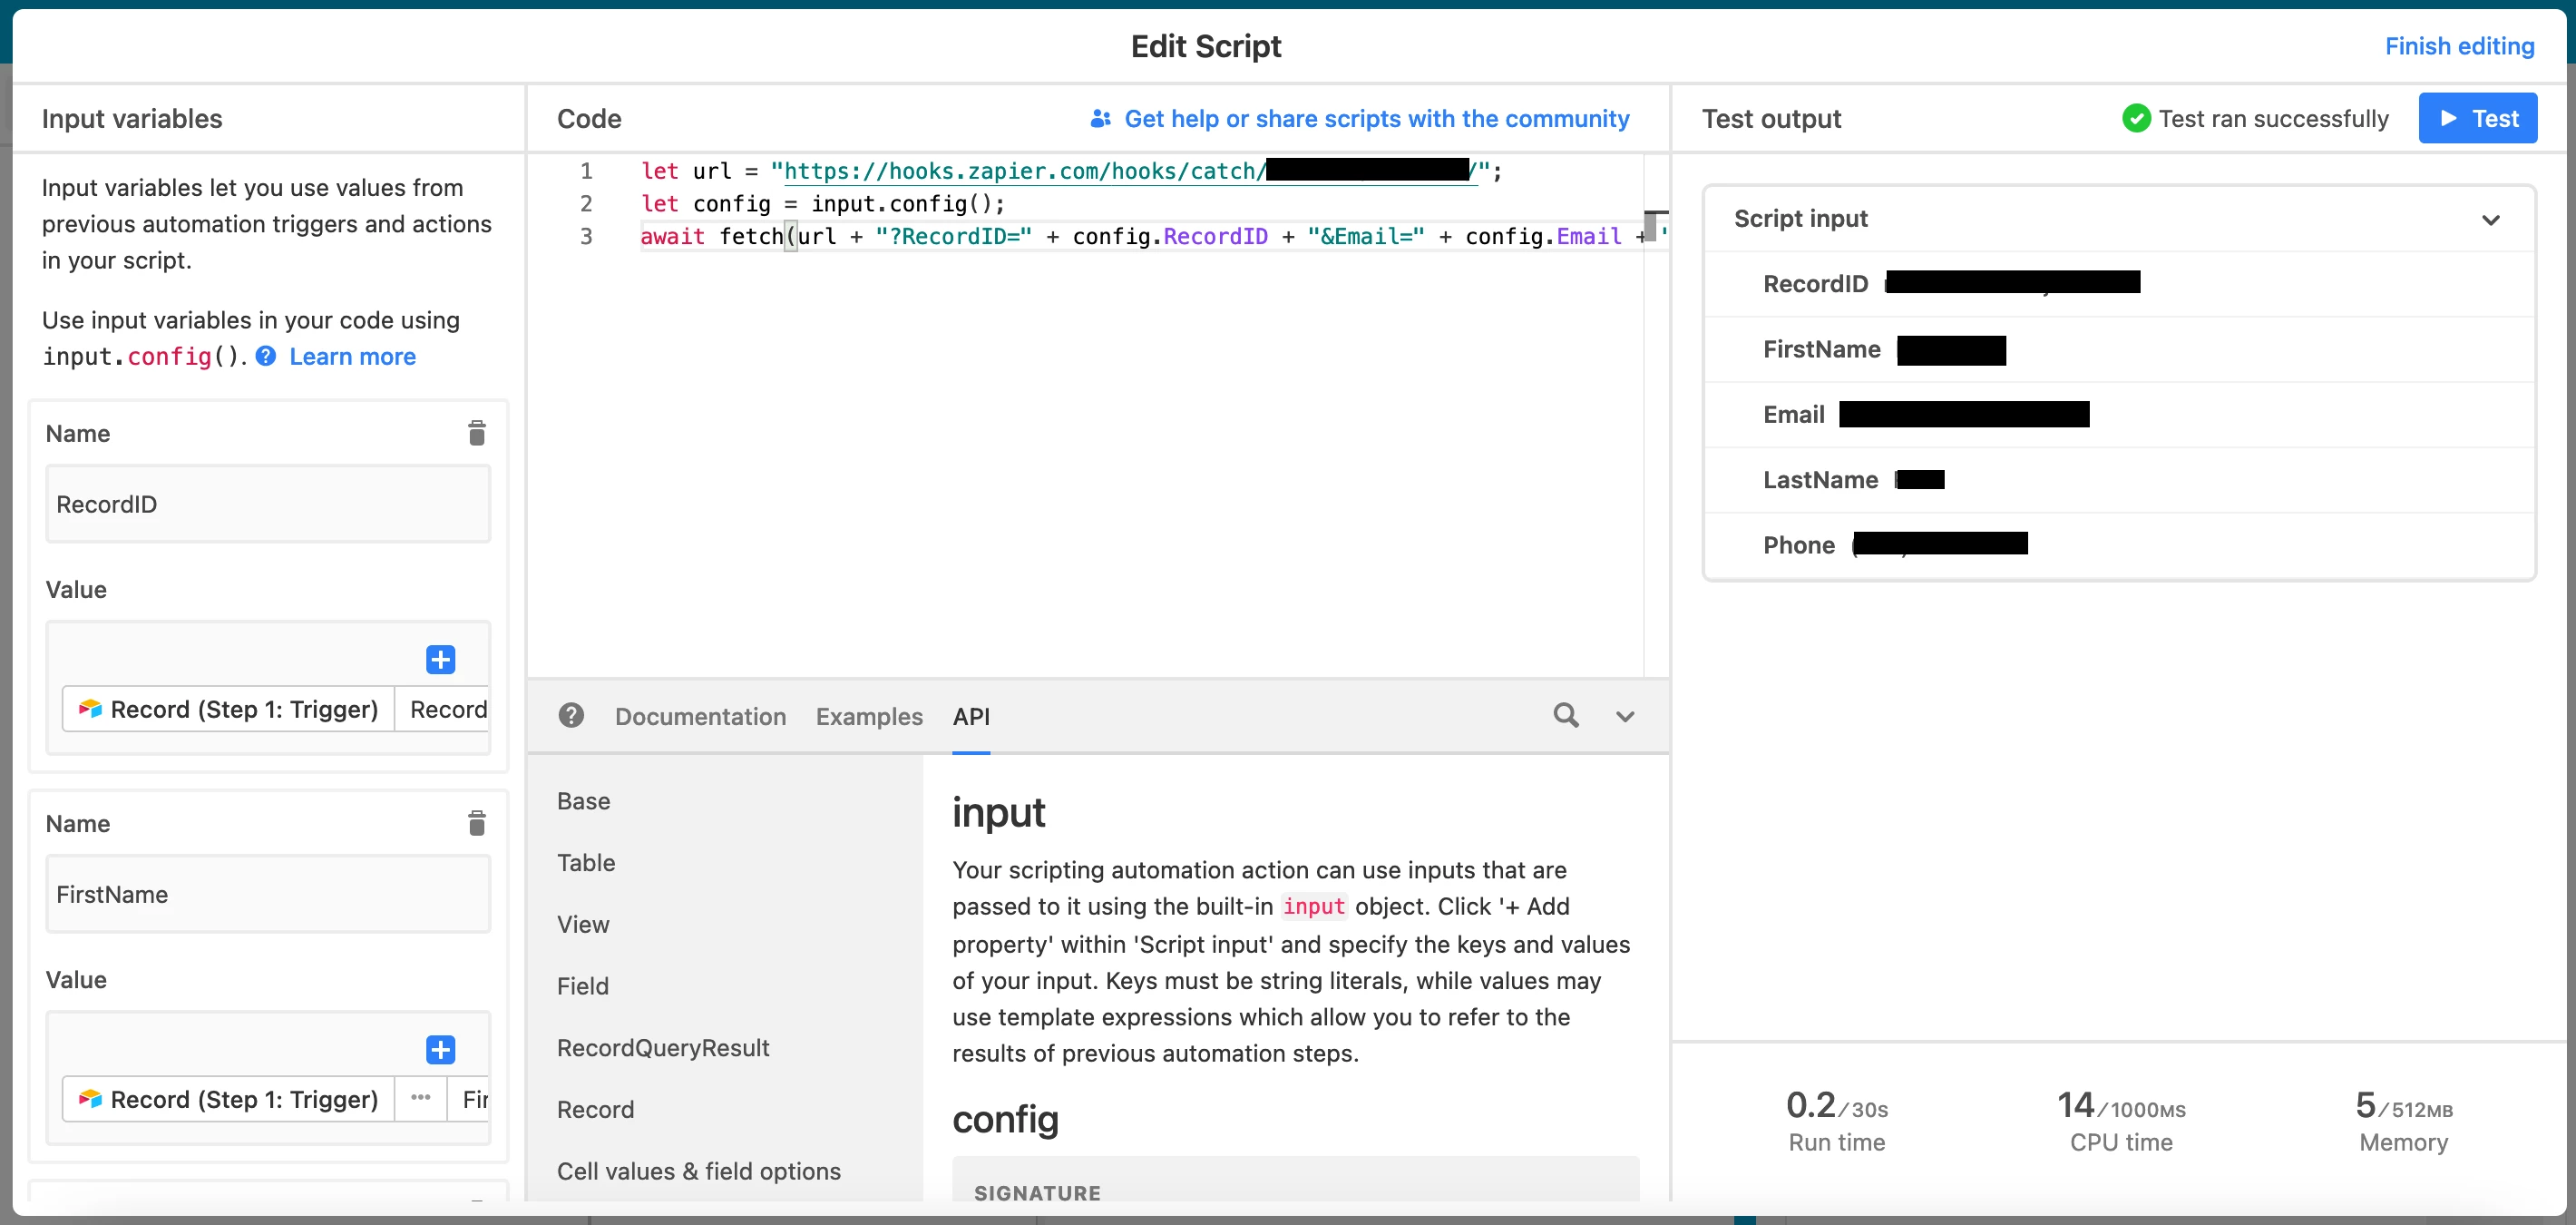
Input Variables: Define the Input Variables with a Name and Value.
Map Input Variable values to Airtable Table Field values, similar to how you do in a Zap.
Or set Input Variable Values as static values.
Code Configuration
When editing the Airtable Automation Script, copy and paste the code below into the Code section, and modify as needed.
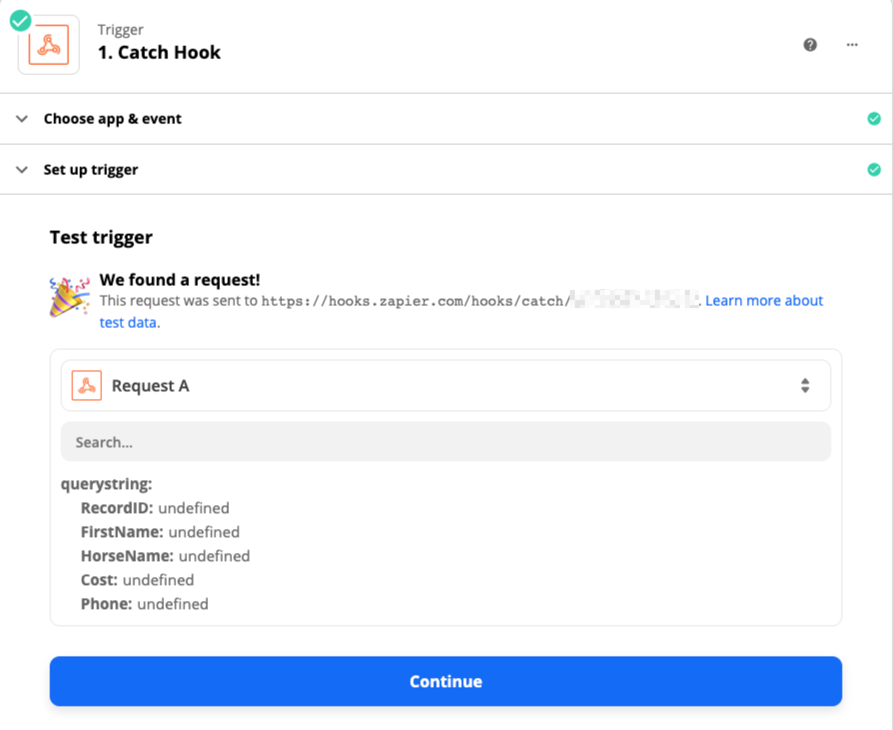
What the code below does is concatenate the webhook url with query string parameters (after the ?) and sends the data as a GET request to Zapier to trigger the Zap.
Suggested to include the Airtable Record ID so you can trace back to the Airtable Record in case you need to troubleshoot.
let url = "[ZapWebhook]"; // Replace the [ZapWebhook] with the webhook provided from the Zap Trigger step.
let config = input.config(); // This allows the Input Variables to be used in the code.
await fetch(url + "?RecordID=" + config.RecordID + "&FirstName=" + config.FirstName + "&LastName=" + config.LastName + "&Phone=" + config.Phone + "&Email=" + config.Email); // Concatenates the webhook URL with query string parameters and Input Variable values.
Lastly, finish Zap action steps.
Testing
Always make sure to TEST, TEST, TEST.
- Test the Airtable Automation manually.
- Test the Zap steps manually.
- Test end-to-end once live to verify the automations are triggering and processing as expected.
Best Practice: When in doubt, test it out.
Troubleshooting
REMINDER: Remember to turn the Airtable Automation ON and to turn the Zap ON.
- Check the Zapier Task History and Details here: https://zapier.com/app/history/
- Check the Airtable Automation Runs log (TIP: Found within each Airtable Automation next to the Steps tab)
Automagical
⚡TADA! … Real-time results bring instant gratification.
Best of luck automating away the agony of your workflows.
Please leave a comment if you have questions or feedback, thanks.
Resources
Zapier Webhooks: https://zapier.com/blog/what-are-webhooks/
Airtable Automation - Run Script Action: https://support.airtable.com/hc/en-us/articles/360051792333-Run-a-script-Action-
P.S. For those interested, here is the Airtable API documentation: https://airtable.com/api
Credit: https://community.airtable.com/t/a-little-help-with-a-script-to-trigger-a-webhook/32615


