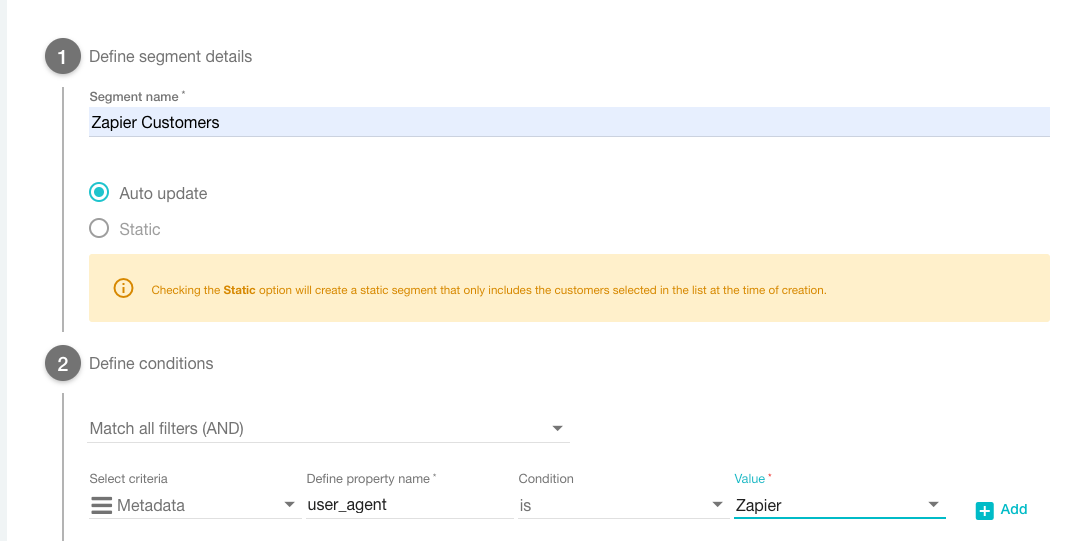
Tried to post this earlier but the board ate my draft I guess! Anyhow, someone on Reddit asked about Zapier allowing them to use a Google Form response with a collected email address to send that respondent a coupon through Voucherify, and this was the solution I came up with for integration after doing a bunch of digging around in Voucherify's documentation. Looks like Voucherify is "by Invitation" in Zapier at the moment, so just wanted to share it on here as a kind of tutorial in case someone else has a question about this app!
(Note: I didn't handle the part on Voucherify that lets you automatically send coupons to new customers, just set up the webhook steps to get Google Forms to make something happen in Voucherify; I'm assuming anyone proficient in that app could or would probably know how to automate contacts once they arrive in the system).
- Visit https://support.voucherify.io/article/269-zapier and follow the “Go here to add the Voucherify app” link (make sure you’re already logged into your Zapier account).
- In your Trigger step, choose Webhooks by Zapier as the app and Catch Hook as the Action Event; go ahead and copy the Custom Webhook URL to use in your second zap.
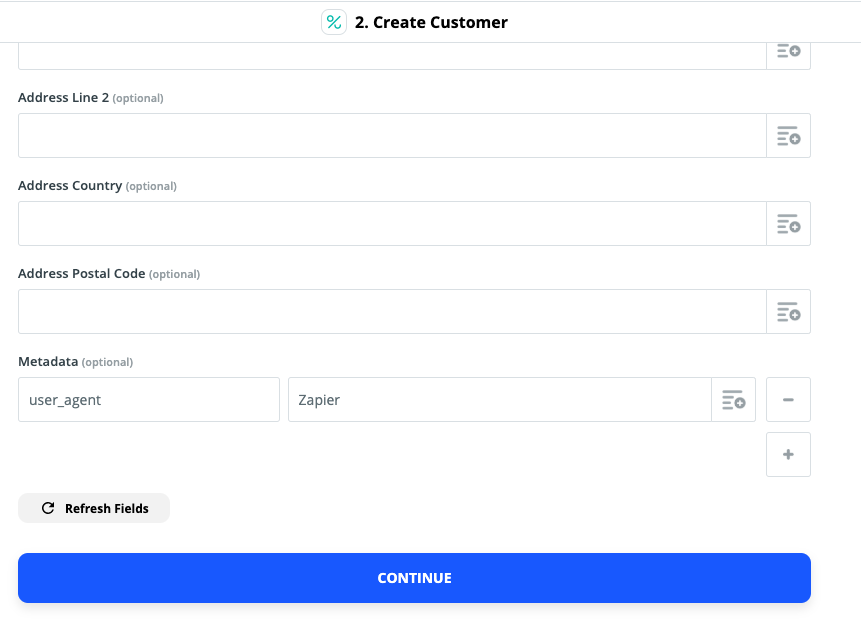
- Choose whichever Voucherify event you’re looking to achieve in your Action Step (Voucherify will already be selected as the app). In my exampled I used “Create New Customer”. To authenticate with your Voucherify account, you’ll be asked to pass in your Application ID and Application ID Token (called Secret Key in Voucherify) from your Voucherify Project Settings page.
- Create a second zap that has a Trigger based on whatever app you need to initiate a Voucherify action - I used “New Response in Spreadsheet in Google Forms” with the goal of capturing email addresses, and used some dummy info in my Form Responses sheet to pass along as sample data.
- For the Action step, choose Webhooks by Zapier as the app and POST as the Action Event, then paste in the Custom Webhook URL from step 2 above in the URL field.
- Test your connection by passing data from your POST action, then opening your first zap and pulling in sample data - you should see any data fields collected by your webhook which you can then use as sample data to set up how everything you need gets passed to Voucherify. In my case I just grabbed the email addresses collected in my form to create a new customer.
Step 2:
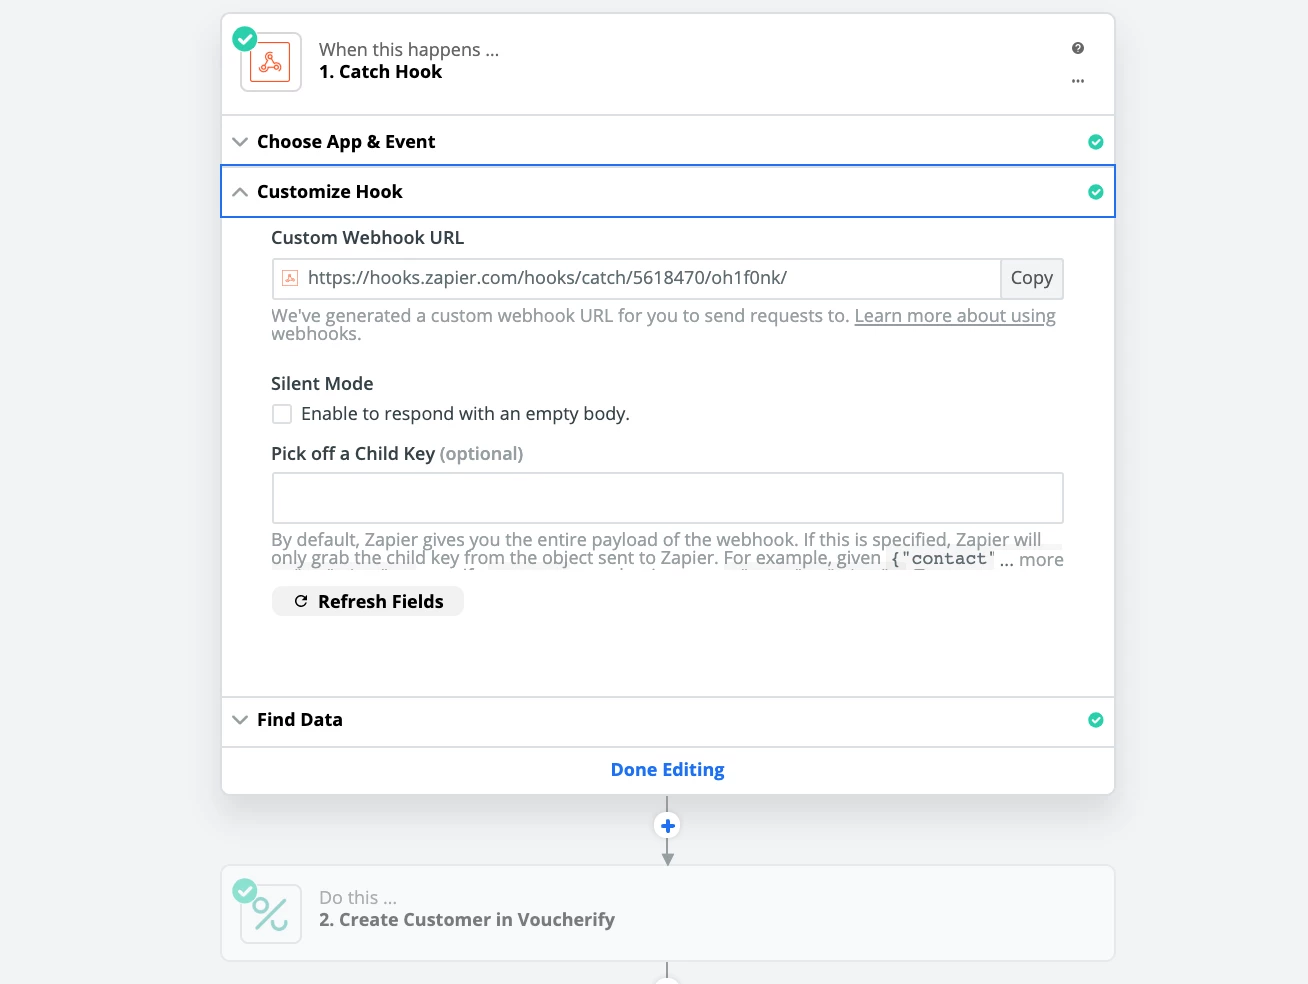
Step 4:
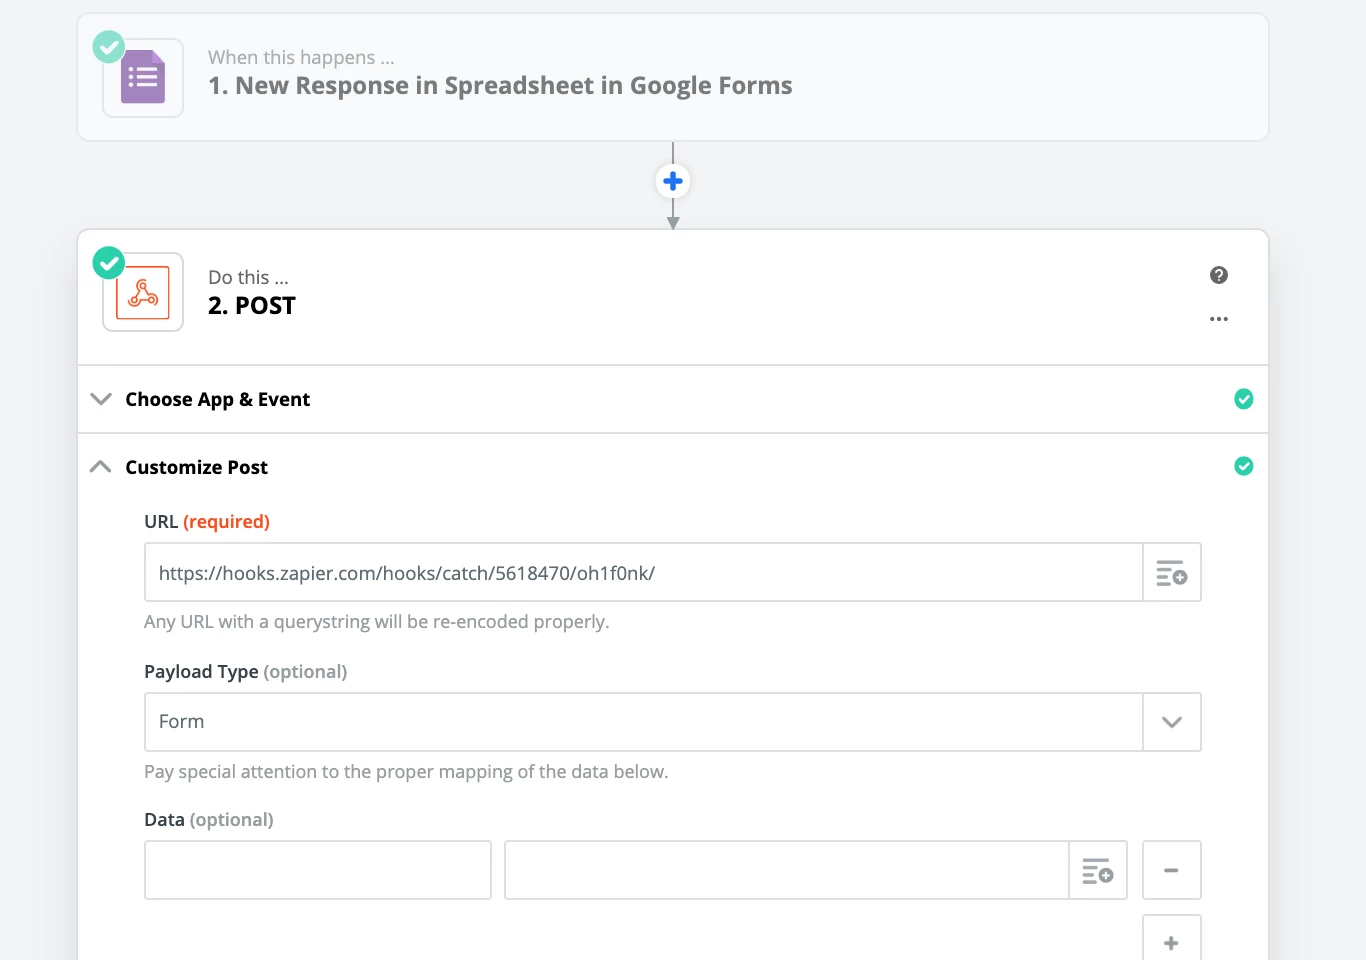 Step 6:
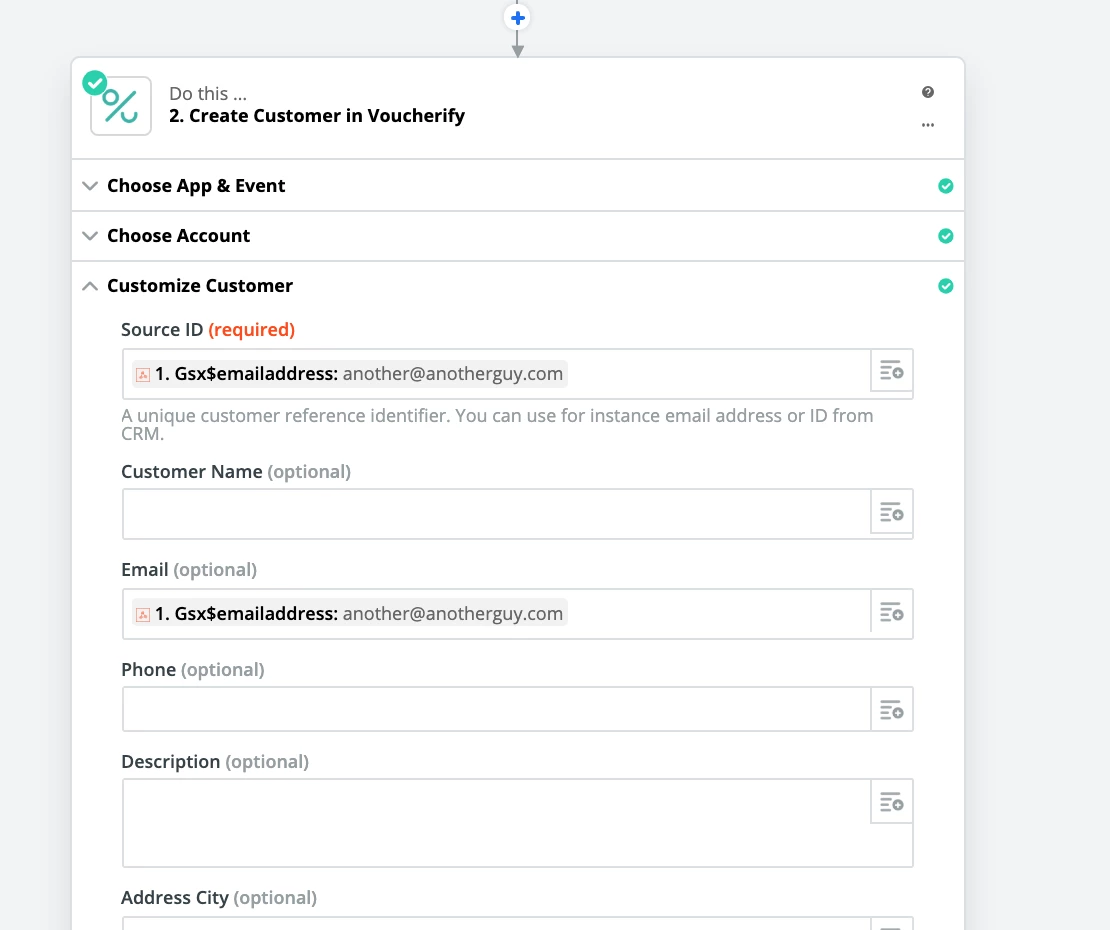



 Step 2:
 Step 3: