IMPORTANT UPDATE: As of January 2, 2024 Google no longer supports the file URL format mentioned in this guide.
Instead you’d need to use the following URL format:
https://drive.google.com/thumbnail?id=FILEID&sz=w1000
FILEID - replace this with the file ID.
w1000 - replace with the desired image width in pixels. E.g. desired size 600px = w600
Hey Zappers!
Have you ever wanted to embed an image somewhere, like on a website or in a blog post and then update it automatically?
Some possible use cases:
- a weekly updated graphic showing progress of some sort
- the most recent member to join your community
- a screenshot of some sort (a tweet, Instagram post, etc)
Using Google Drive to Host the Image
This can likely be done with other services, like Dropbox, but in this example we’ll use Google Drive because I know it has a Replace File action.
Make the Image Embeddable
There are a few steps required:
- Upload the graphic to Google Drive
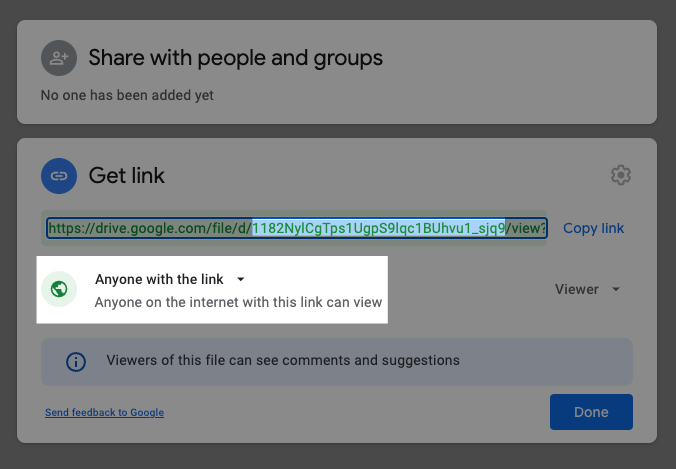
- Share it so that “anyone with the link” can view it
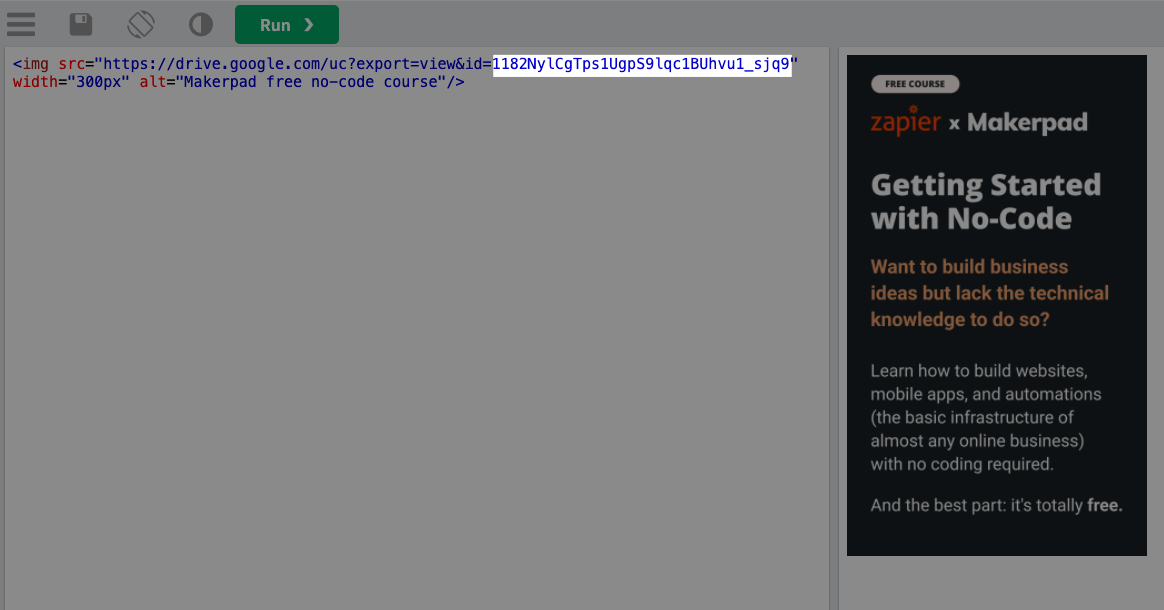
- Add the ID of the image at the end of this URL: https://drive.google.com/uc?export=view&id=
- Use some basic HTML to embed it:
Update It with a Zap
Now that we’ve got the image uploaded and embedded, let’s see how to replace the file in-place, so that anywhere you’re displaying it, it will be updated.
Getting the New Image
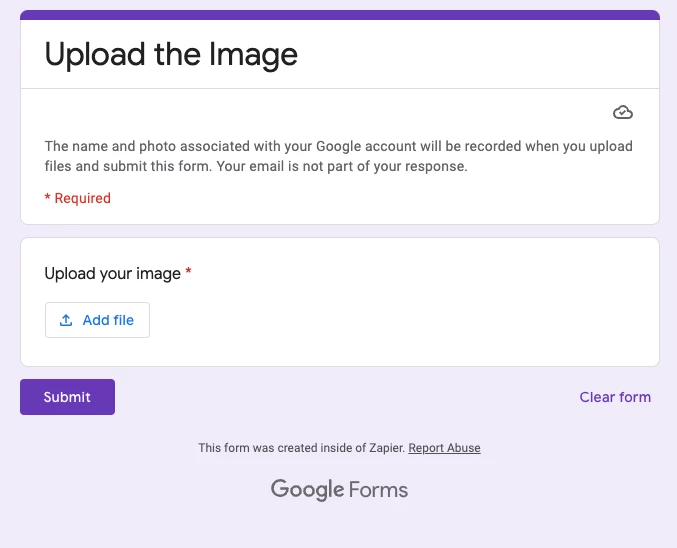
This part will be different for everyone’s particular use case. As an example, let’s say we don’t want to give someone access to the Google Drive folder where this file is saved. We could use a form (like a Google Form):
In the Zap
Trigger: Google Drive — New File in Folder
In this case, you’ll use the folder that Google Forms is using to store your uploads.
NOTE: With Google Forms/Drive you’ll have a folder for the form itself, then one for the question that asks for the file upload.
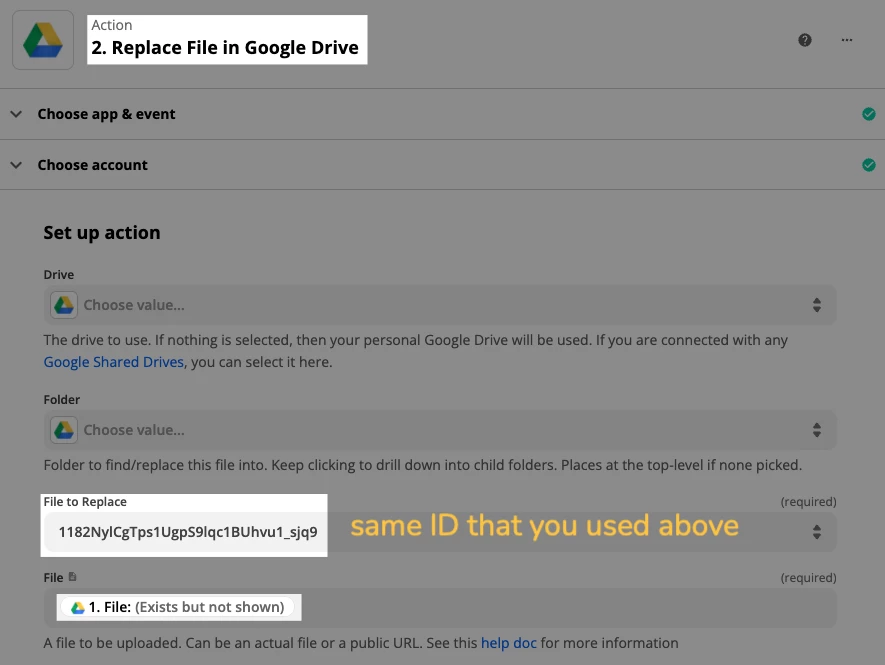
Action: Google Drive — Replace File
Here you use the same ID that you used in the previous step.
Let’s See It in Action
I tested the Zap, updating the image. Let’s see what happens to the embedded image:
There you have it! Now you know how to embed an image somewhere and use a Zap update it in-place :)
")