


[GUIDE] How to Trigger an Airtable Automation with a Webhook from a Zap
Airtable
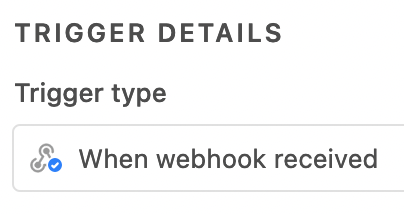
Create an Airtable Automation with a this trigger: When webhook received
Make sure to configure the Action steps for your Airtable Automation, test, and turn ON.
Airtable help article: https://support.airtable.com/hc/en-us/articles/1500003044161-Incoming-webhooks-trigger
Zap
Steps
- Trigger: (up to you)
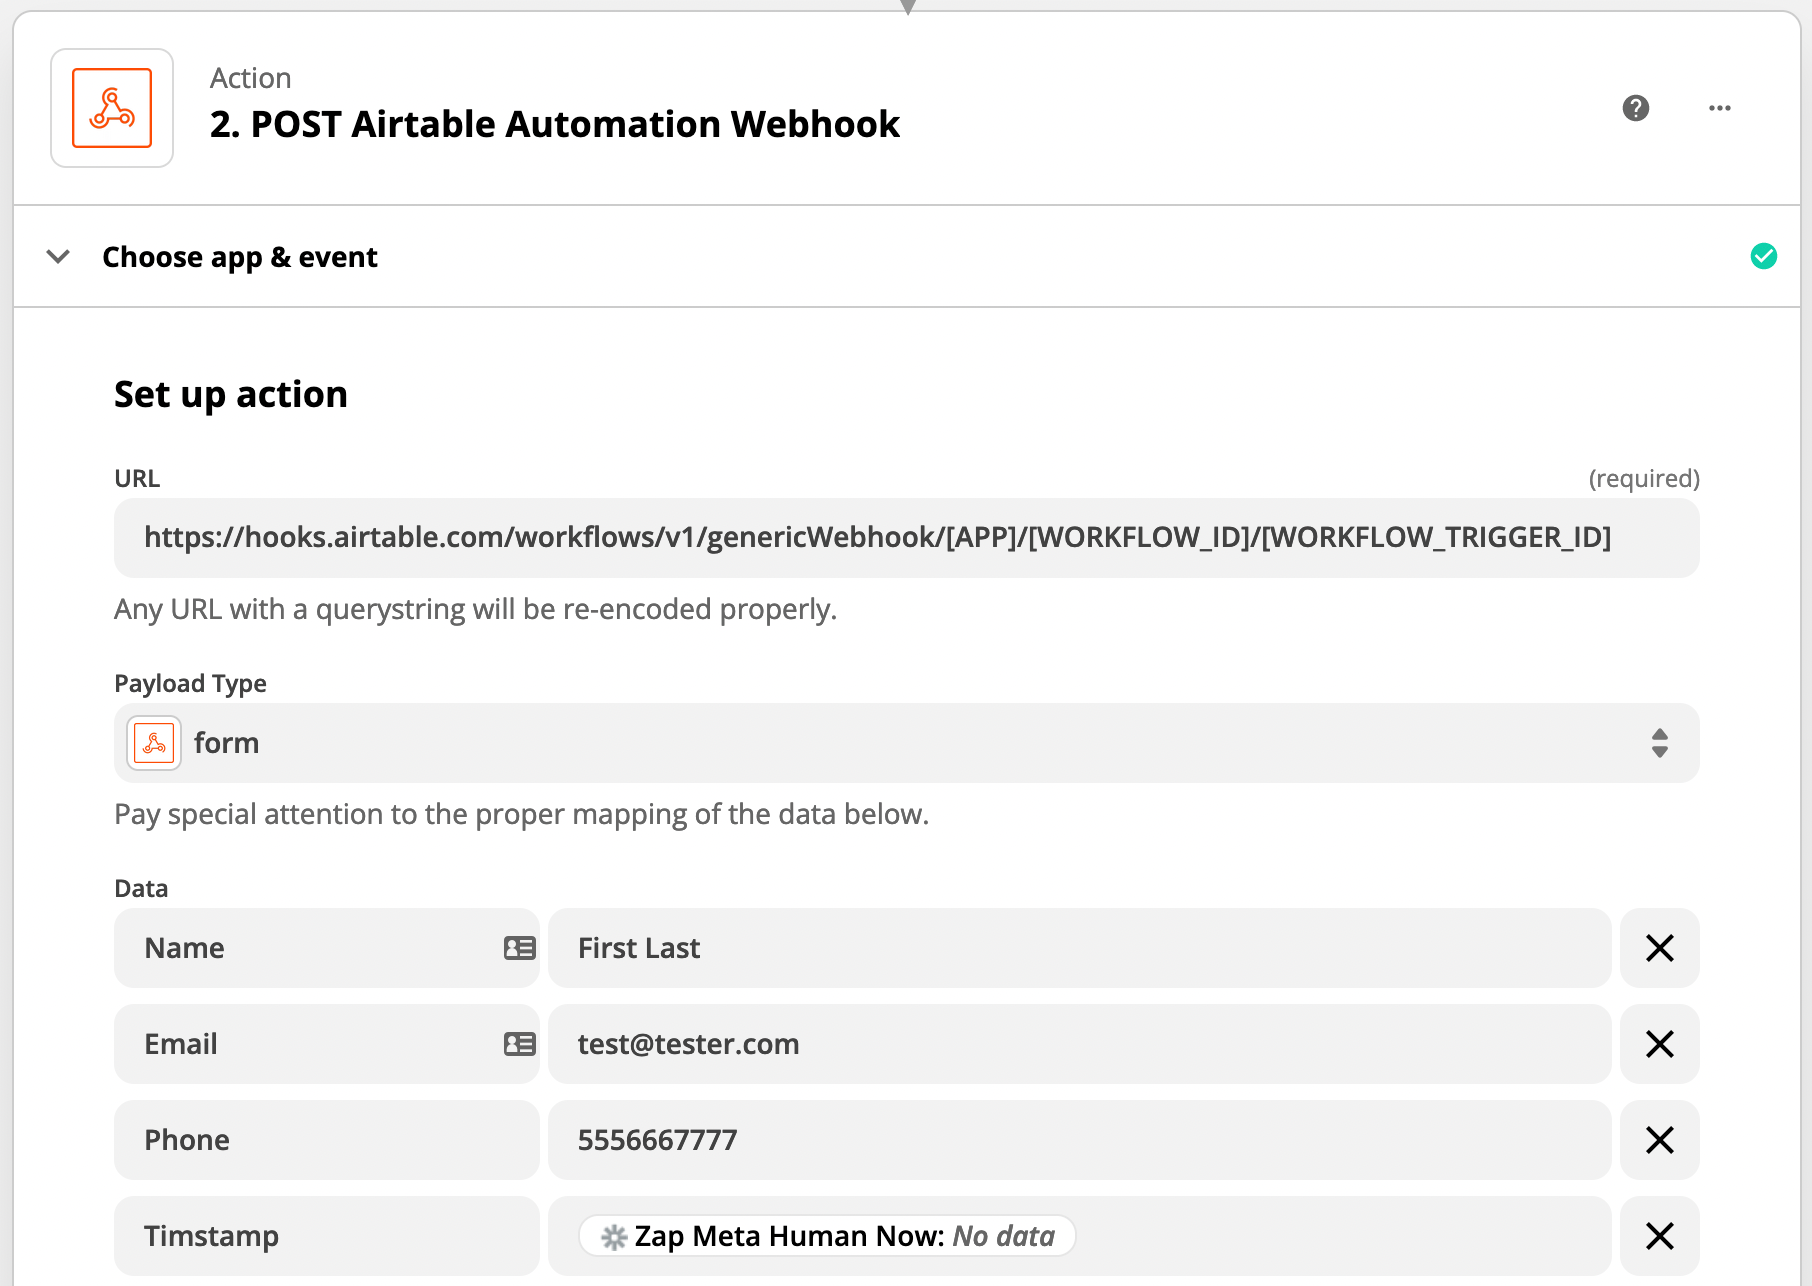
- Action: Webhooks - POST
- See below screenshots and bullet point for how to configure
- This will be used to trigger the Airtable Automation via a Webhook
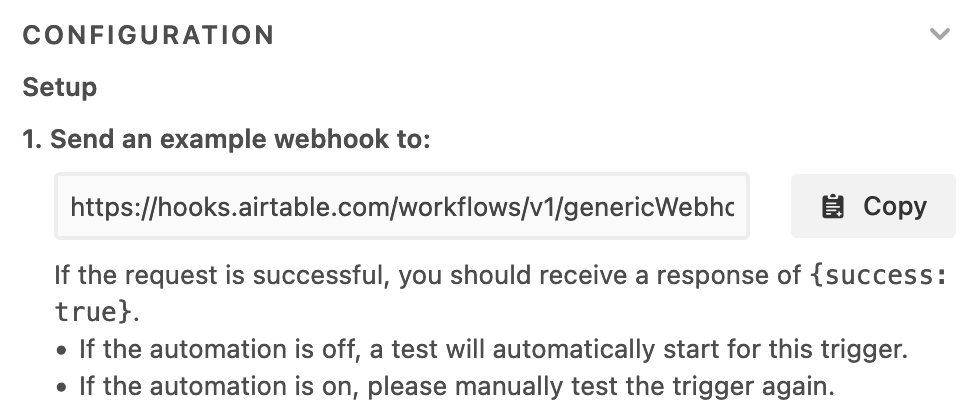
- In the URL, replace the url with the Webhook URL from your Airtable Automation trigger.
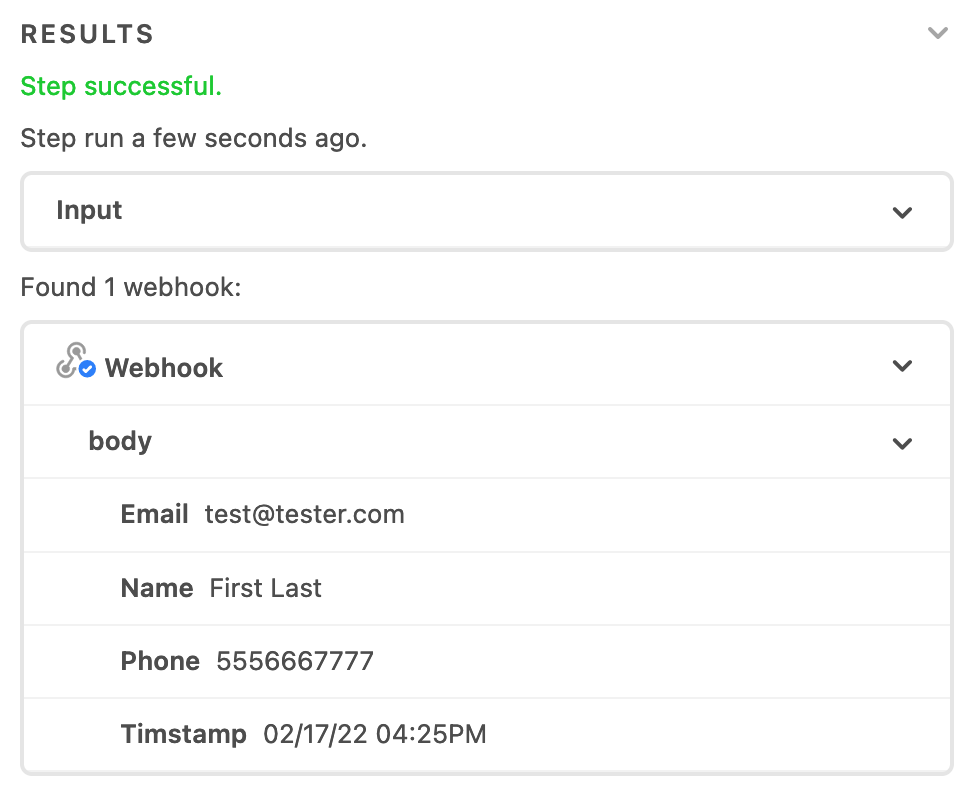
- In the Data, add the key/value pairs
- TIP: It’s a good idea to add a Timestamp parameter to use as a cache buster
- Set a Header
- Content-Type: application/json
- Leave all other fields blank or set to the default values
NOTES
- Zaps
- Make sure to test your Zap
- Make sure to turn your Zap ON
- Check your Zap Runs to help you troubleshoot
- Airtable Automation
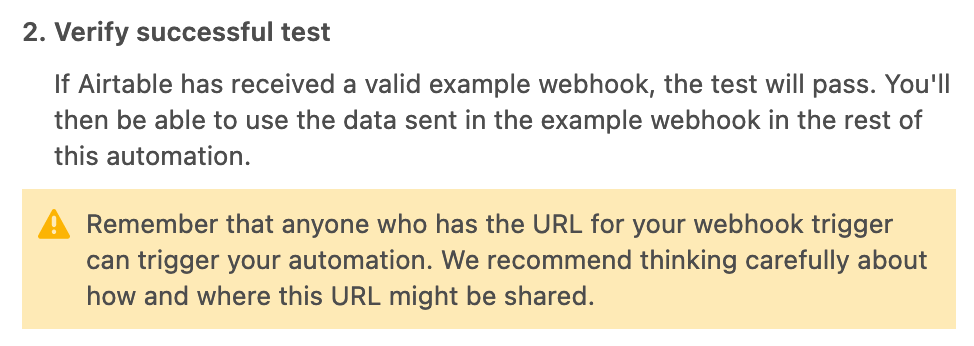
- Make sure to test your Airtable Automation
EXAMPLE
- Make sure to turn your Airtable Automation ON
- Every Airtable Automation has a Run History to help you troubleshoot
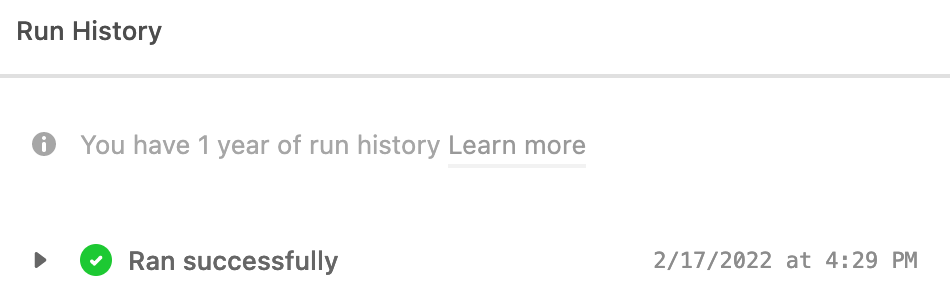
- Make sure to test your Airtable Automation