In today’s post I’m going to show you a basic example of how to use the Shortcuts app in iOS to trigger a Zap. The specific example I’m using is quickly setting a Slack status using a fill-in-the-blank template.
NOTE: Yes, it’s easy to open the Slack app and set a status. Even easier on mobile. But 1) not everybody wants to have Slack on their phone and 2) it’s way easier to tap an icon, type a number then press Done.
These days, parents who are working from home (and also trying to manage their children) may need to tell their co-workers that they’re going to be away from the keyboard for a bit. With a 2-step Zap and 3-step Shortcut we’re going to set a status that inserts the number of minutes into “AFK for _____ minutes” and uses a particular icon and expiration time (that same number of minutes).
Step 1: Build the Zap
Trigger — Webhooks by Zapier (Catch Hook)
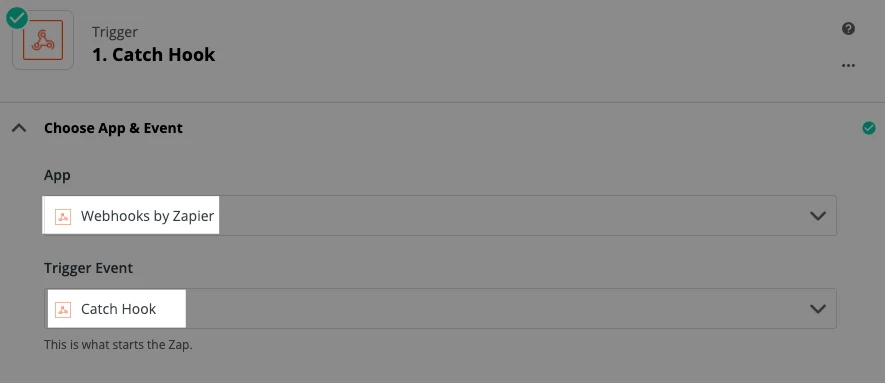
Because we haven’t built the Shortcut yet, you’re going to click on Test trigger then when no sample is found, click on Skip test.
Action: Slack — Set Status
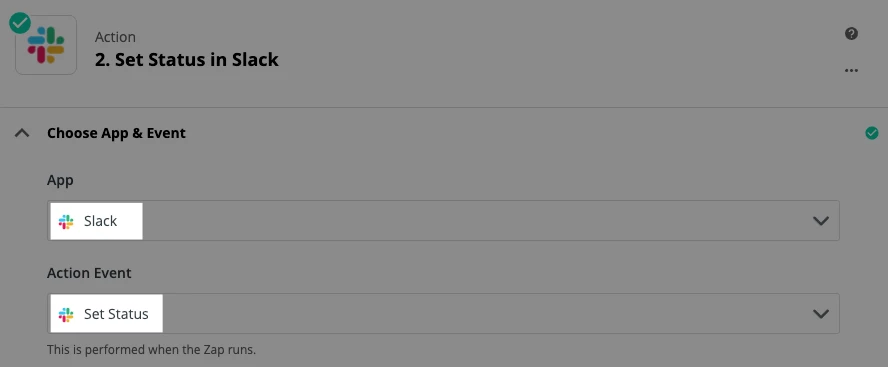
That’s all there is to this part, really. We’ll come back and finish this step later.
Step 2: Build the Shortcut
While we’ll be using this to set a status in Slack, the same process can be used to send any text to any Zapier-supported app :)
- Open the Shortcuts app.
- Tap on the + symbol in the top-right corner
- Tap on Add Action and select Scripting
- In the popup menu, scroll down to the Notification section and tap on Ask for Input
- Tap on Prompt and type your question (like “How many minutes?”)
- Tap on the blue + icon under your first action
- Search for URL and choose that action
- Tap on apple.com and replace it with the URL of your Catch Hook trigger
- Tap on the blue + button again and search for Get Contents
- Tap on Get Contents of URL
- Tap on Show More
- For the Method, select POST
- Tap Headers → Add new header
- For the Key — Content-Type
- For the Text — application/json
- For Request Body leave it as JSON and tap Add new field
- You can select Text for this even though we’ll be typing in a number
- For the key, use something obvious like “Minutes”
- For the Text, tap on Provided Input
- Tap Next in the top-right corner
- Give your shortcut a name, then tap on the icon to choose a background color and glyph.
- Tap Done...and Done.
Step 3: Time to test!
From the All Shortcuts screen, tap on your new shortcut and type a number of minutes, then tap on Done. If you see a popup like this…
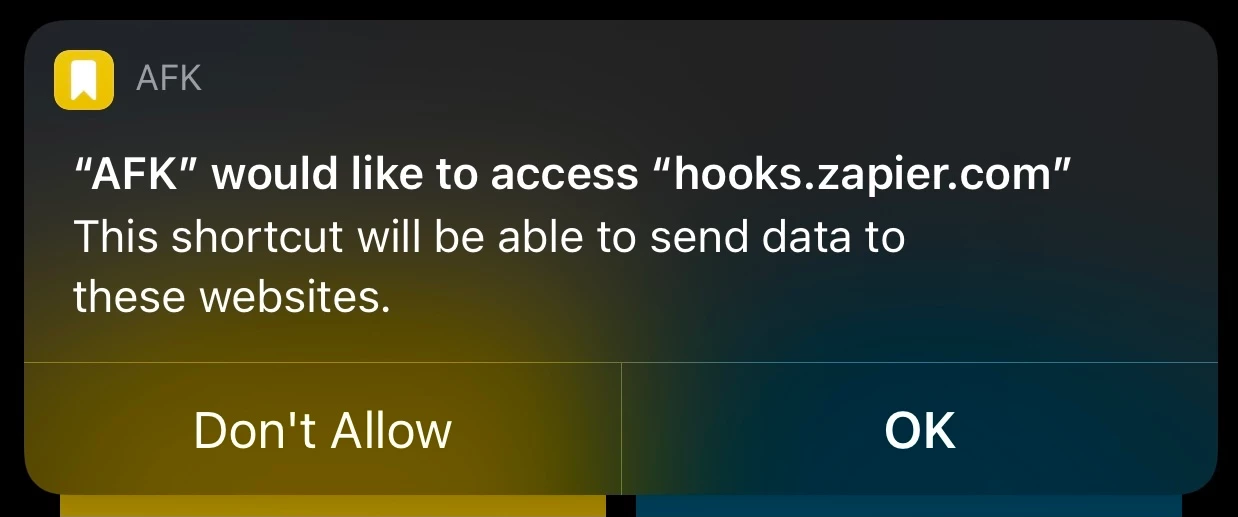
… tap on OK.
Go back to your Zap’s trigger step and test it. You should see something like this:

Almost done!
Click Continue in your Zap and map the Minutes field into your Status Text:
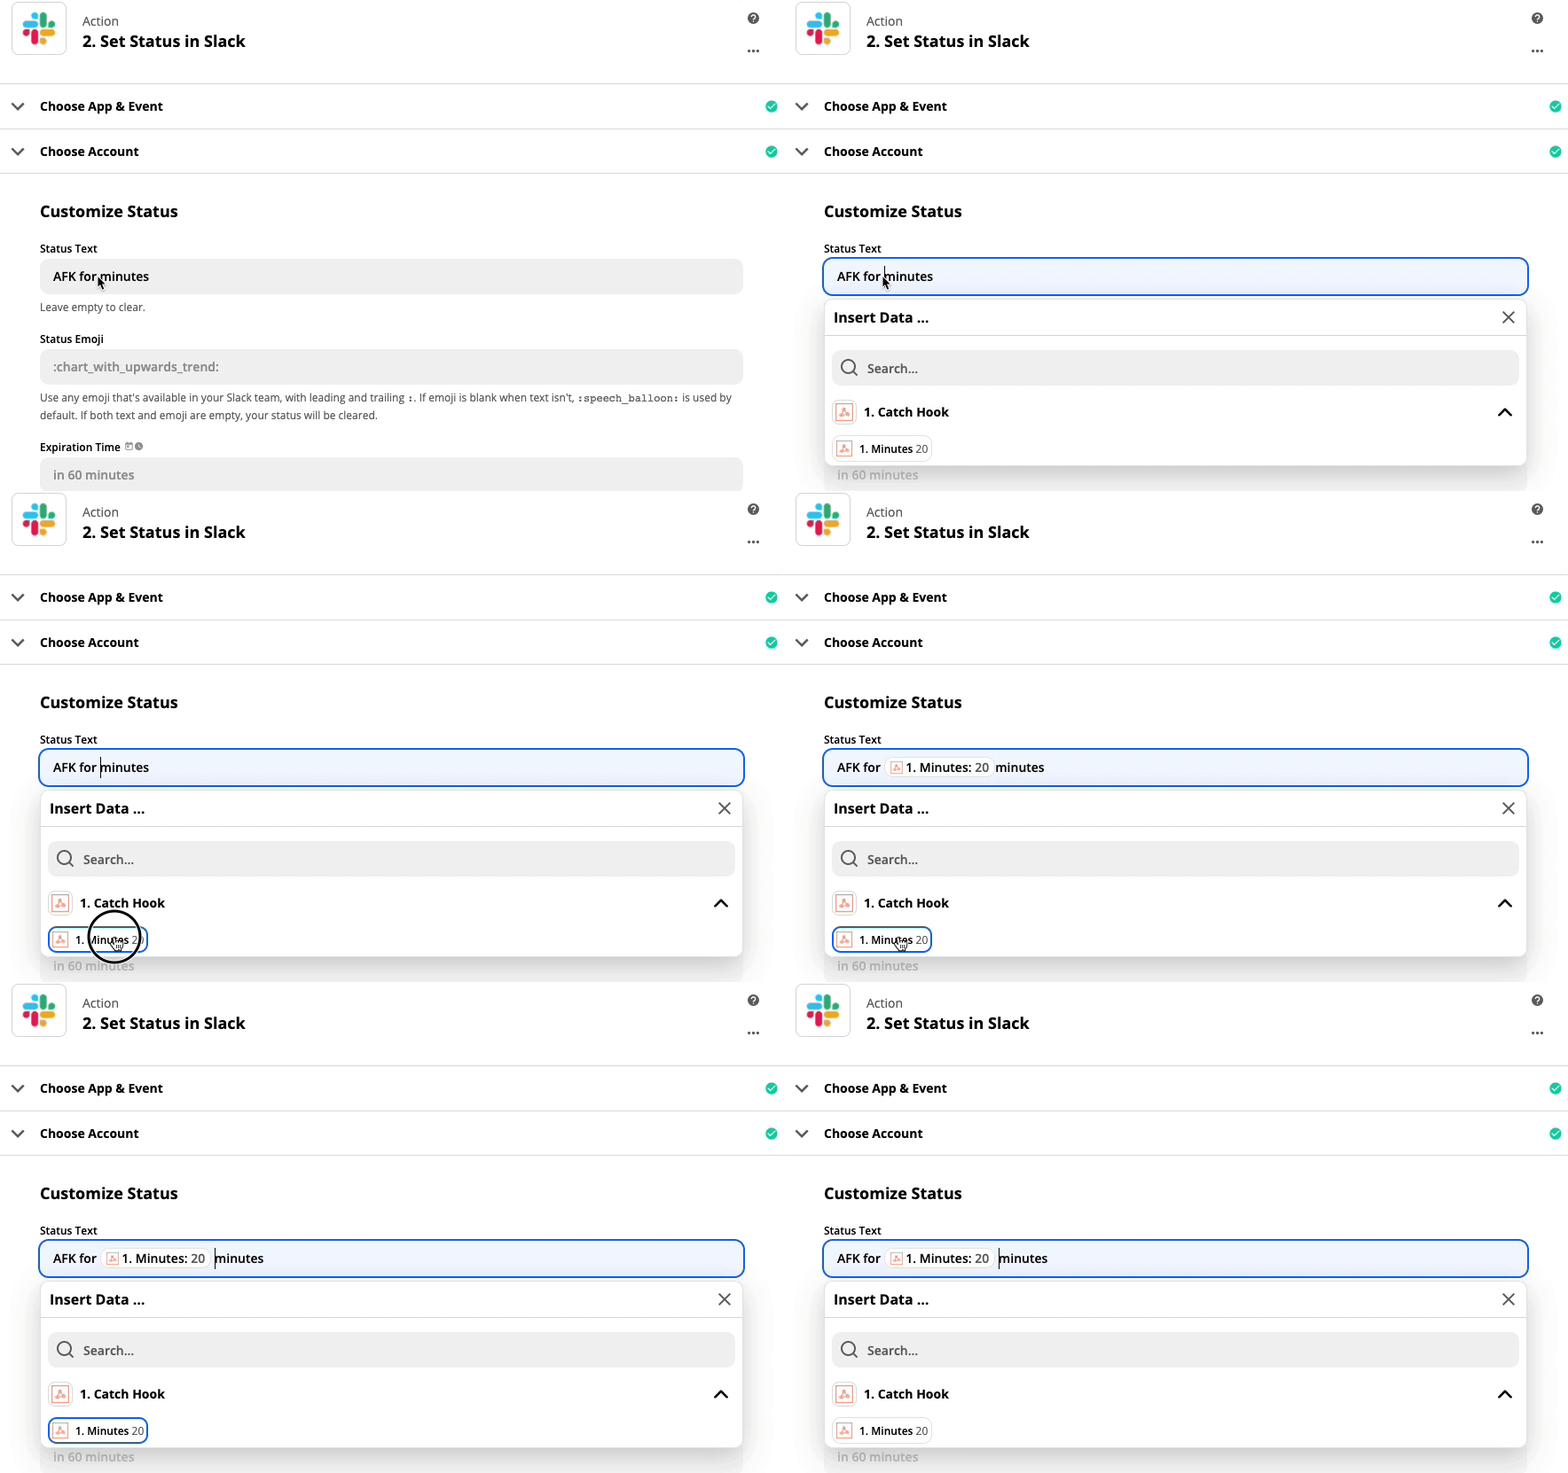
If you haven’t done so already, choose a Status Emoji that is appropriate. In my example I’m using the children crossing sign, since most times it will be because of my kids that I’m away from the keyboard.

Now map the Minutes field into the Expiration Time box:
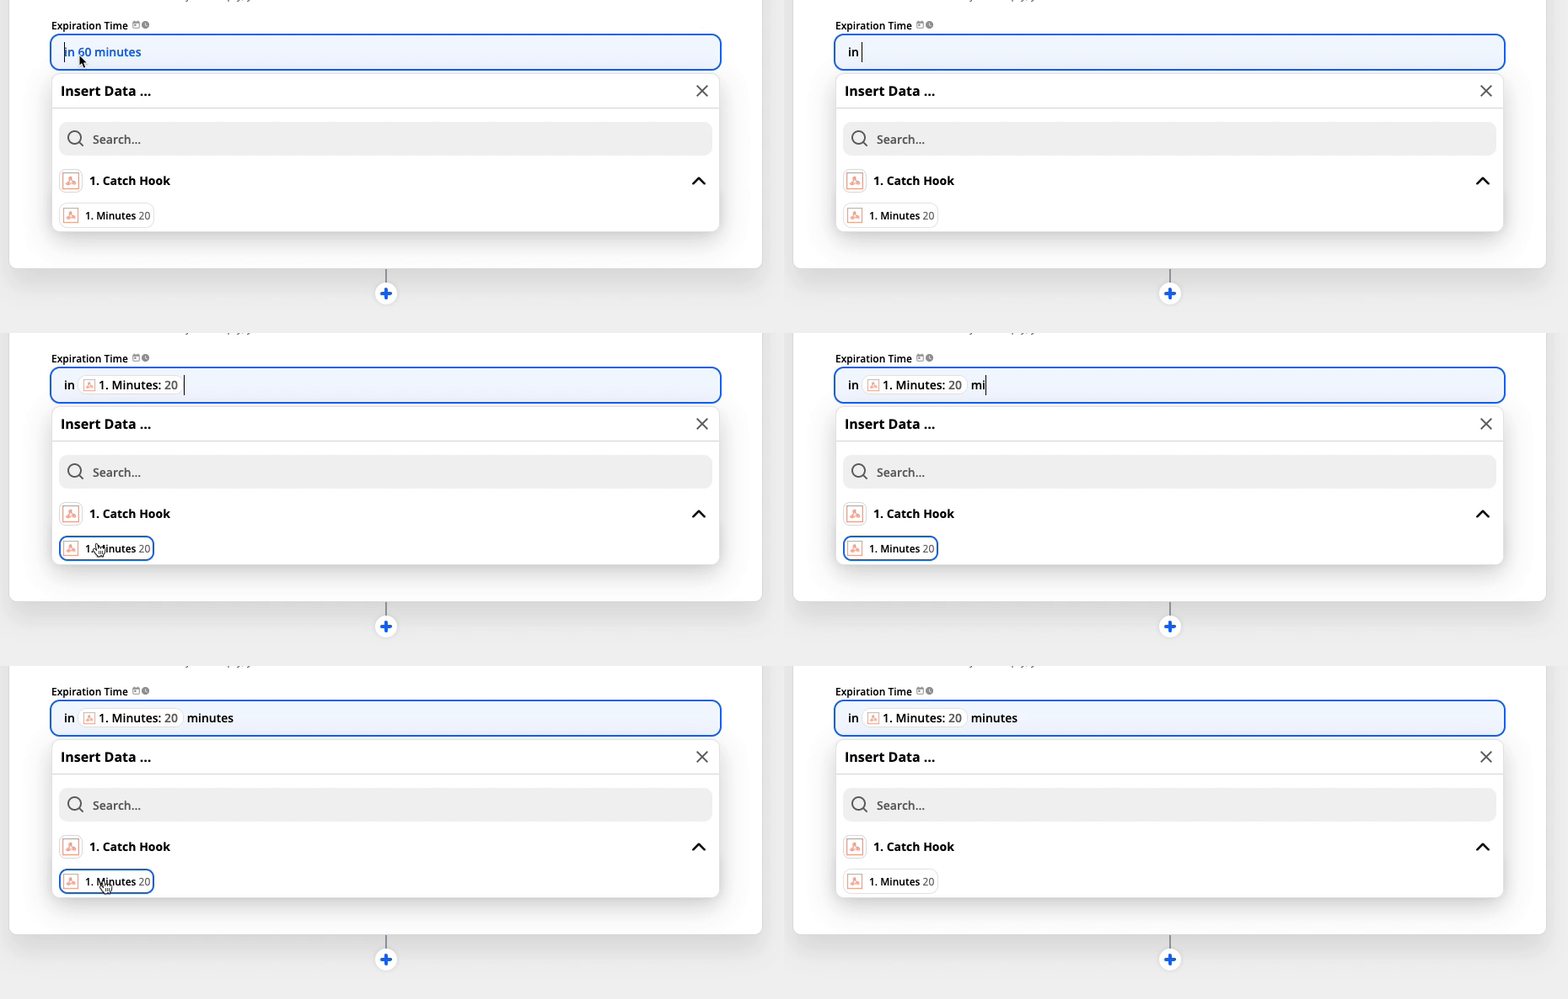
You can test your Slack step if you want to make sure it works. Otherwise, click on Skip test and turn your Zap on (make sure you name it, so you can easily find it again later).
Step 4: Add your Shortcut to the home screen
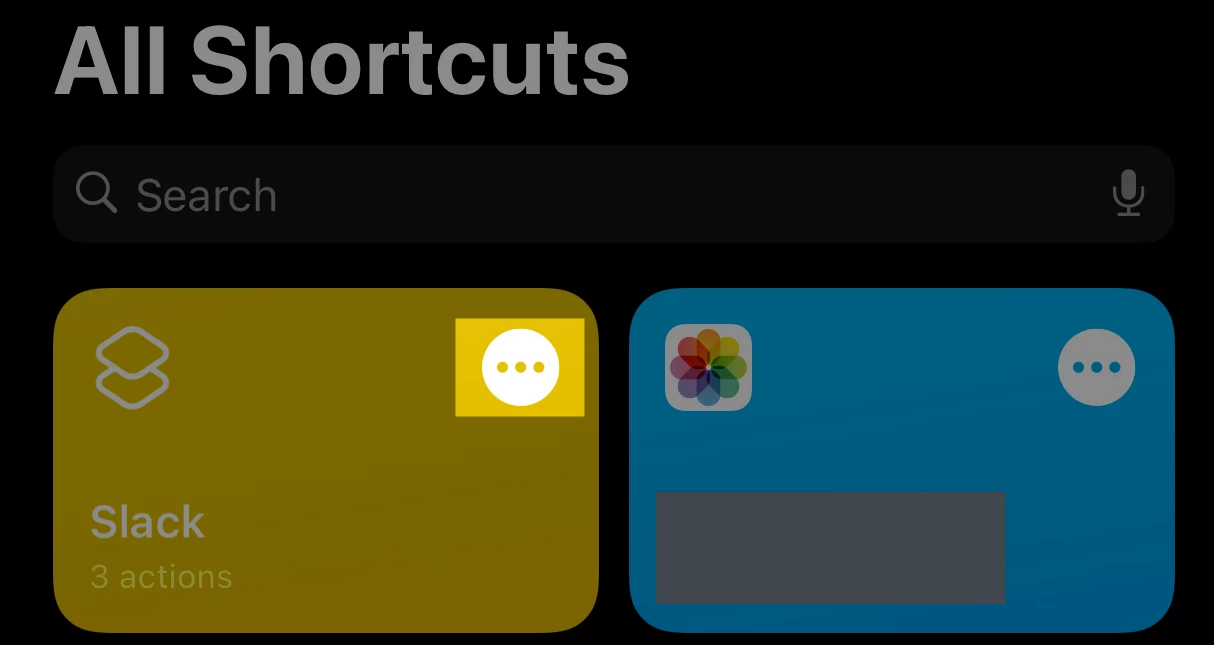
Tap these three dots:
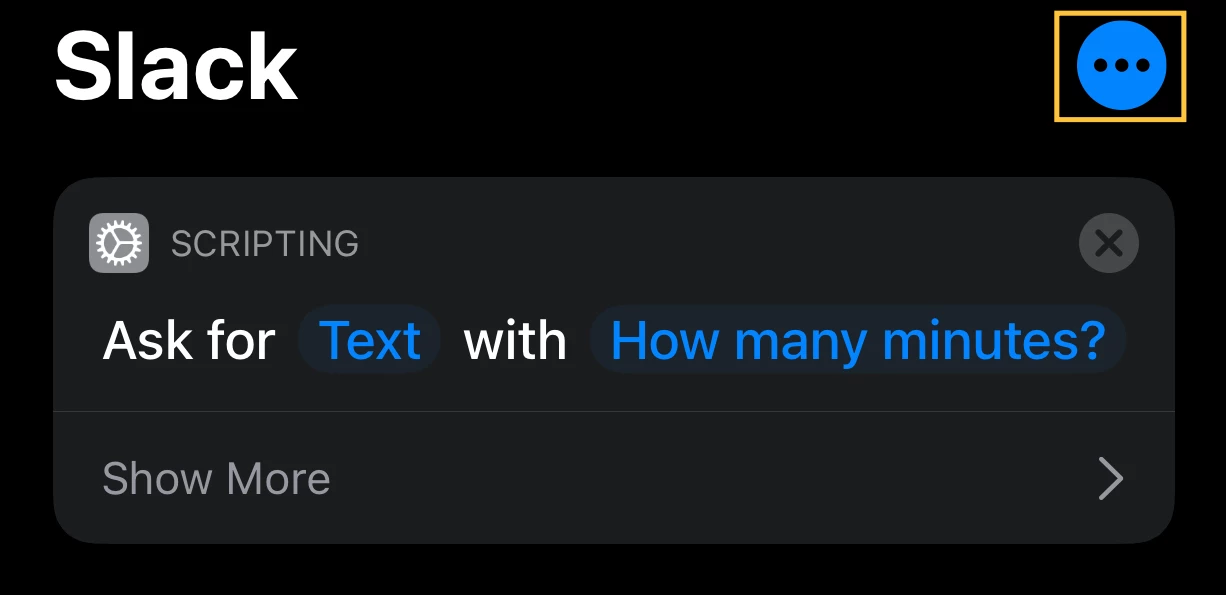
Tap these three other dots:
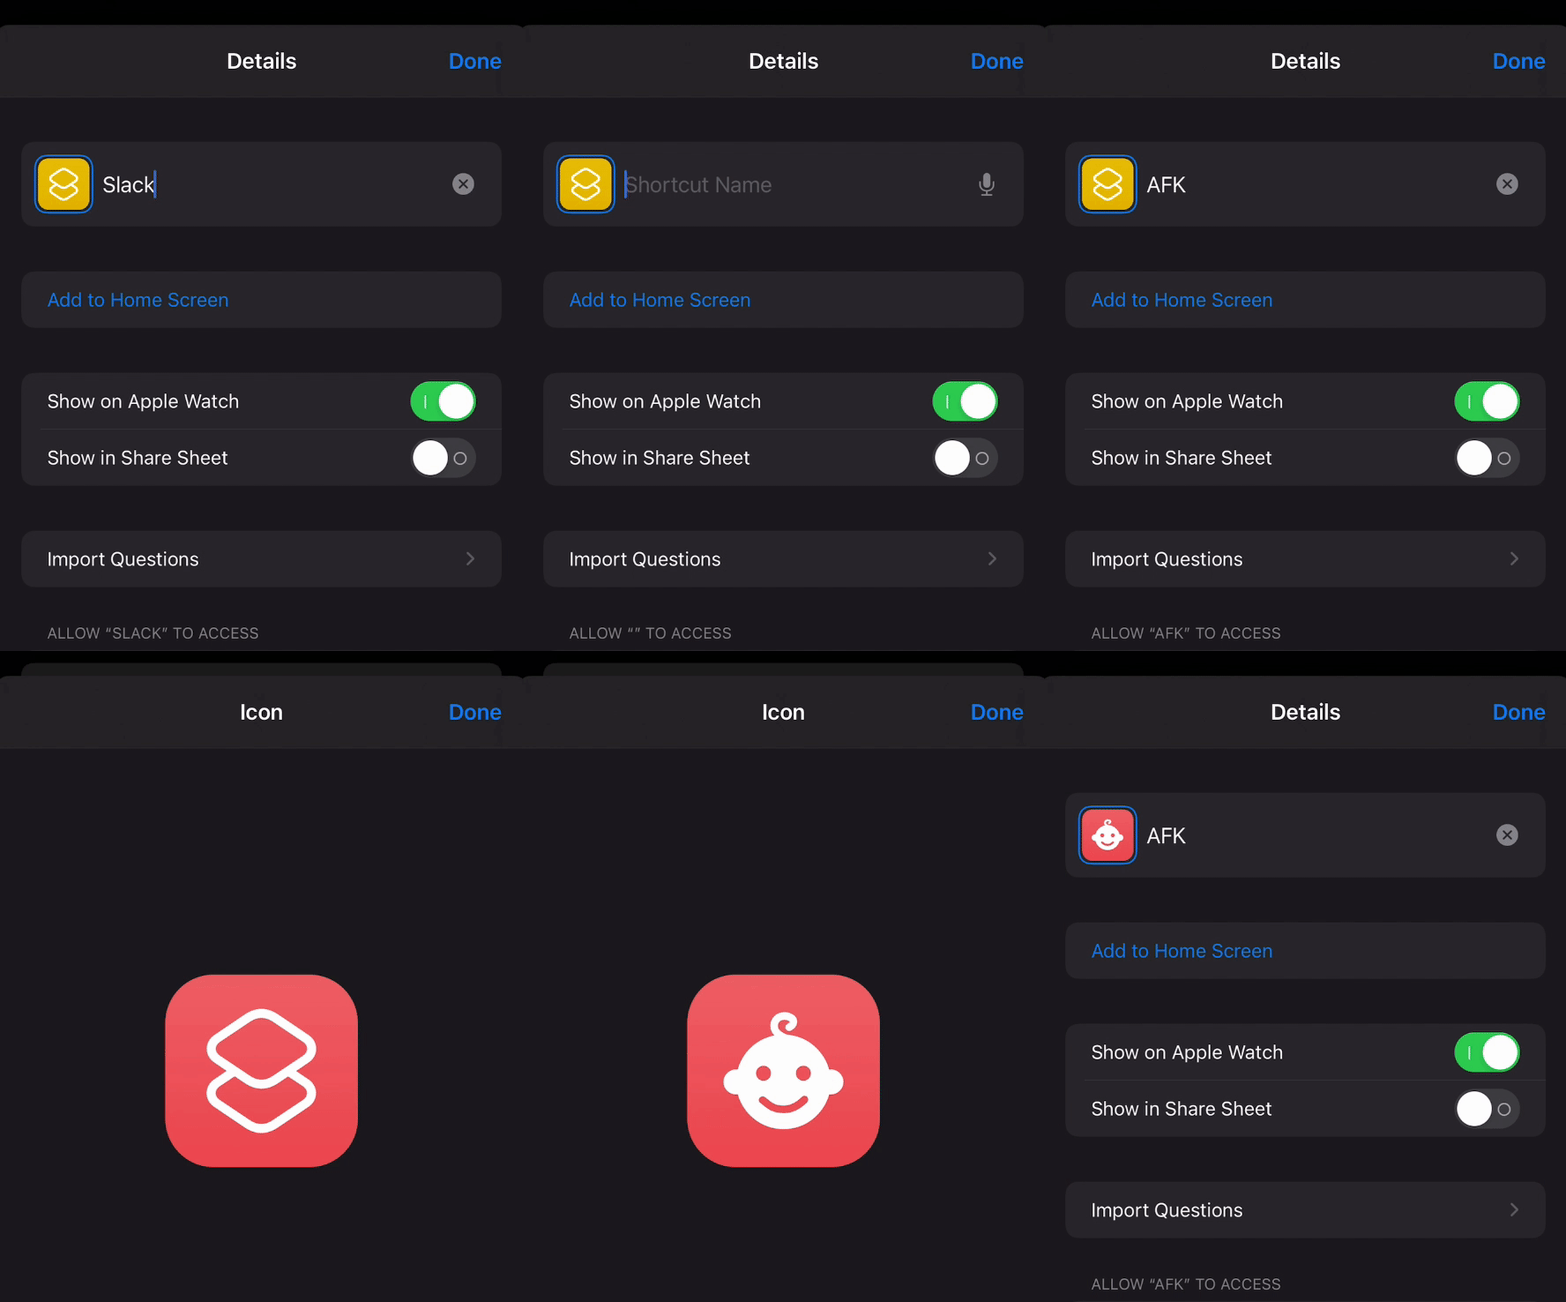
If you want to, you can change the name, glyph and background color for your shortcut:
Now, tap Add to Home Screen and in the popup you’re given one last chance to change the shortcut name. When you’re satisfied, tap Add in the top right corner.
Tap Done on the Details page (why this remains there is a mystery to me). Aaaaand, Done again.
Let’s test it for real now!
Tap the icon on your home screen, enter your minutes and watch your Slack status change almost instantly :)
If you’ve got ideas for other Shortcuts-powered Zaps I'd love to hear about them!


