


IMPORTANT
Approval by Zapier will be discontinued on February 28, 2023. If you’re using Approval by Zapier, you can still create approval steps in your Zap workflows using Zapier Tables and Zapier Interfaces. Request access to both apps through our Early Access Program.
We recently had a Community member with the following question:
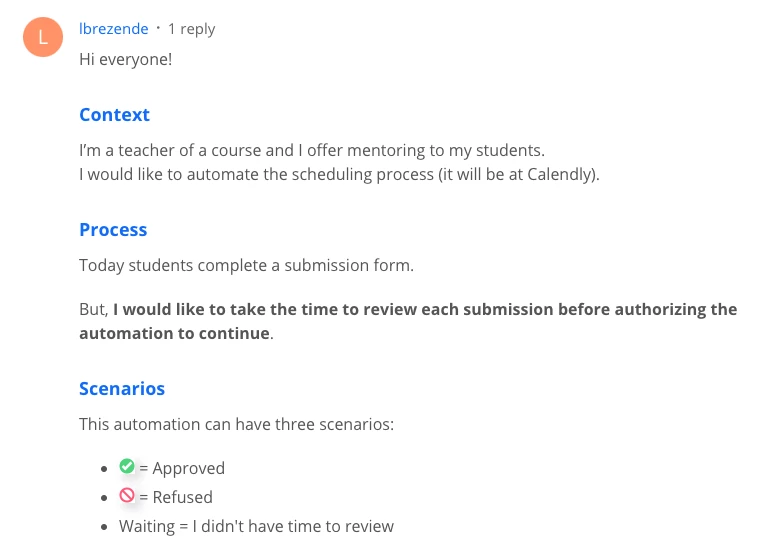
If you’re in a similar situation, one way to approach this is to create a “person in the loop” step by using Approval by Zapier. What this does is give you (or someone else) an opportunity to review incoming info and decide whether you’d like the Zap to continue or to stop.
Demo Time
I’m going to simplify this for demonstration purposes. I realize that in my example, I could just as soon use a filter since I’m only checking to see if a person chose “Yes” as an option. But imagine something more complex in terms of evaluating whether to approve.
Trigger: Google Form Submission
I receive a form submission and want to check whether the person has indicated that they’re interested in my course (I’m looking for “Yes”). Your use case would no doubt be more complex than this.
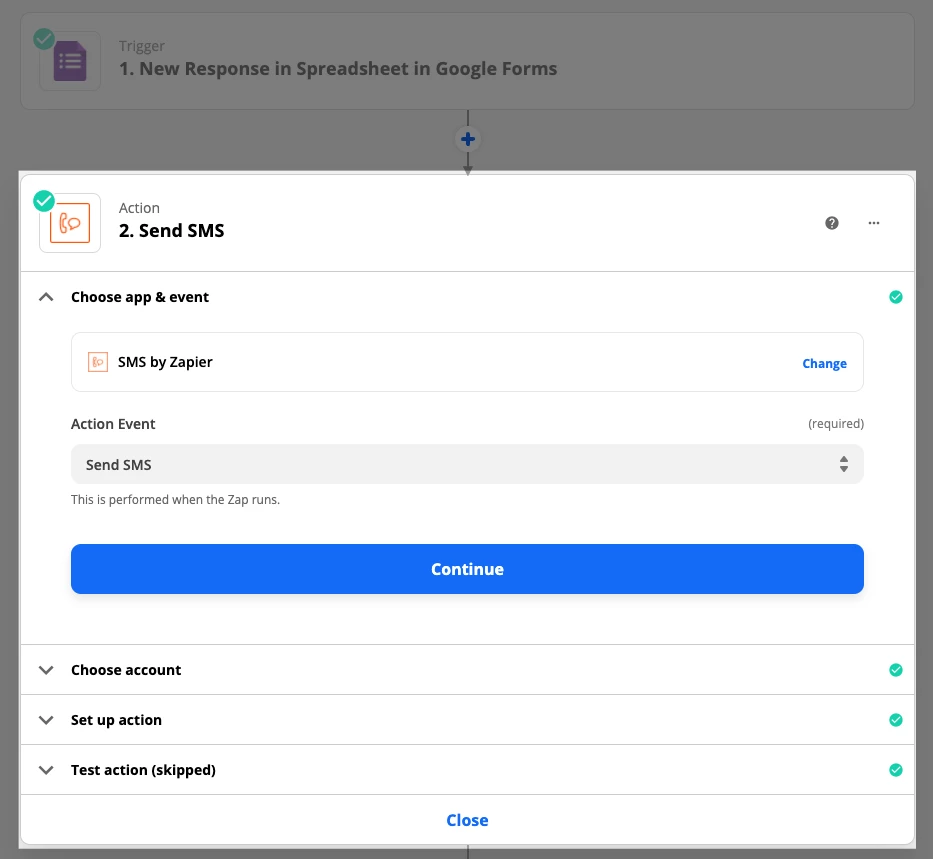
Action (optional): SMS by Zapier
We’ll get the appropriate link in the following step, but for now let’s just add this step in and we’ll come back to it.
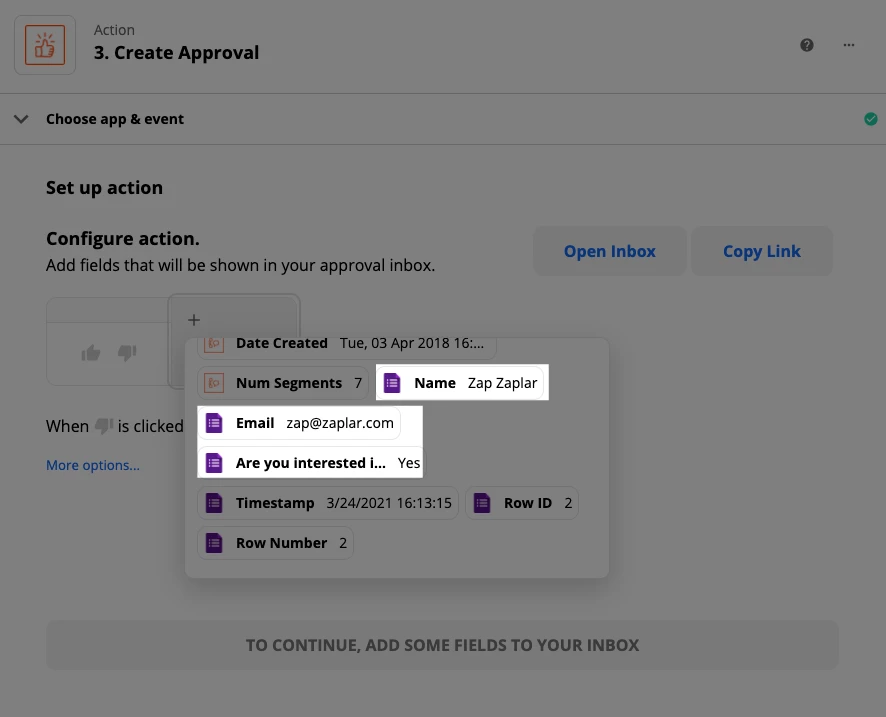
Action: Approval by Zapier
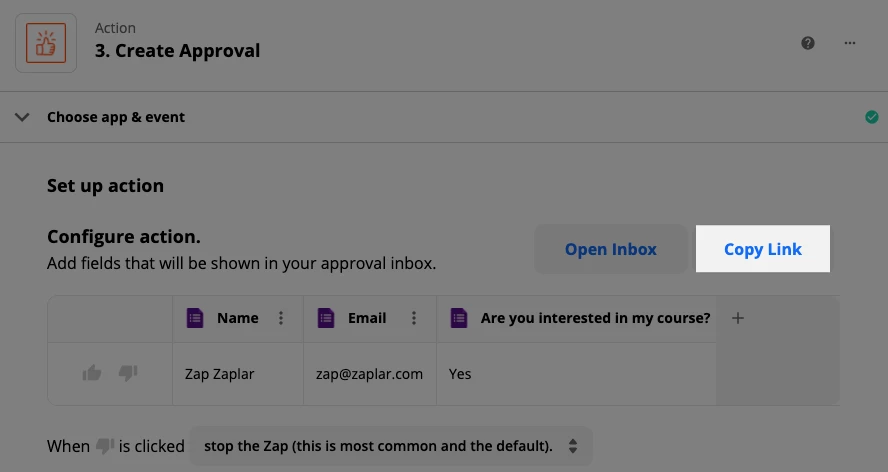
Here, I’m going to create a new entry in my approval inbox, which will then be conveniently accessible via a link (for simplicity’s sake in my SMS step, I’m going to shorten that link).
I’ll select the fields that I want to see as columns. I could just choose the one that shows Yes or No, but in this case I want to see a name and email address too so I can have an idea who’s submitting to my form.
Now that I’ve got access to my inbox link, I’m going to shorten it so the text message I send myself above isn’t crazy long. This is how long the link is...when we say unguessable, we mean it!
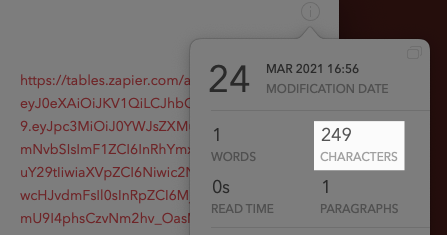
There are various ways to shorten it, but if you’re already in the Zap editor, you could add a URL Shortener by Zapier step and do it right there (I added it above Approval but I’ll delete it right after I get my URL).
I’ll click on this…
… then shorten it:
You only have to do this once in this Zap since the link for this Approval inbox won’t change. Let’s hop back to that SMS step real quick before moving on to our last step.
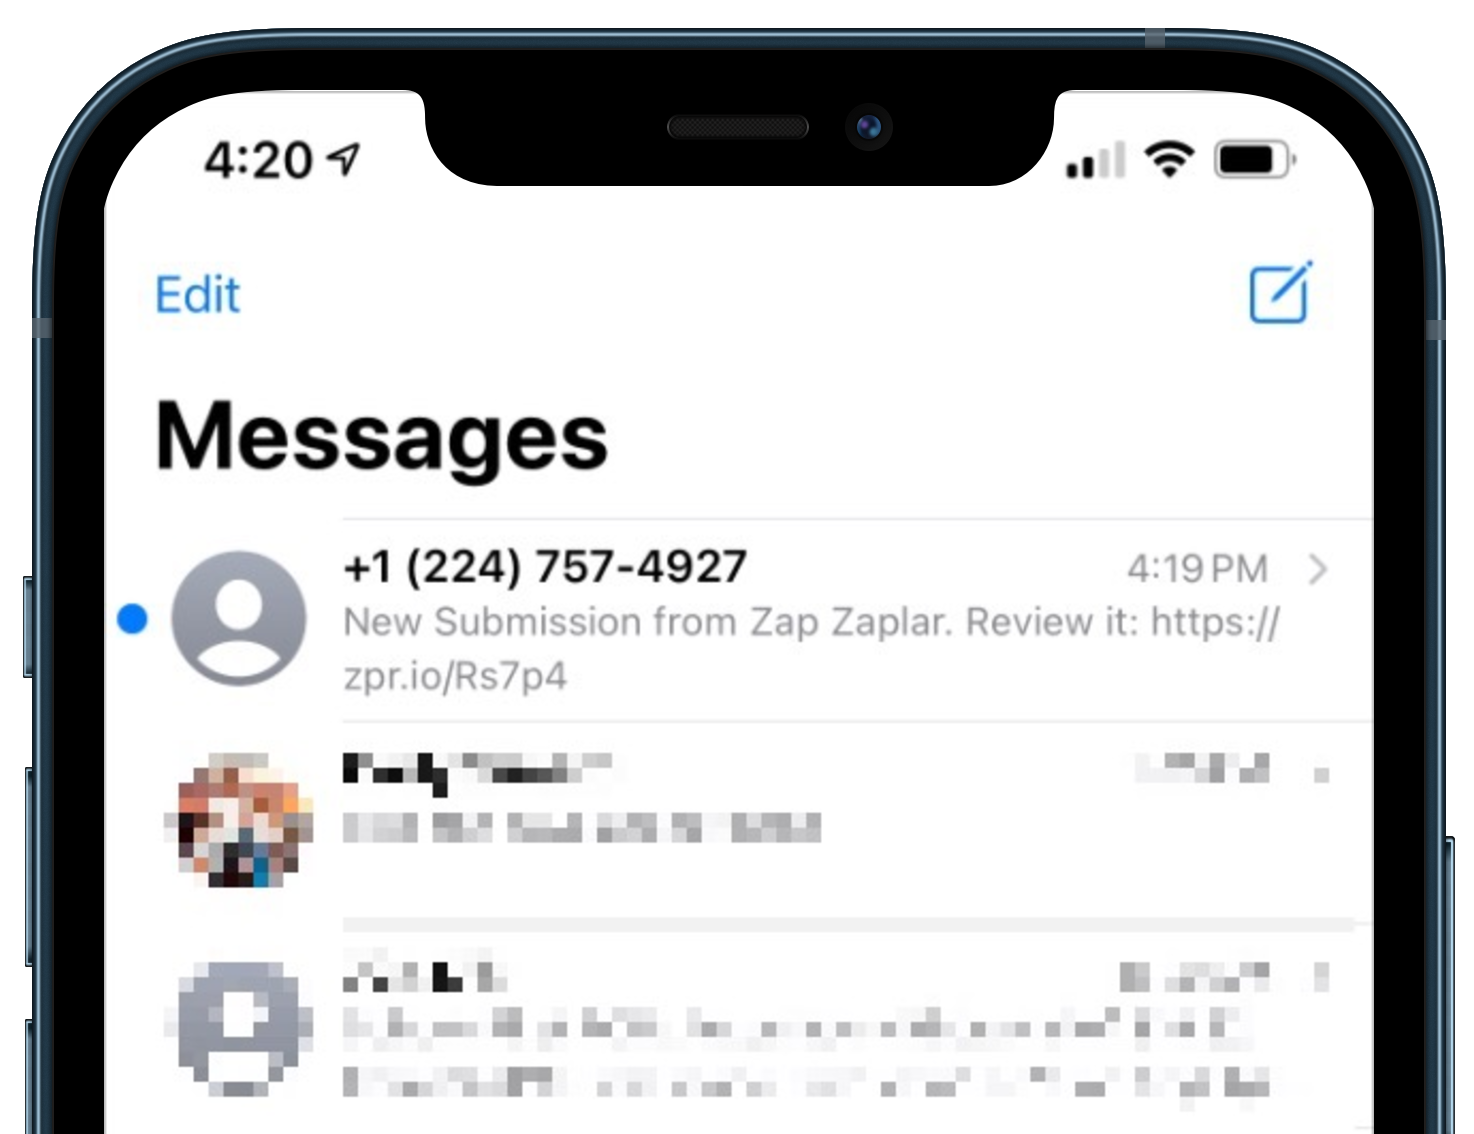
Action: SMS by Zapier
Since this step is between my trigger and the Approval step (see screenshot below), it means I’ll get a text message letting me know there’s something waiting to be approved. By the time I click on the link, that Approval step will have run.
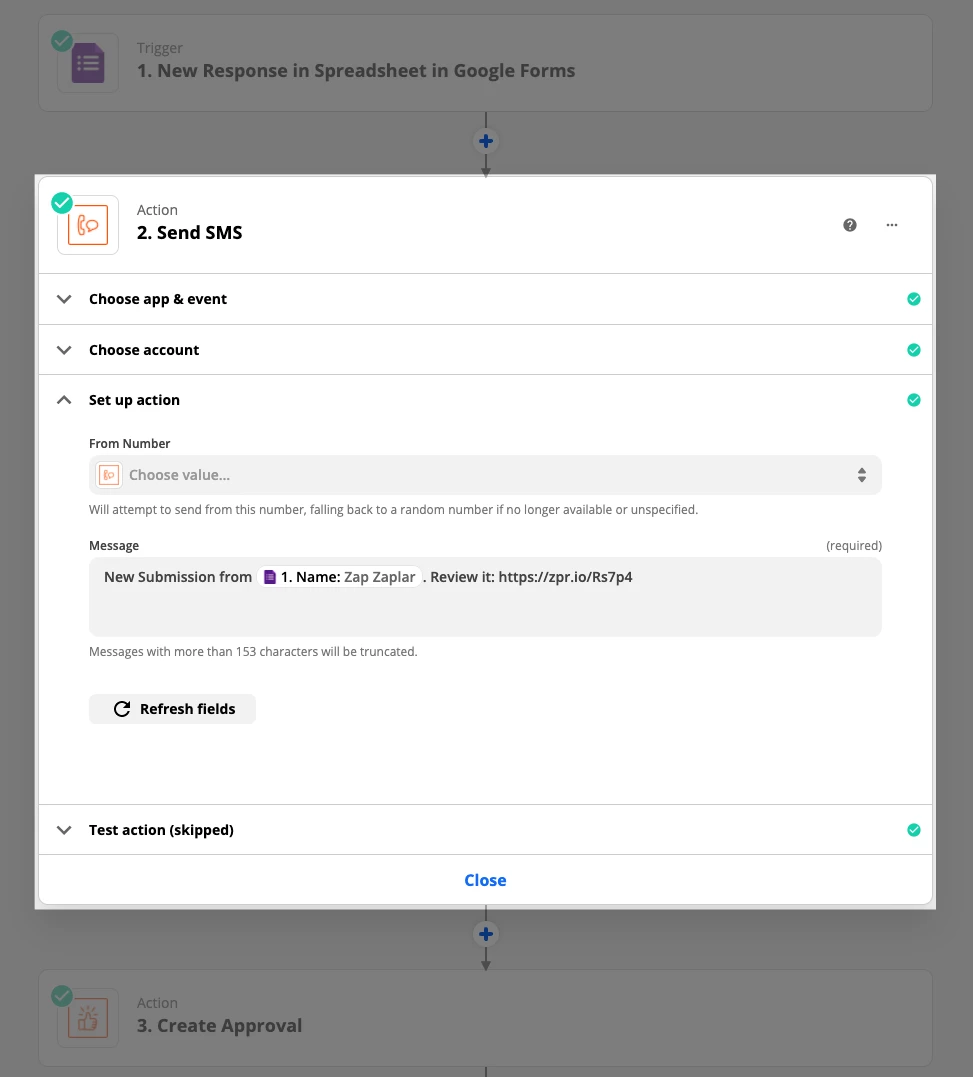
I wrote a brief message including the Name field from my form, then used the shortened link from URL Shortener by Zapier.
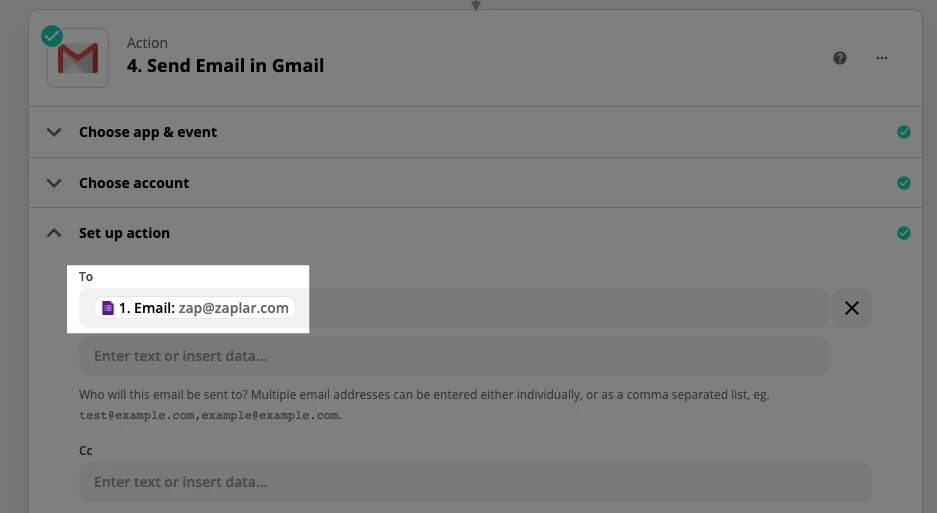
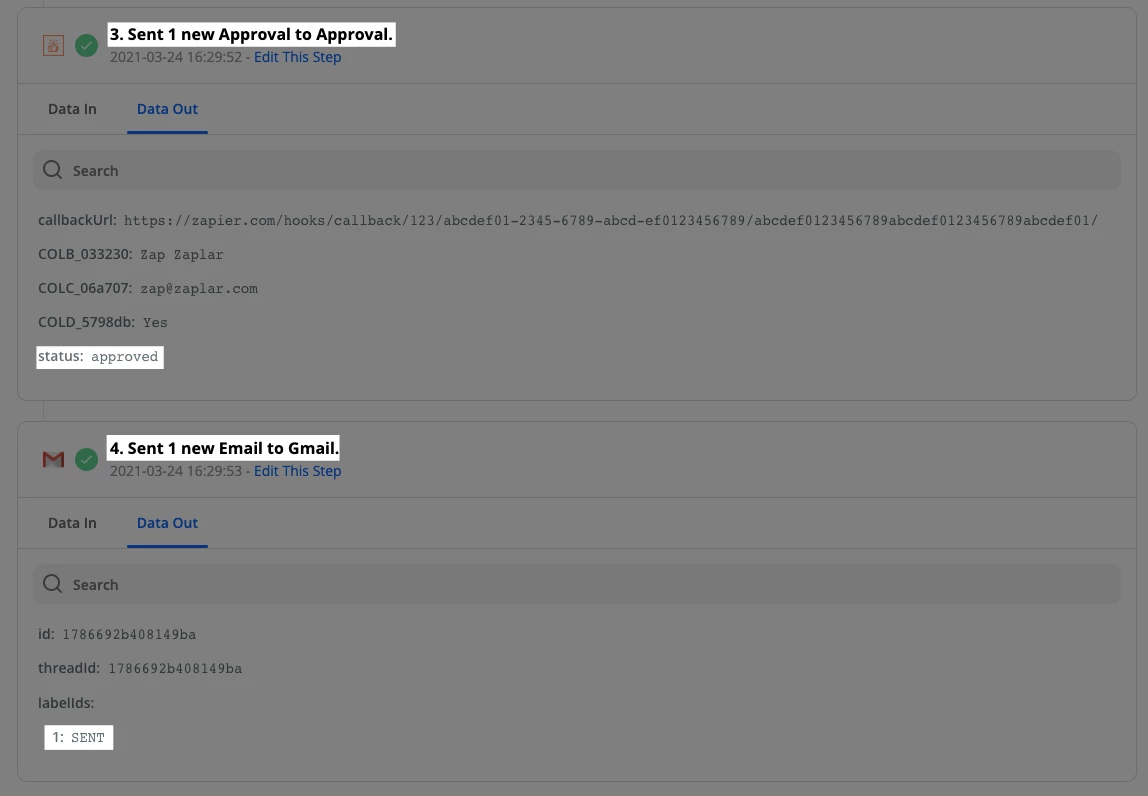
Action: Gmail — Send Email
For this example, the final step is to send an email to the person who submitted to my form. Your steps may vary.
Putting It All Together
Let’s run through how all of this will work.
Someone submits to my form
I receive a text message and click the link
I check my Approval inbox to make sure I want to approve
Once approved, my Gmail step runs
Wrapping Up
Let’s review what we learned above!
- How to use Approval by Zapier to create a manual approval process in your Zap
- How to send yourself a text message (or email, Slack message, etc) with a link to your Approval inbox
- A quick way to shorten links right in the Zap editor, using URL Shortener by Zapier
Until next week...have fun automating!