


We recently had a question in the Community:
For some reason, Zapier will not show the client name when writing a Zap to create a new record in Airtable. It shows the client ID, but not the name… any ideas?
The Challenge
There are a couple of issues at play:
- The New Project trigger for Harvest includes the ID for the client, but not the name.
- There is no Find Client action for the Harvest integration.
A Solution
There are other ways to tackle this, but in this article we’re going to look at how to use the Harvest API and Webhooks by Zapier.
And don’t worry! It’s actually not that complicated — for real!
JUST THE STEPS: If you’re comfortable with webhooks and API docs, feel free to skip to the TL;DR.
What We’re Building
Trigger: Harvest — New Project
Action: Webhooks by Zapier — Retrieve Client Info (we need a personal access token)
Action: Whatever else you need to do
In Harvest
There are two things to do in Harvest:
- Create a personal access token. You can do that here: https://id.getharvest.com/developers
- Determine how to retrieve the client info via the API. See the documentation: https://help.getharvest.com/api-v2/clients-api/clients/clients/#retrieve-a-client
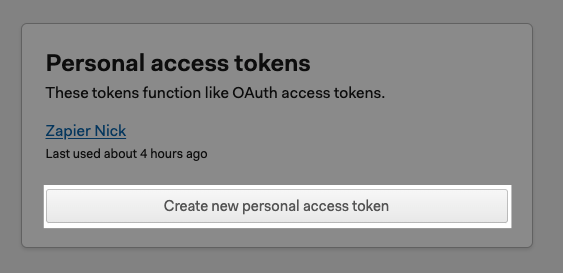
1. Creating the Personal Access Token
This is the easiest part :) On this page, click on this button:
Give it a name, then click the green button:
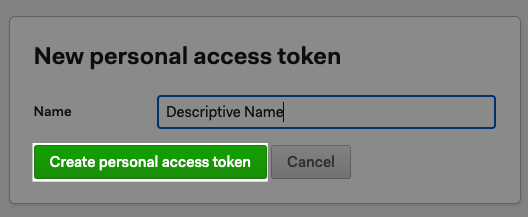
Now save the token and the account ID to use in the Zap (or leave that page up in Harvest to refer to).

2. Deciphering the API Documentation
Let’s un-pack what the API docs are telling us.
- We will use the GET method and the URL includes
/v2/clients/{CLIENT_ID} - The full URL will be https://api.harvestapp.com/v2/clients/{CLIENT_ID}
- The -H means we’ll put this in the Headers section of our Webhook step in the Zap. This is where your personal access token will be used.
- Again the -H indicates it will be in Headers, adding the Account ID from step 1
NOTE: In this instance, you don’t need to worry about the User-Agent portion shown at the very bottom of the screenshot.

In the Zap
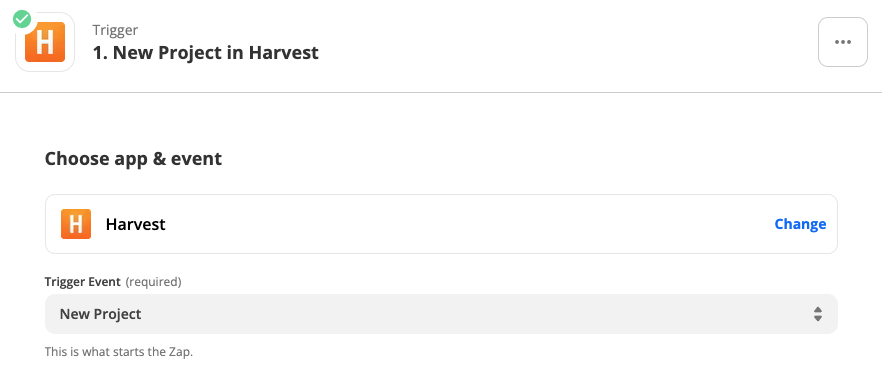
Trigger: Harvest — New Project
Action: Webhooks by Zapier — Retrieve Client Info (we need a personal access token)
Action: Whatever else you need to do
Trigger: Harvest
Action: Webhooks by Zapier
TIP: Even though we want to use the GET method, there’s a reason we DON’T want to use the option below:
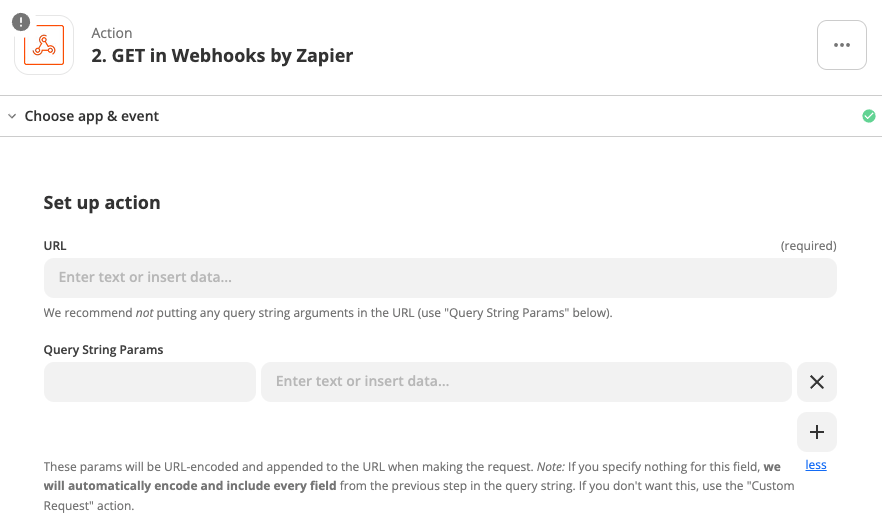
Notice the bit of text that says:
Note: If you specify nothing for this field, we will automatically encode and include every field from the previous step in the query string.
Because we’re not adding anything here…
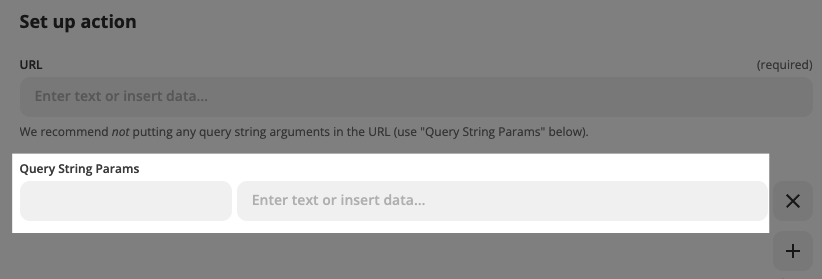
… all of the data from the New Project trigger will be sent in the request. We don’t want that.
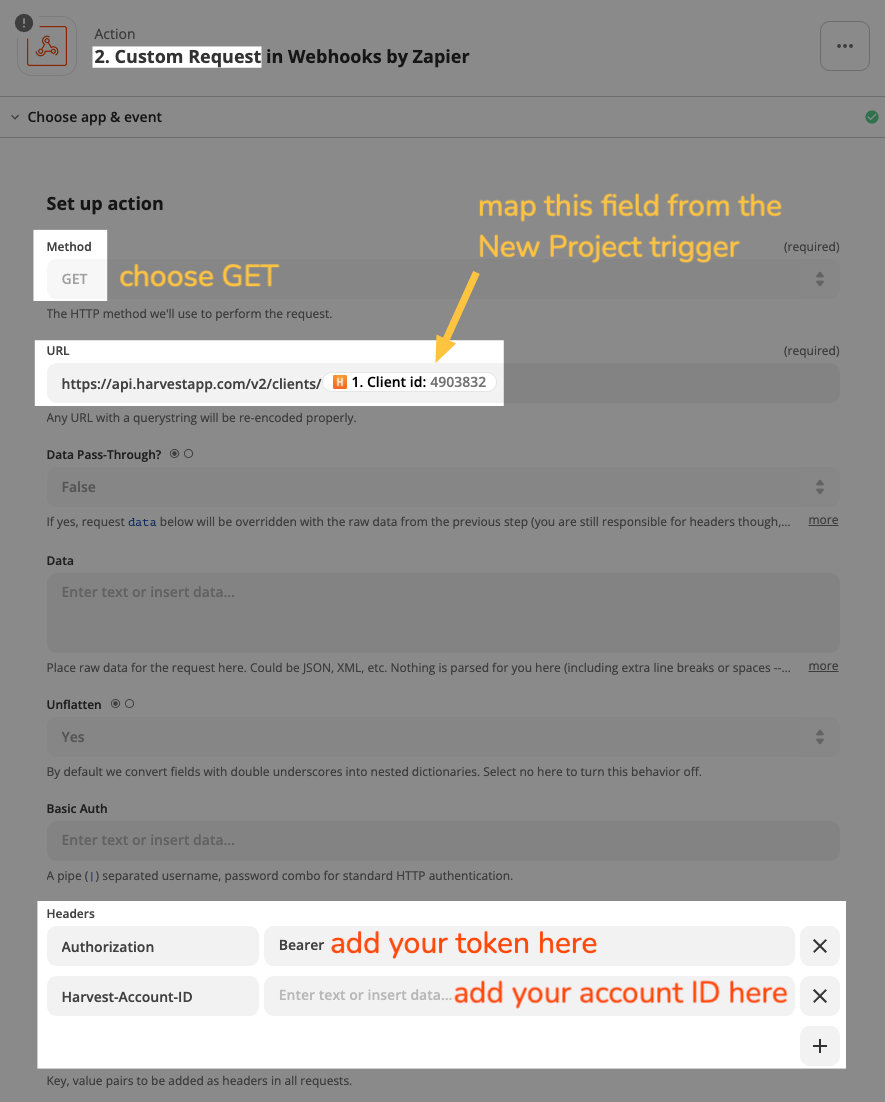
USE THIS INSTEAD

Use the Token and Account ID You Got from Harvest
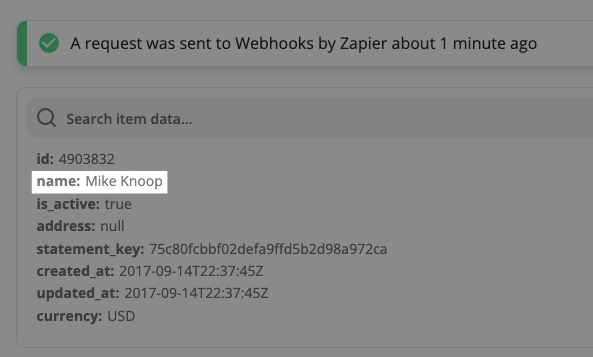
Now when you test that Webhooks by Zapier step you should get the client’s name:
TL;DR
If you just want the steps, without the details.
Just the Steps
- Get a personal access token from Harvest here. Take note of the token and the Account ID.
- In your Zap, add a Webhooks by Zapier action, choose Custom Request. Then:
Method: GET
URL: https://api.harvestapp.com/v2/clients/{Client_ID}
(the Client ID field comes from the New Project trigger)
HEADERS
Authorization: Bearer {your-token}
Harvest-Account-ID: {Account ID from Harvest}