

In this ’by Zapier’ article, we’re going to be taking a look at Delay by Zapier, a handy way to control the timing of steps in your Zap.
What it is
Delay by Zapier allows you to put a Zap run on pause. It’s an action that you can add anywhere in your Zap that will halt the workflow until a set time. I like to think of Delay as a doorkeeper for your Zap, it holds up the data and waits until the right time to before allowing the steps to continue.
Adding a Delay step is useful when:
- You want some steps in your Zap to run some time after the others
- You want to wait for a specific date to run some steps in a Zap
- You need to space out the timing of Zap runs
How it works
There are three different types of delay that you can add to a Zap:
- Delay for
- Delay until
- Delay after queue
Delay for
With Delay for you can pause a Zap certain amount of time. The Zap will run as usual until it hits the Delay step where it pauses, not running any other actions, until the end of the Delay period.
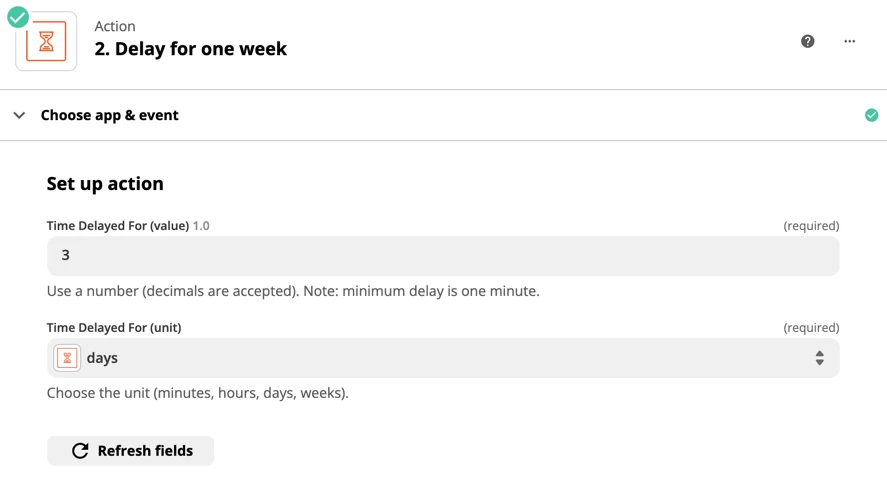
After the delay period, any steps after the Delay step will run as normal.
Delay until
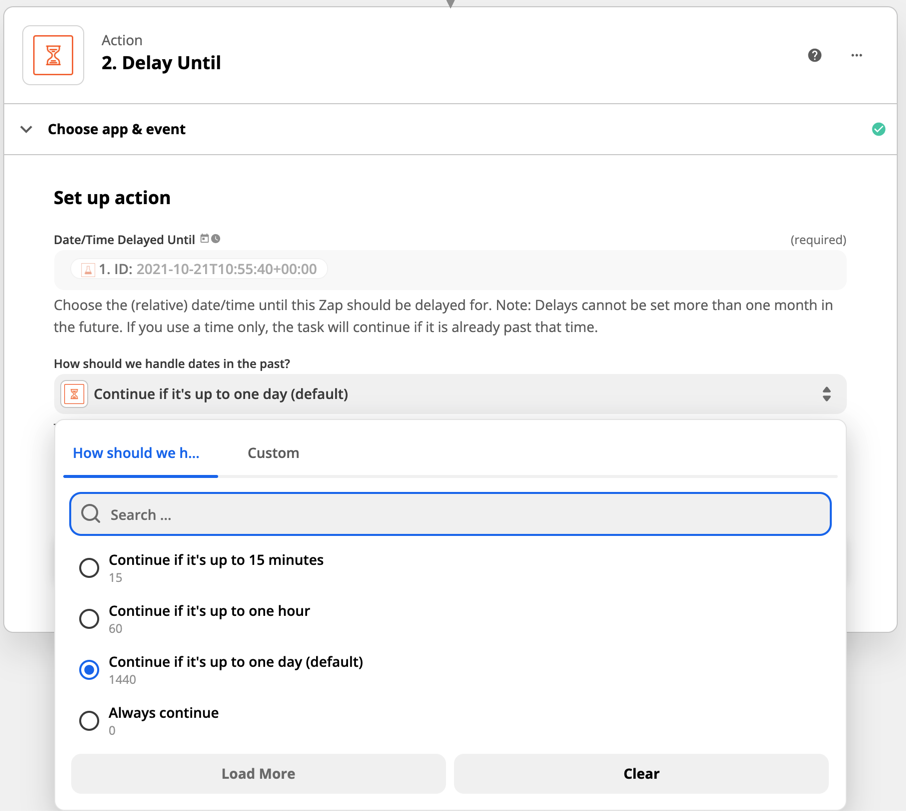
Delay until tells your Zap to wait until a specific day and time before it unpauses. When a Zap hits a Delay until step, it holds future actions until the time and day that you specify.
When you set up the Delay until action, one of the options that you’ll see is: ‘How should we handle dates in the past’. This lets you decide whether the Zap should run or not if the date/time in the Delay step has already passed. For example, a Delay Until Zap is set to hold a Zap run until 1pm, but it doesn’t trigger until 1:02pm, you can decide whether the Zap should still run.
HINT: if you need a Zap to start running at a specific time, check your timezone settings in your profile.
Delay after queue
Delay after queue allows you to space out the timing of tasks in your Zap. It's useful if you’re sending information to an app that limits the amount of data you can send at once (ie rate limiting).
Think of the tasks in your Zap like a queue of kids waiting to go down a water slide; the Delay step holds the data at the top of the slide, waiting the right amount of time before letting each task head on safely down the slide (Zap).
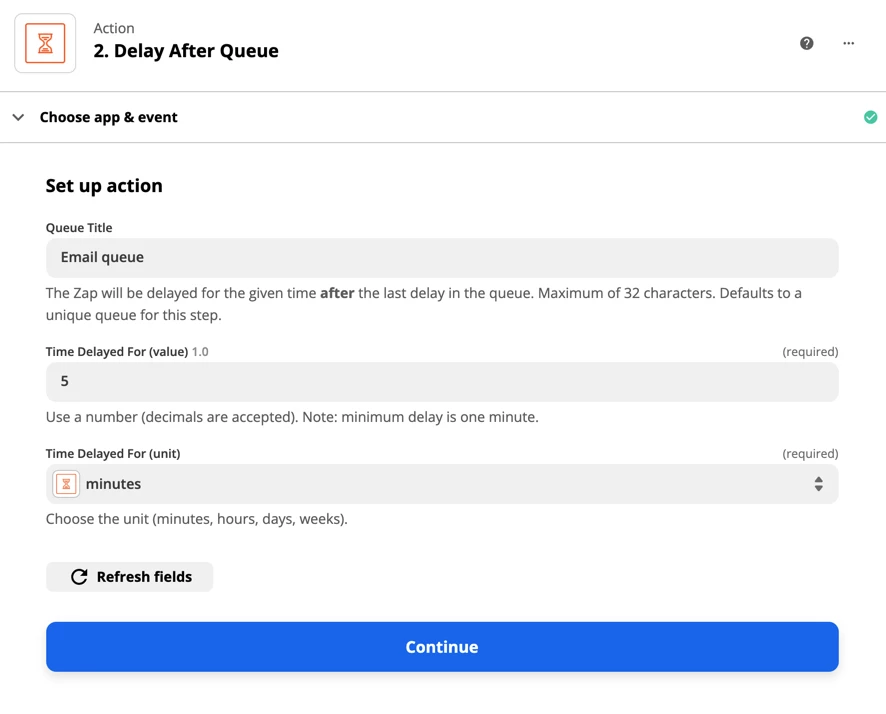
When you set up a Delay after Queue step the first option you’ll see is ‘Queue Title’. It’s helpful to give this a descriptive name that you’ll recognize. Generally, you'll only need one Delay after Queue step in your Zap, but if you do have more than one, you can add the data to the same queue by giving it the same name.
The Time Delayed For value and unit fields tell the Zap how long to wait in between each task before allowing the next one through. The minimum delay you can have is one minute.
What you can do with it
Sending yourself a reminder to follow up with a client if you haven’t marked a task as completed.
- Pipedrive: New Lead
- Asana: Create task: “Follow up with Lead”
- Delay for 1 week
- Asana: Find task by ID (find the task from step 2)
- Filter by Zapier: Stop Zap if the task is already completed, continue to next step if it isn’t
- Microsoft Teams: Send channel message “Don’t forget to follow up with lead”
HINT: actions after a delay step will run the same data, it won't pull new data. If you want to know the current status of something you will need to search for it again.
How to have a Zap delay during non-business hours:
Wrapping up
Delay by Zapier is a great way to pause a Zap in the middle of a run. It allows you to hold any steps after the delay, which will continue when you want them to, depending on the delay.
If you’d like more information on how to set up a Delay step, this help doc has more information on how to use Delay by Zapier
Looking for other ways to control when your Zap runs? Take a look at Schedule by Zapier and Approval by Zapier.