Well, well, well. This wasn't the post that I set out to write but during the course of trying to create a Workflow Wednesday article I realized I was faced with several possible options for accomplishing my goal. So I thought I'd give you a little behind-the-scenes look at my thought process :)
The Workflow
What I'm ultimately trying to accomplish is to use the Zapier Chrome extension to trigger a Zap that will auto-generate an image that looks something like this:

How to Create the Image Automatically
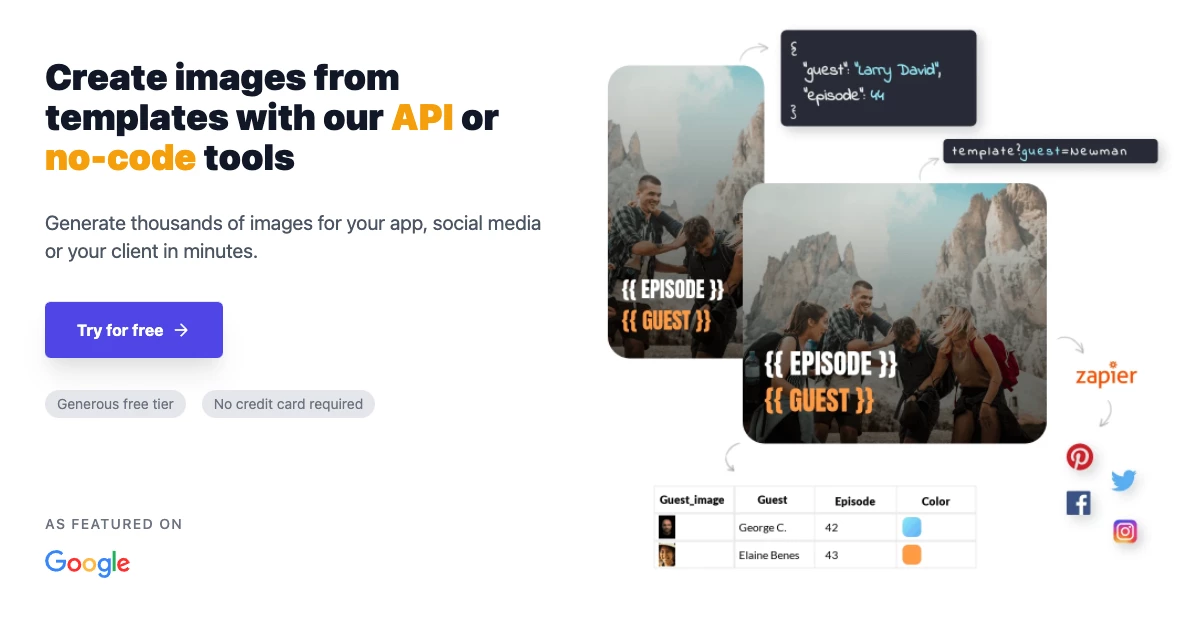
The way we have the image auto-generated is by using an app called Glitterly.
My Thought Process Going In
Trigger: Zapier Chrome Extension (trigger from the 2-app page)
Action: Get the app names from the URL (https://zapier.com/apps/slack/integrations/google-sheets)
Action: Look up the app logos, to insert them into the image template in Glitterly
Action: Send the image link back to the Chrome extension
In Reality, There Are Multiple Approaches
Even as a seasoned Zapier user, I can't always anticipate the various roadblocks and forks in the road that might present themselves.
How to Set Up the Chrome Extension
We need several pieces of information in order to generate an image:
1) The trigger app (Slack)
2) The trigger name (New Channel)
3) The trigger description (Triggers whenever a new #channel is created.)
4) The action app (Google Sheets)
5) The action name (Create Spreadsheet Row)
6) The action description (Create a new row in a specific spreadsheet.)
Can we get any of it automatically?
Yes. The Chrome extension provides the URL of the page that is visible when we trigger it. Both app names are in there:
https://zapier.com/apps/slack/integrations/google-sheets
But how do we isolate those two parts of the URL?
One Option: Formatter — Text — Split Text
We can use the forward slash as the separator, which will give us multiple outputs:
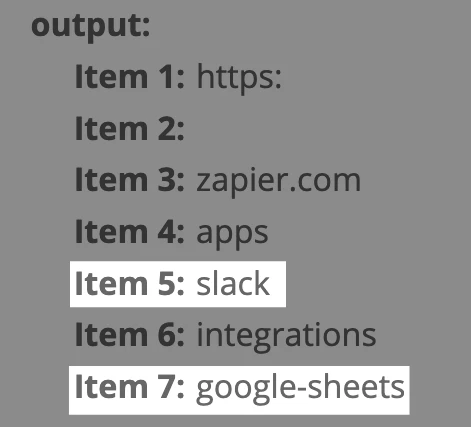
Since the URL pattern will always be the same, we can count on items 5 and 7 to contain the app names. Awesome!
How do we use these to retrieve the app logos?
This depends on how we'd like to optimize our workflow.
-
Do we want fewer places to look (meaning, keep it all in the Zap instead of having it in an external app)?
-
Do we want to update data in a single place (meaning a single Google Sheet instead of multiple Lookup Table steps — you'll see what I mean down below)
-
Do we want fewer steps in our Zap OR do we want the Zap to be simpler to understand/modify?
-
Do we want to do less manual work with the extension (meaning use the page URL instead of copying and pasting some text info a field)?
Option 1: Use Two Lookup Tables in the Zap (one for each app)
Now that we have a field for each app, we can create a Lookup Table for each one.
PROS
-
We can do everything in the Zap itself
-
It's obvious and straightforward what's happening (look up App A, then look up App B)
CONS
-
Since we can't (yet) duplicate steps that means re-creating the Lookup Table
-
If anything changes in the table, you have to modify both Lookup Table steps
Option 2: Make our app names into line items (so we can use a single Lookup Table)
Instead of using Separate Fields as the output option in our Split Text step, we can use line items. And surprise! Lookup Tables support line items. That means you can then cut out one of your Lookup Table steps.
PROS
-
Still contained inside of the Zap
-
Cuts out a Lookup Table step (whew)
CONS
-
You then have to convert the line items back to text, in order to use it in later steps (gets us right back to 2 steps after the Split Text step)
-
It's not nearly as obvious to the average Zapper how the pieces fit together (outputting line items, looking up multiple items, then re-converting them to text)
Option 3: Use Google Sheets for the lookup (one for each app)
Instead of using the line items option above, you can keep the separate fields and create one Lookup Spreadsheet Row per app.
PROS
-
You can update all of the data in a Google Sheet (more flexible than our Lookup Tables, you can share the sheet with others or even automate rows being added to it).
-
As in Option 1 above, it's obvious and straightforward what's happening (look up App A, then look up App B).
-
You can more easily return multiple data points, if you want (each row can have multiple columns, in the event that you need to map more things)
CONS
-
It means using another app, and connecting to it in Zapier
-
There may be permission issues if someone tries to edit the Zap but can't access the sheet
And We're Just Getting Started
This is just the very beginning of the whole process. We need to add some fillable fields to the Chrome Extension step so we can copy and paste this:

But if we need the trigger/actions names and their descriptions to be separate fields in order to send them to Glitterly, that means we have to separate each of those as well.
Yup. So that will likely require some more Split Text steps ( at least one, if not more.
We haven't even touched Glitterly yet
While Glitterly does make it pretty easy to design a template, it still does take time. And there are some things to be aware of. For example…
When you add shapes to a template, you can't control the color of those shapes via the Zapier integration. So I thought I was being smart, in order to use brand colors to modify these:

Little did I know, I would have to create images (I used Figma and didn't take long) that include that whole left part.
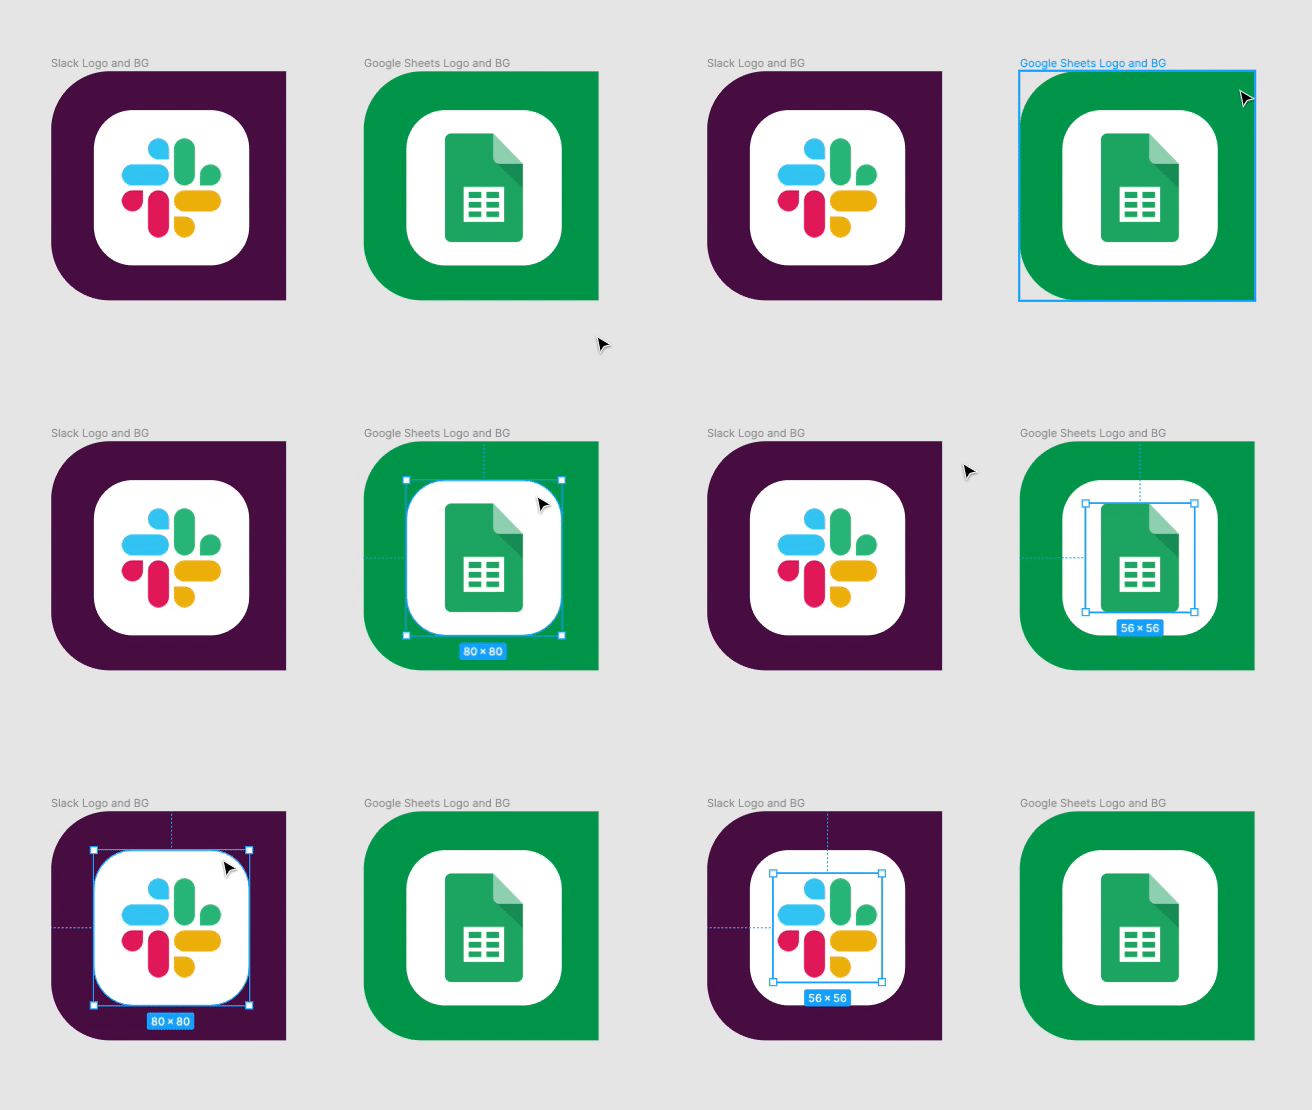
It would have been quicker to do this from the start, but I was trying to create more flexibility in the Glitterly template, rather than locking in those colors and having to create new images (instead of just saving the logos).
UPDATE: I reached out to Glitterly with that feedback and you can now control the color of shapes, directly from the Zapier integration :)
Is it even worth automating?
If I'm already creating this part of the design in Figma, could I just as easily build out the whole design and modify text and colors there when I want to create an image of 2 apps?
Helping others work more efficiently
If my teammates aren't familiar with Figma, or simply don't want to enter a graphic design app in order to create these, that's where a Zap comes in handy.
Creating images at scale
Rather than using the Zapier Chrome extension, what if I wanted to set up a Google Sheet as my trigger. I could then cut out a lot of the lookup steps, and create dozens or hundreds of images with ease.
Flexibility, using other Glitterly options
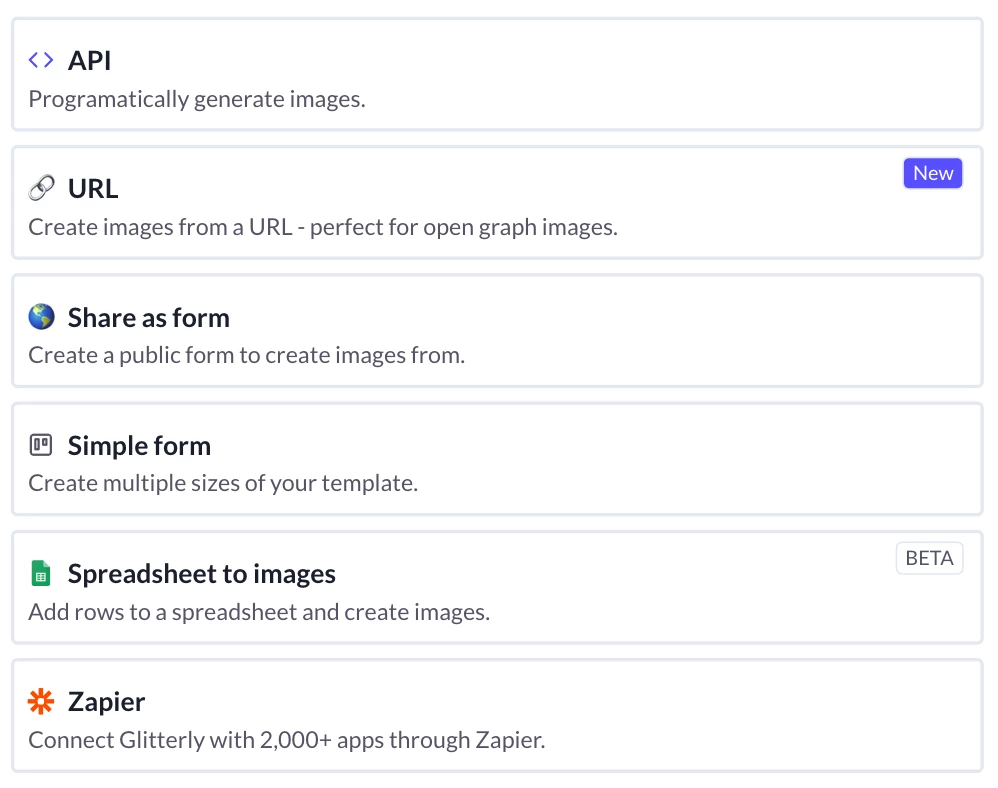
In addition to using a Zap, I can provide teammates with other ways to create images:
Wrapping Up
I do still plan to complete the Zap and write a Workflow Wednesday post about the process, since I'm about 80% of the way there. I thought, however, that giving a bit of a "here's what goes into creating Zaps for our articles" might be helpful or interesting. Until next time, happy Zapping!

