


Hey hey! Nick here, back with another workflow on this fine Wednesday.
Sometimes you have a bit of data that you’d like to run through a Zap, but you don’t always have a specific trigger app to kickstart your workflow. Here are 6 ways you can quickly trigger your Zap workflows and submit some text in the process (or not)
1. Alfred (on a Mac)
If you’re a Mac user, the absolute fastest way (using just a keyboard shortcut) is to use Alfred. We have a blog post that outlines the setup. This is my favorite way to send some data to a webhook-powered Zap in order to then run my desired actions.
It simply becomes a matter of using the Alfred shortcut to bring up the window, then you type whatever keyword you’ve set up, then either type or paste the text you’d like to send to your Zap.

2. Webhook URL Directly in Your Browser
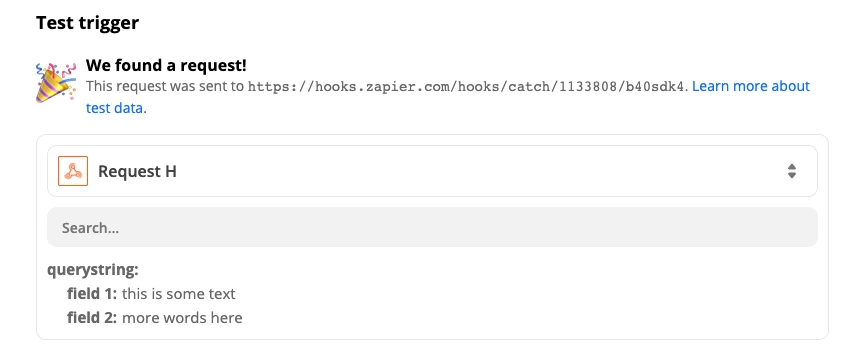
Similar to the method above, instead of using Alfred to send the data to your Webhook-powered Zap, you can navigate to that webhook directly in your address bar. Doing so will trigger your Zap immediately, which is perfect if you just want to run a Zap without sending any data to it at all. You can, however, use URL parameters like this:

When you press enter, this is what will show up in your Zap:
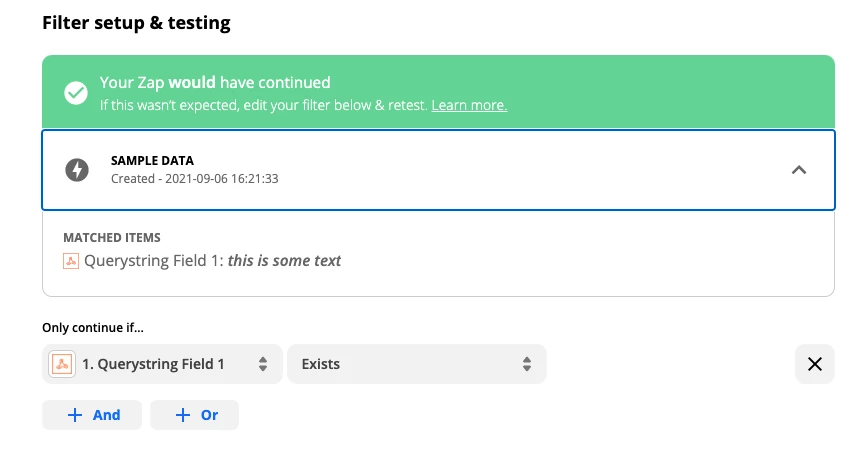
You may want to add a Filter step to your Zap to only continue if there’s something in the fields that you’ve specified. Otherwise, simply visiting the URL will trigger the Zap and continue through your Zap’s actions.
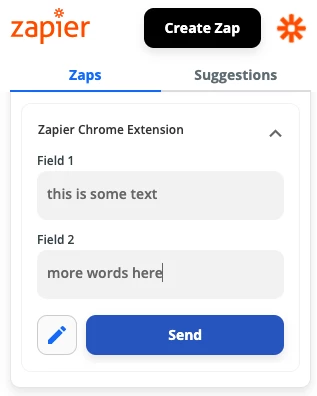
3. The Zapier Chrome Extension
Assuming you’re a Chrome user, you can trigger your Zap workflows with the Zapier extension. This can either be a simple “trigger this Zap” option, where you click Send OR you can add fields to fill in:
Read more about the Chrome extension:
4. Slack Slash Command
If you’re a Slack user you can build a slash command that will do pretty much what the Alfred option above does. It will send the text you enter to the webhook URL that you specify.
We have a setup guide on the Zapier blog that you can check out.
5. A Pre-filled Airtable (or some other app) Form
This option takes a bit of setup, but once you’ve got it created you just have to visit the form URL and type or paste text into the URL. You can read more about the process here, in Airtable’s help docs.
This would work best if you had linked records, or maybe a single select field, and also wanted to send some text. So maybe you bookmark a few URLs, to make it easy to add a bit of data along with those pre-selected fields.
Then you create a Zap that triggers when new records are added to that table.
6. The Shortcuts App (on iOS)
If you have an iOS-powered device, you can use the Shortcuts app to trigger a (you guessed it) webhooks-powered Zap. I wrote a detailed article about it here:
Conclusion
Hopefully you’ve found these options handy in more easily triggering your Zap workflows  If you have any other suggestions, I’d love to hear them!