Best answer

WPForms - Zapier - Zendesk

  • 16 March 2020
  • 3 replies
  • 327 views

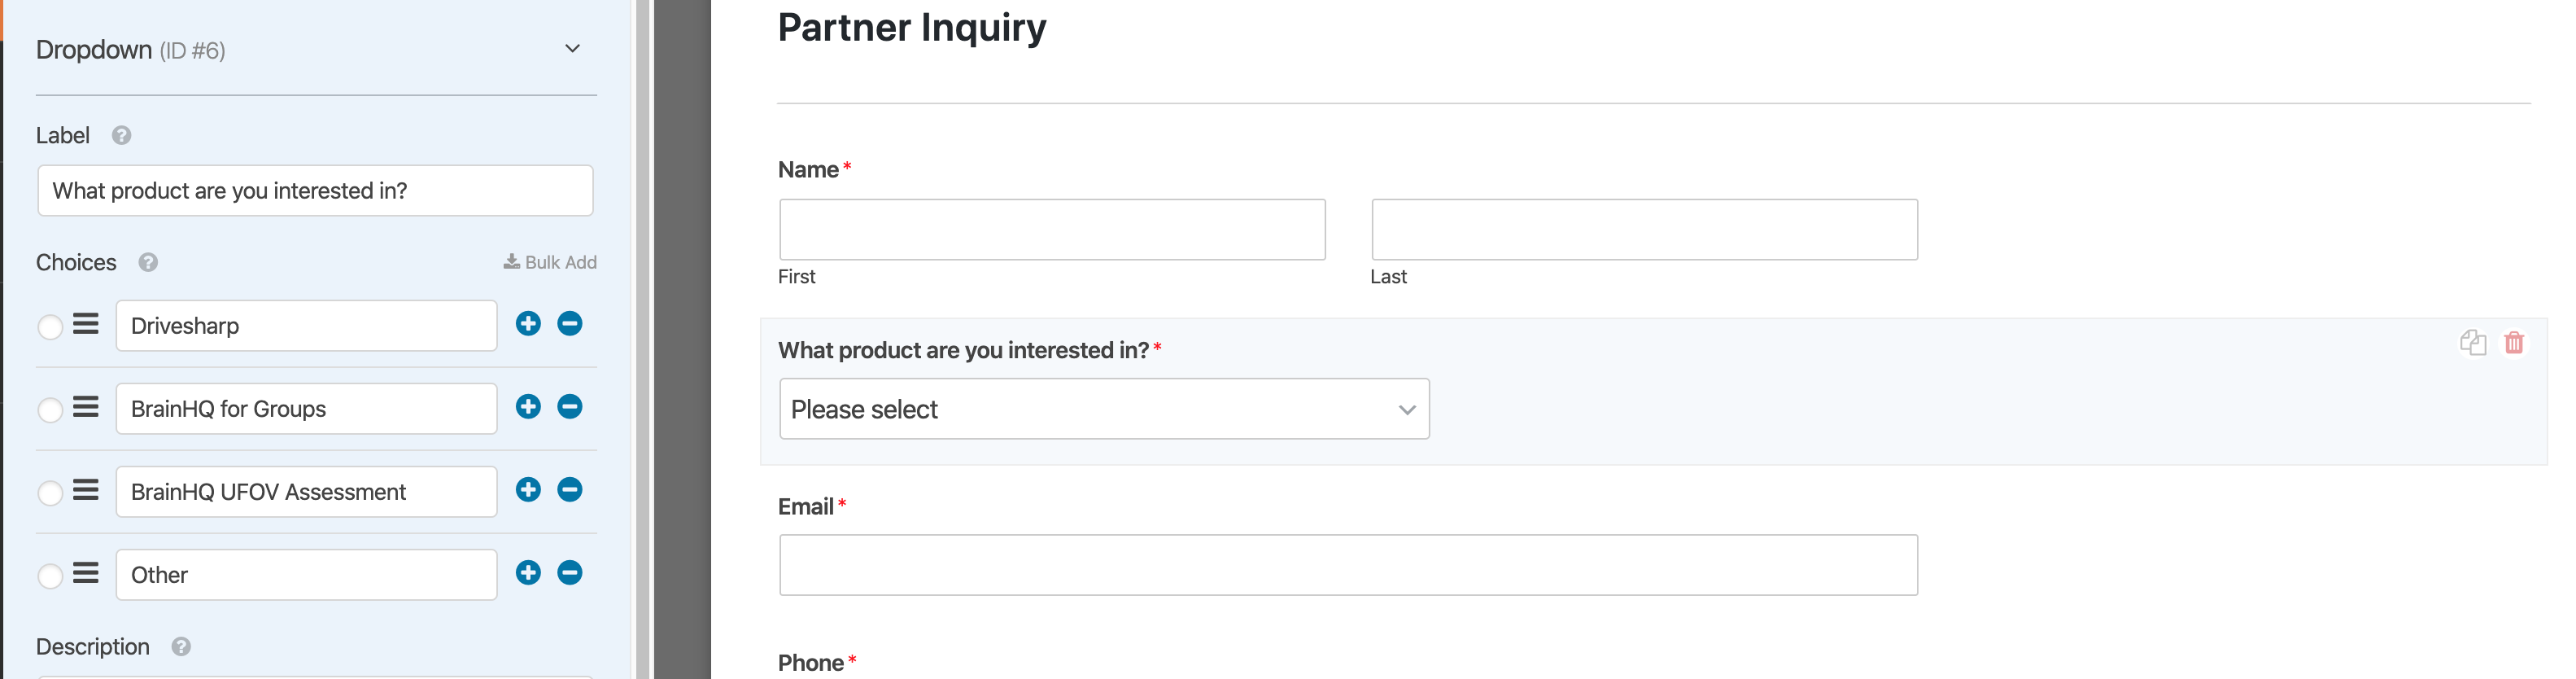
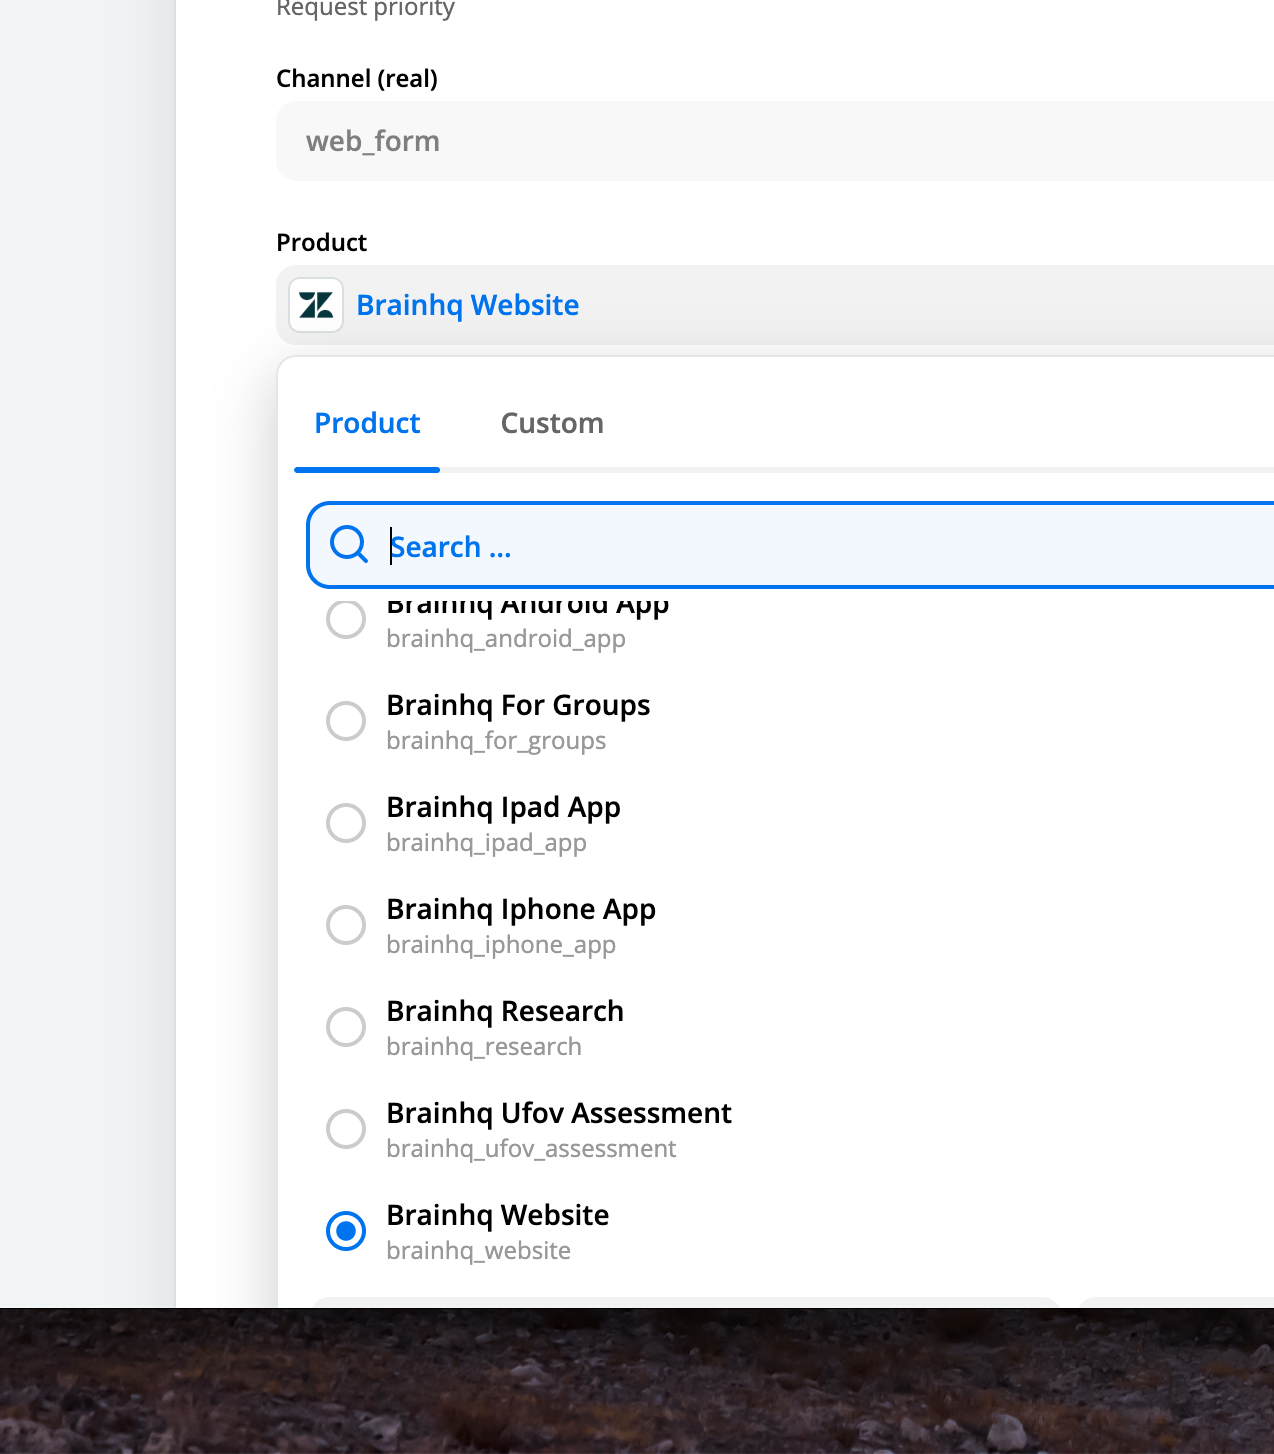
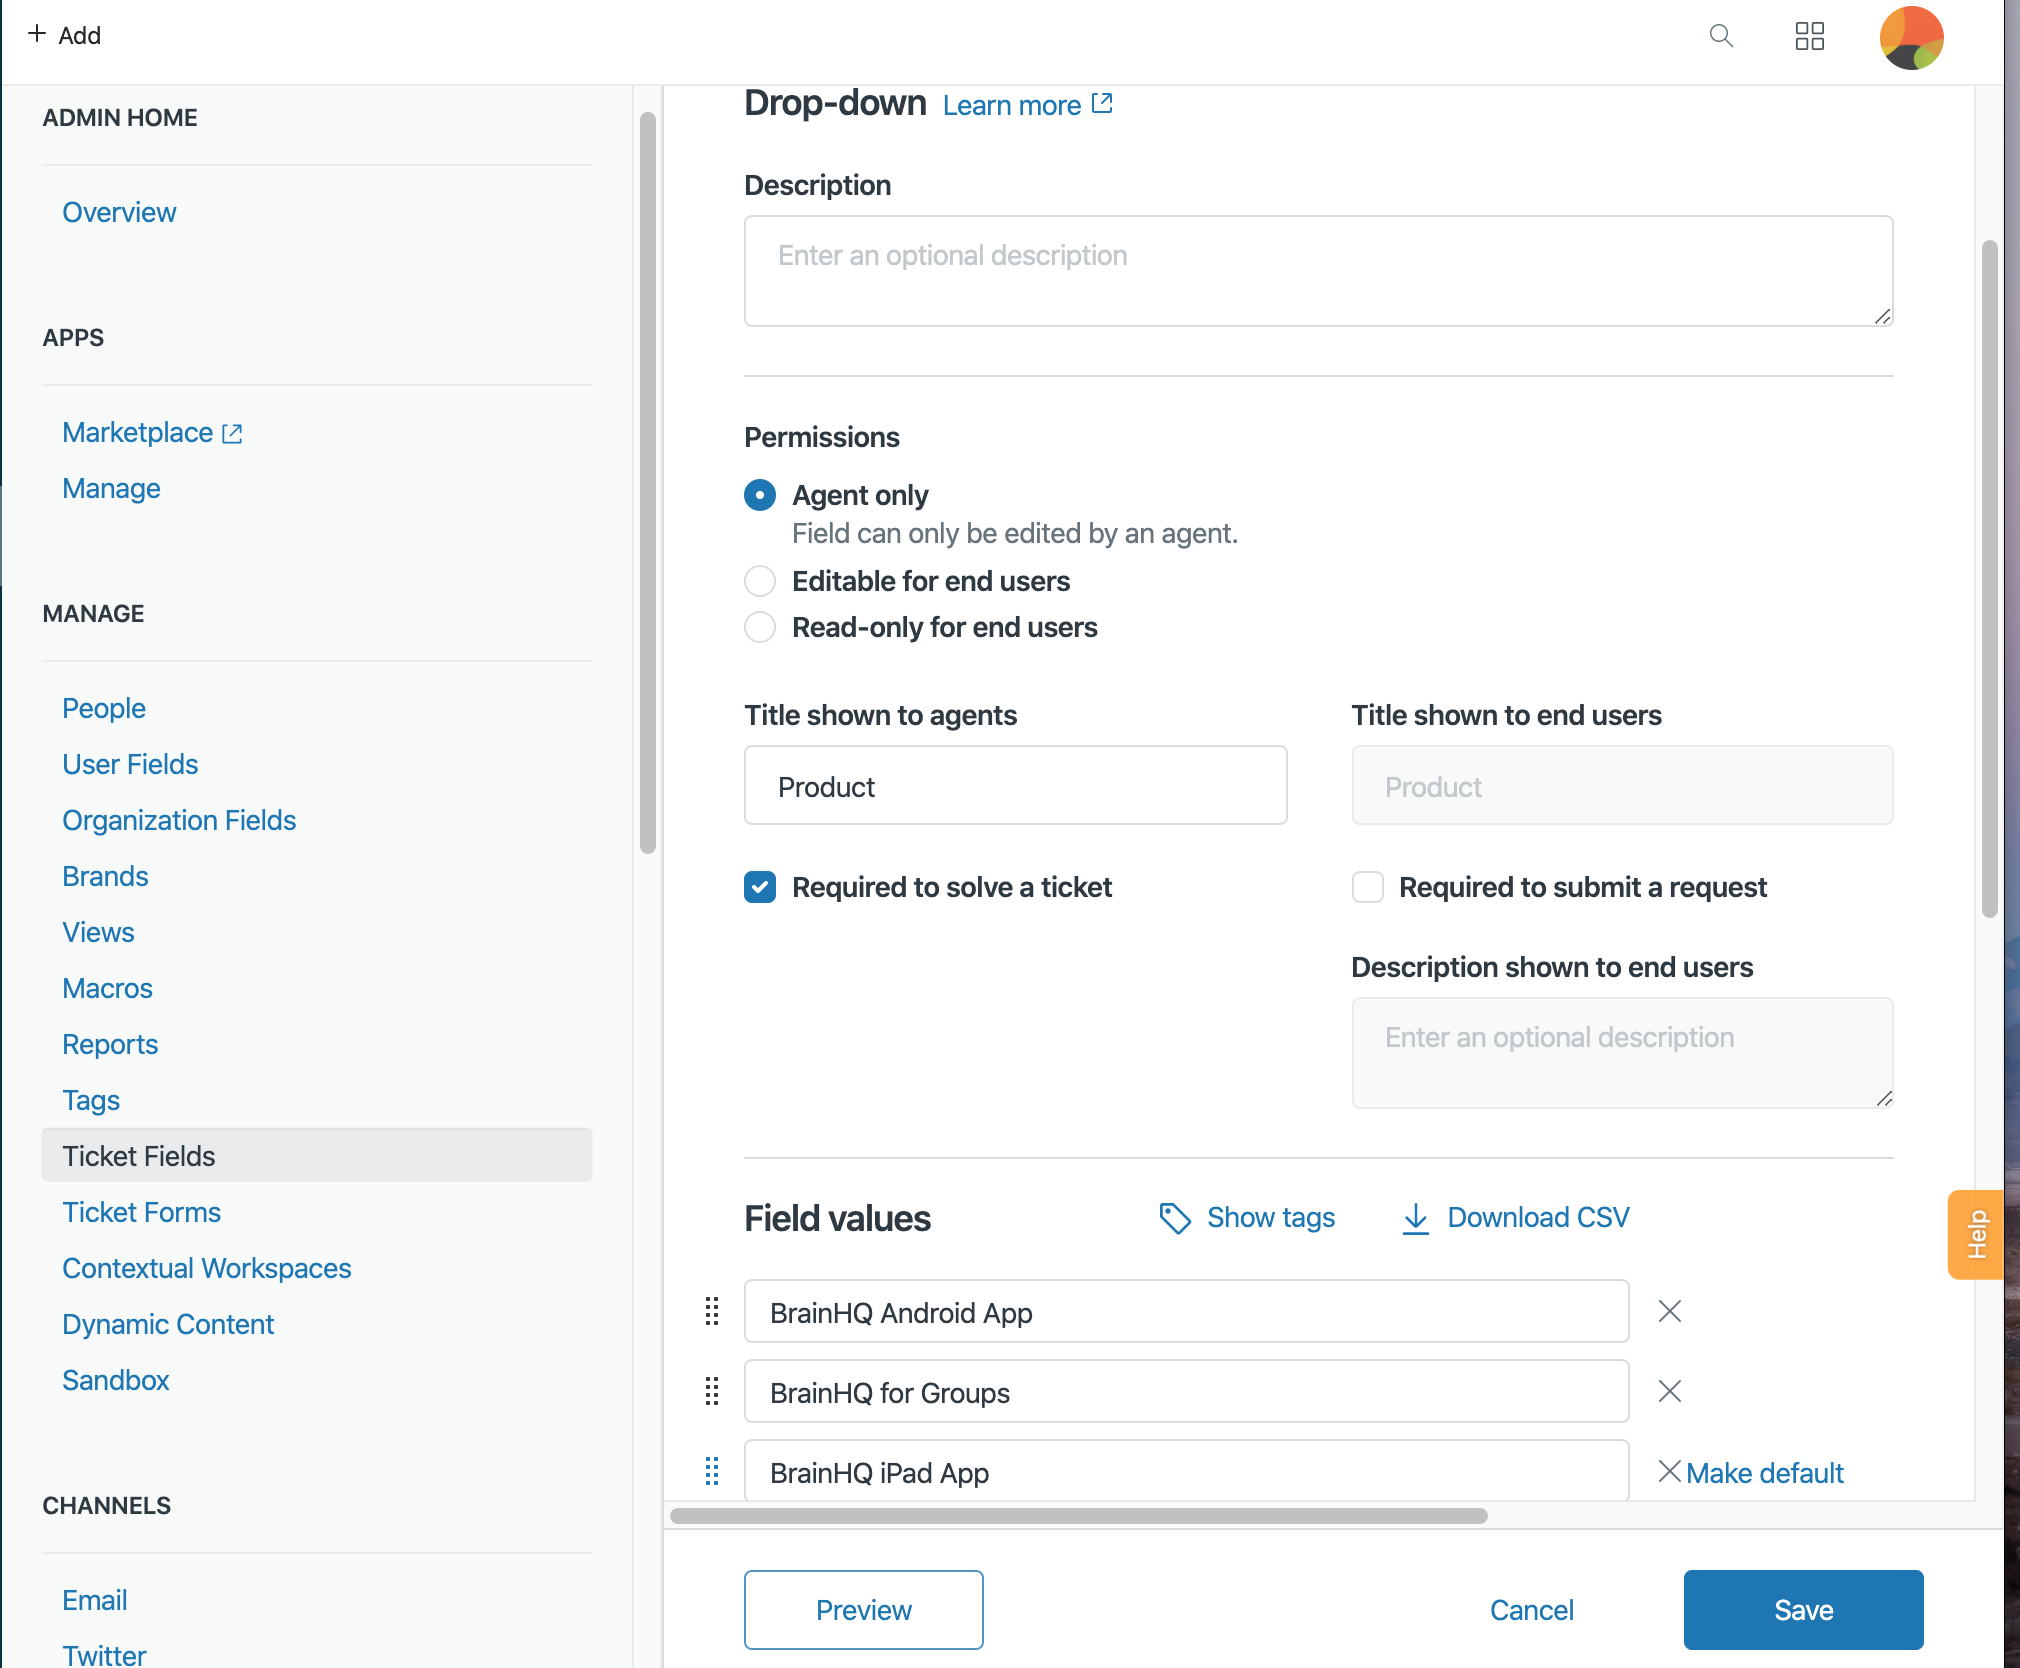
I have a form, via WPForms, that works for the most part.  All data from form comes into Zapier correctly. It’s supposed to push data to a Zendesk ticket.  Which it does for all data except “Dropdown”, “Multiple Choices”, or “Checkboxes”.  I just cant get it to post the data for these fields with choices. I try and select Advanced Options, and select the data, but it doesn’t save. Have others run into this issue?

icon

Best answer by Danvers 7 April 2020, 16:29

View original

This post has been closed for comments. Please create a new post if you need help or have a question about this topic.

3 replies

Userlevel 7
Badge +12

Hi @maclean! Sorry for the delay in replying here and thanks for your question. 

Are the Dropdown/Multiple Choice/Checkbox fields in the Zendesk? In other words, if you were creating the ticket in Zendesk would you see the field as a dropdown, etc? 

Could you please send a screenshot of the fields in the Zendesk step in Zapier? And what does the information look like when it comes from WordPress forms?


Hi Danvers.  Sorry for my delay.  This went into junk mail.  I just saw it today.

Thank you for replying.

Yes, this is a dropdown in Zendesk. Screenshots attached.


WP Forms
Zapier
Zendesk


Userlevel 7
Badge +12

Hi @maclean Sorry for the delay in getting back to you here!


You’ll need to use the ‘Custom’ option for any dropdown fields like that. When you use a custom value, you need to use the ID of the option that you want to add. So if the product was ‘Brainhq IPad App’, then the value that you would need to put in the Product section is ‘brainhq_ipad_app’:

317cb7a8393ca348768459bf0de81461.png
(View image larger)


To transform the option from the WordPress forms into the ID for the custom value, you can create a lookup table using the Formatter by Zapier app:

  1. Add a Formatter step before the zendesk step
  2. Choose the ‘Utilities’ action and ‘Lookup Table’ as the Transform option 
  3. For the input, put the answer from WordPress Forms
  4. On the left of the table, put all the possible inputs
  5. On the right of the table, put the ID of the respective choice in Zendesk (eg the gray text that I highlighted in the image)
  6. Test the Formatter step
  7. In the  Zendesk step, set the Product field to ‘Custom’ and add the output of the Formatter step


You’ll need to do that for any dropdown fields that you have. ​I hope that helps, please let me know if you have any questions!